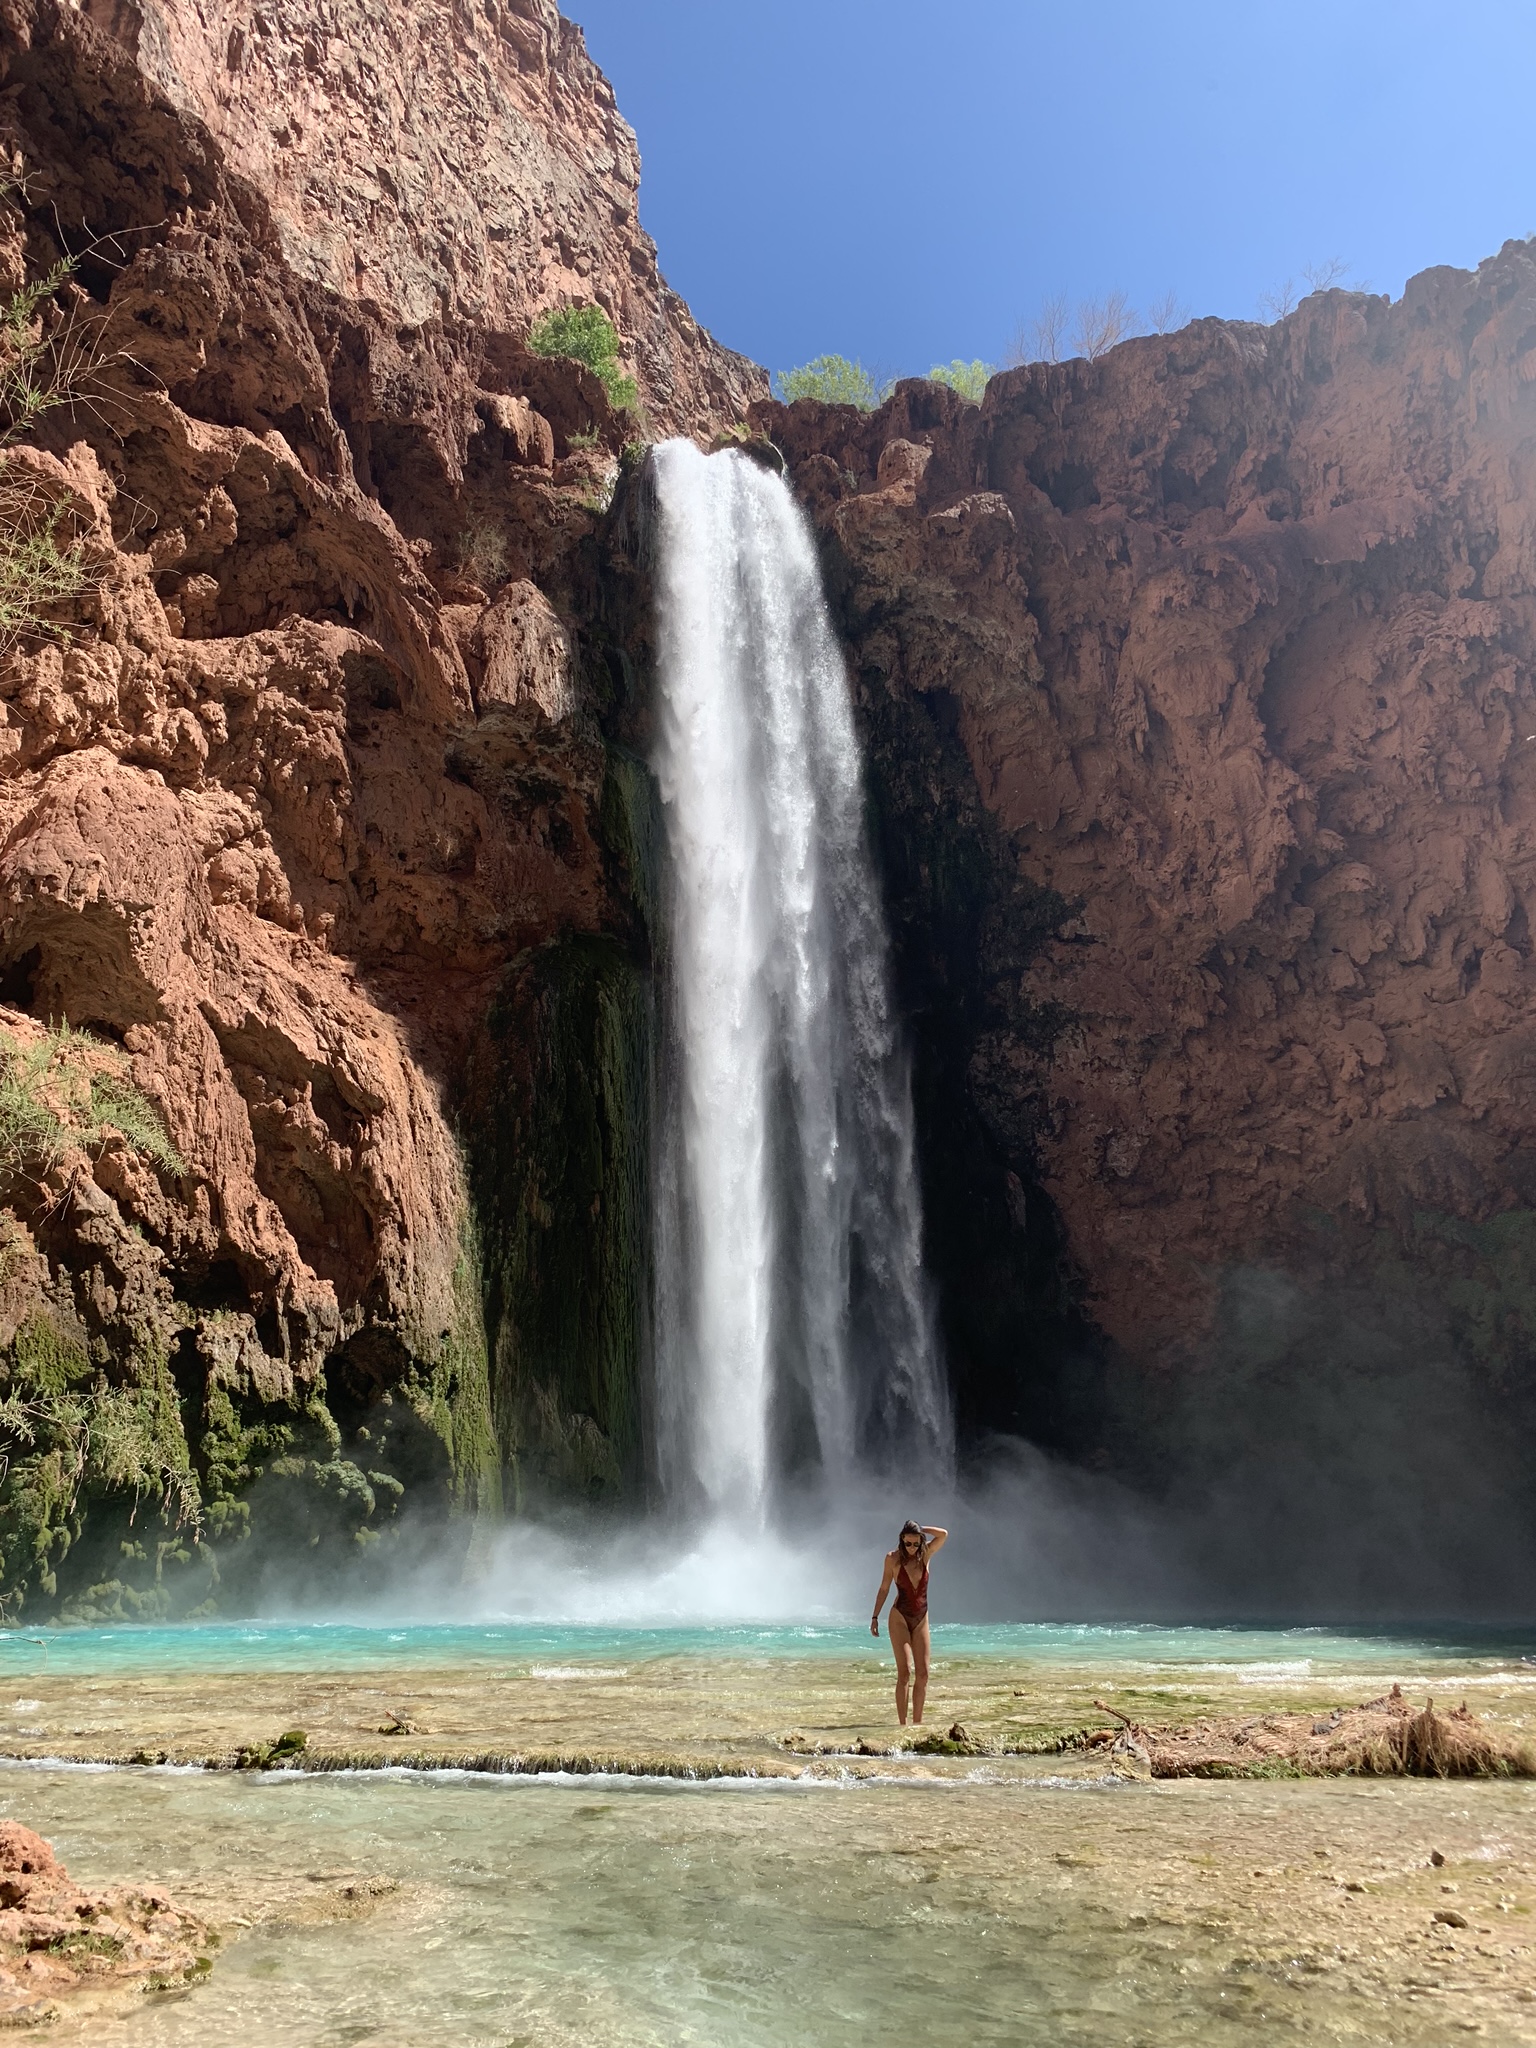
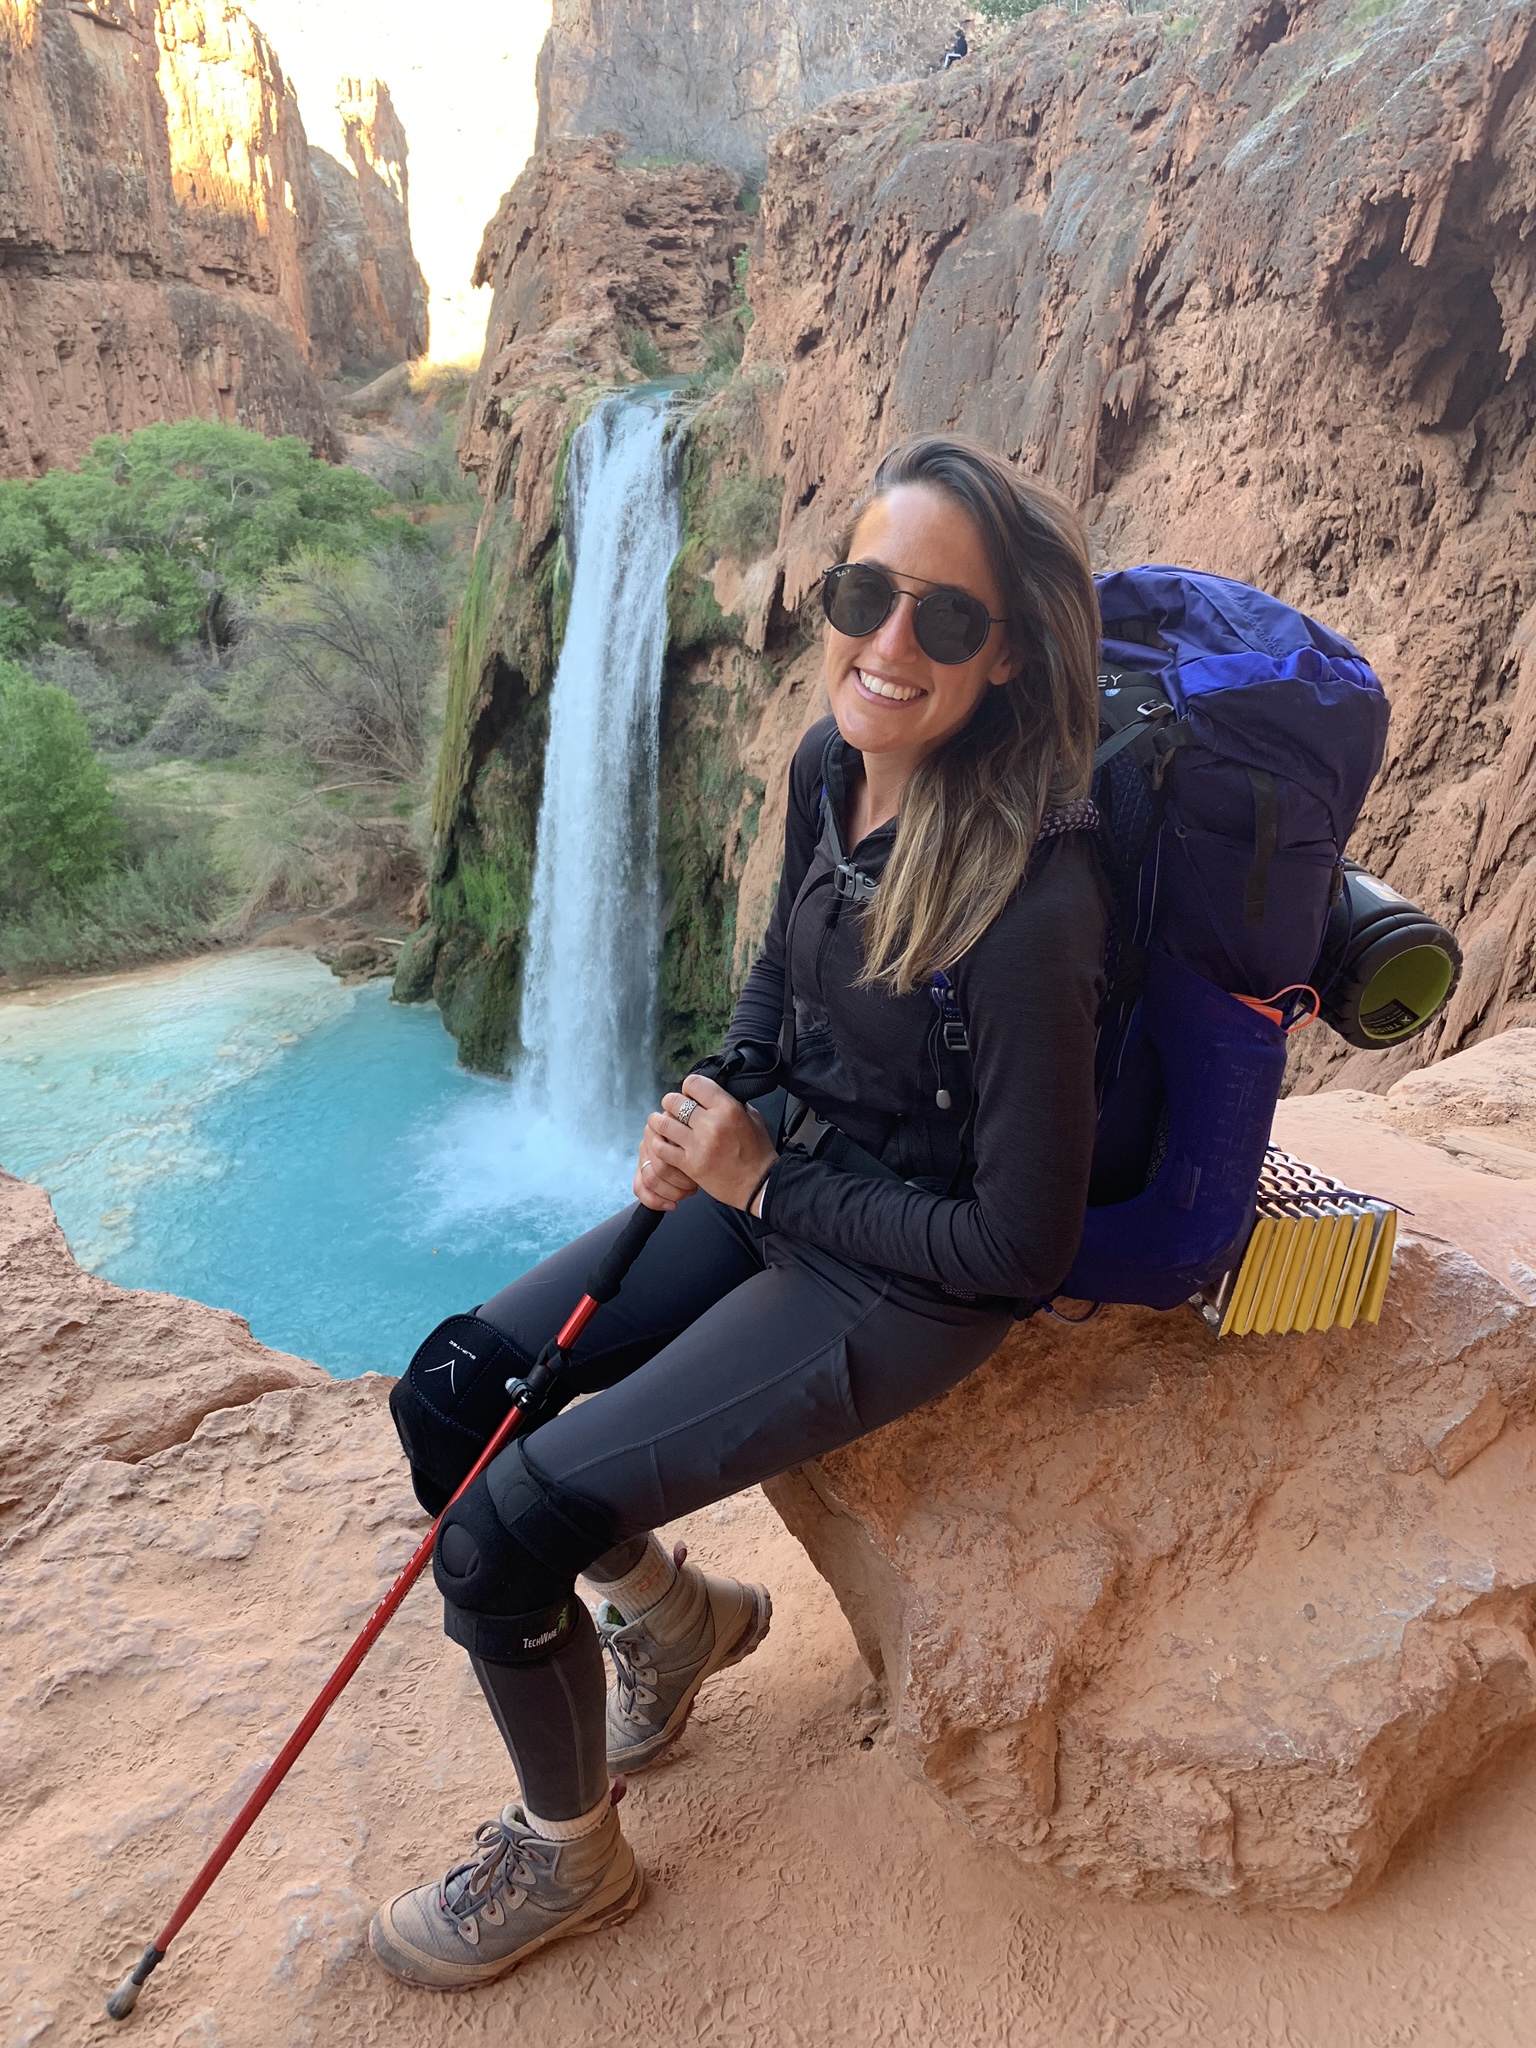
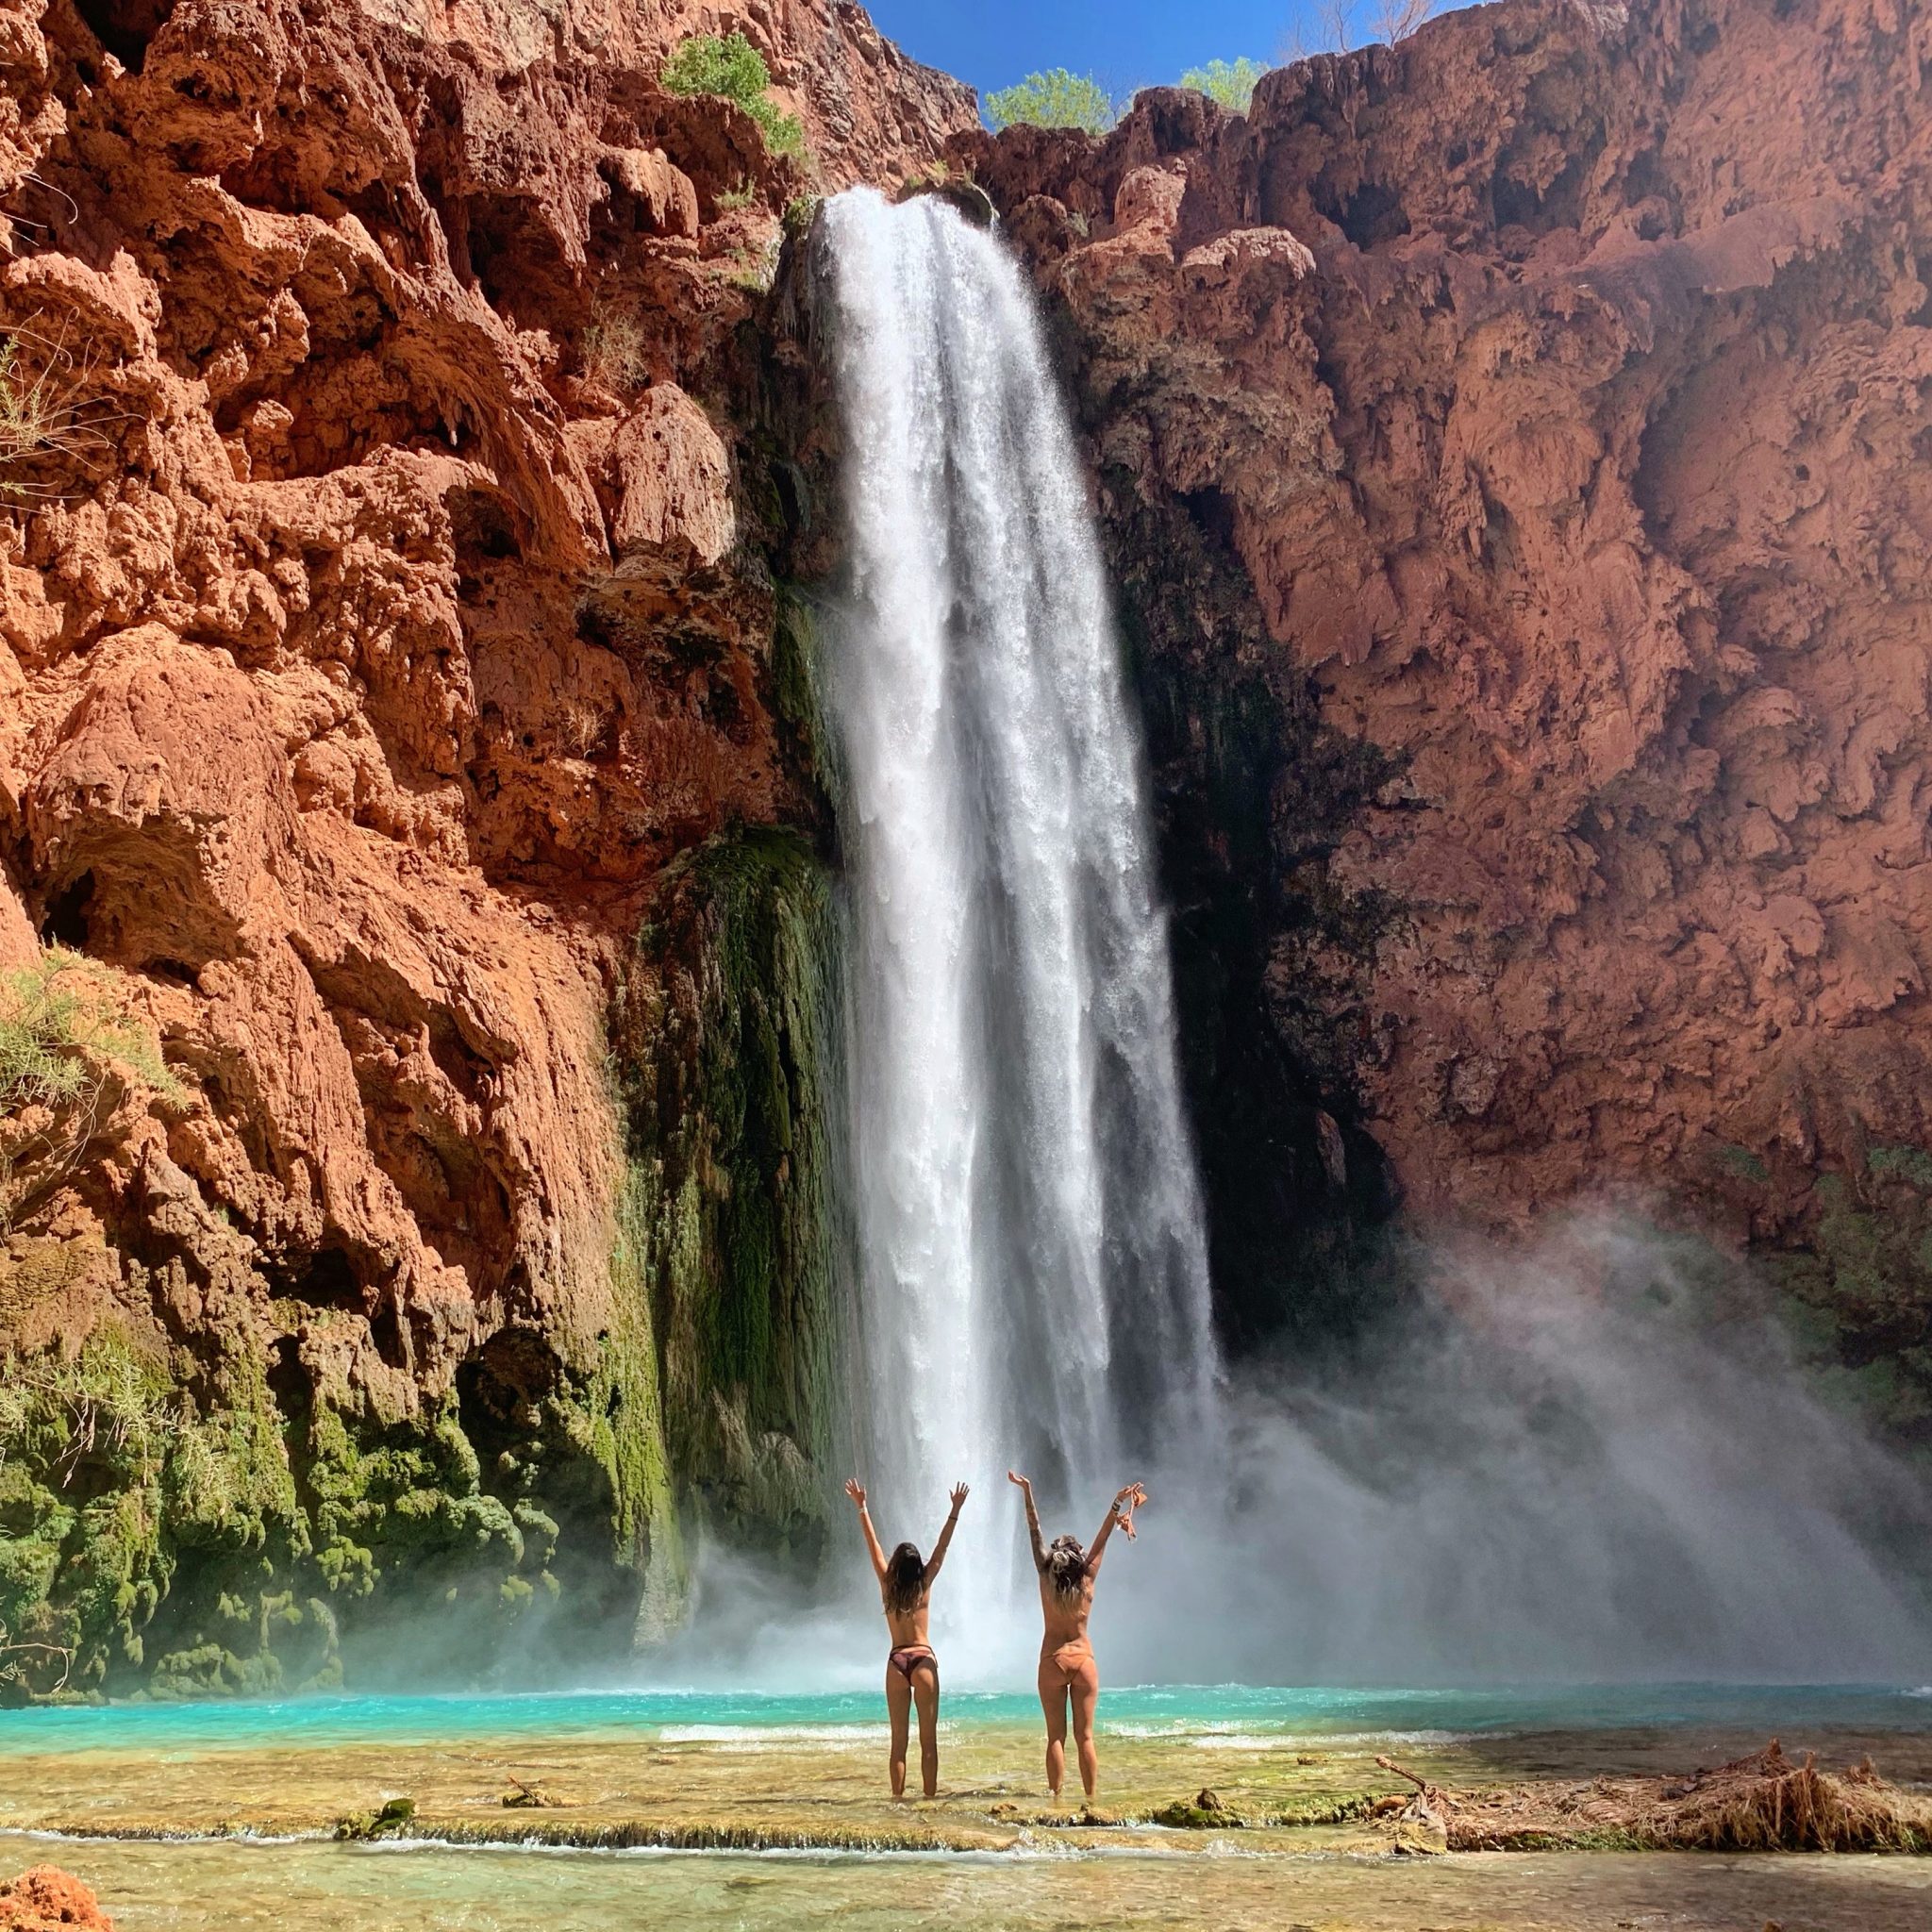
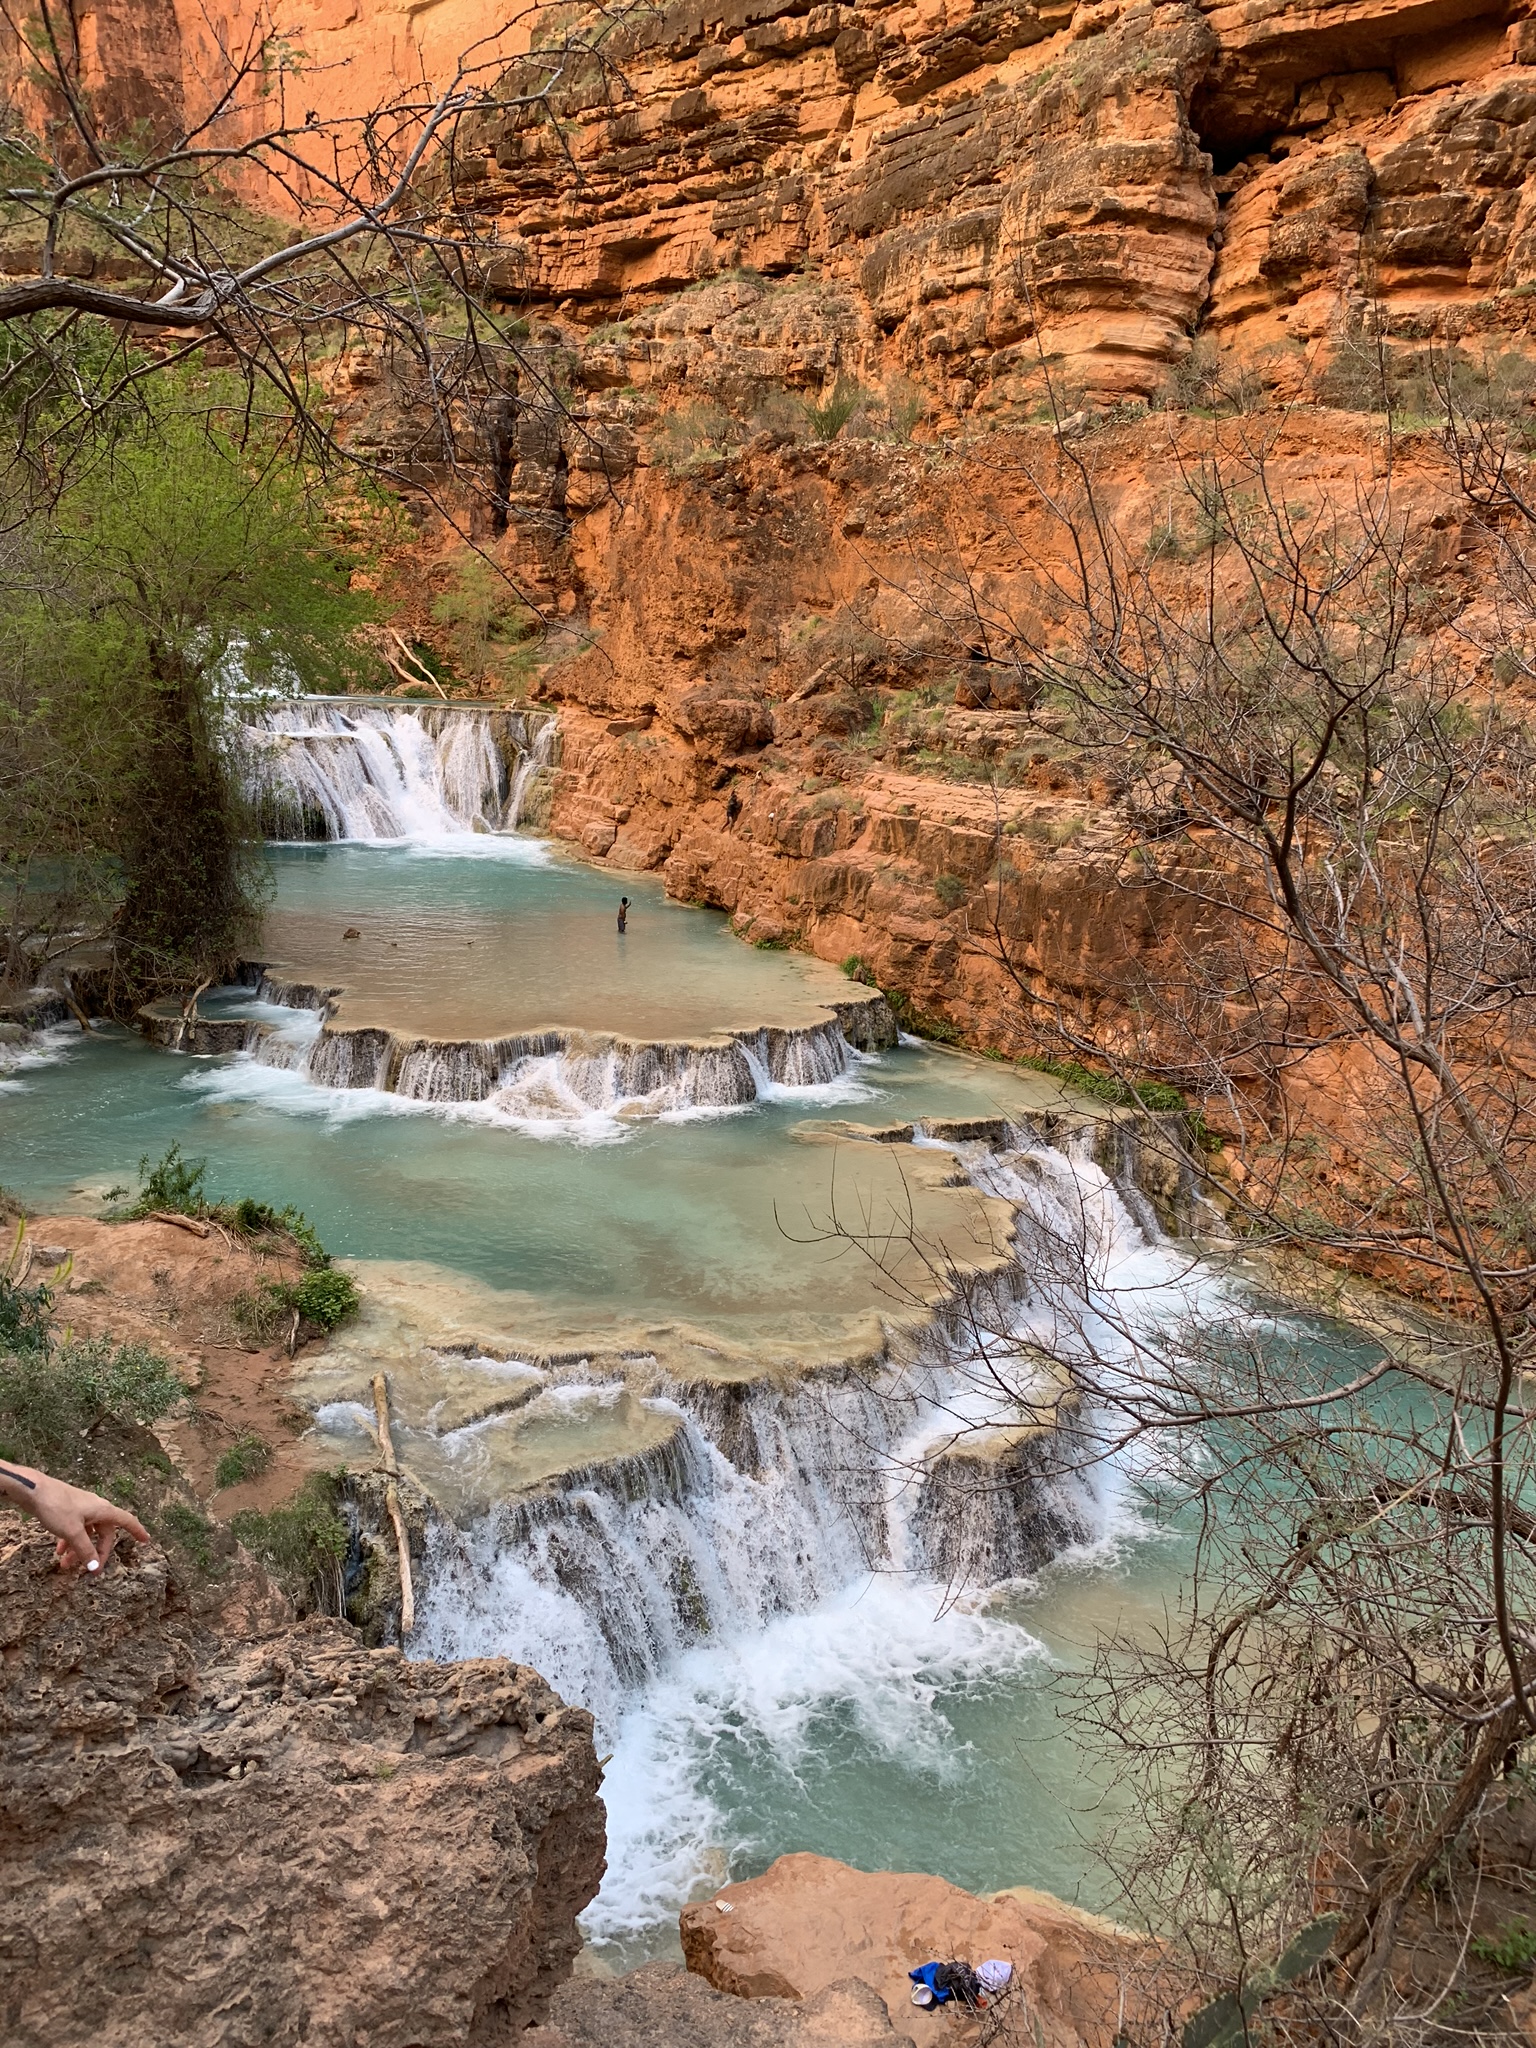
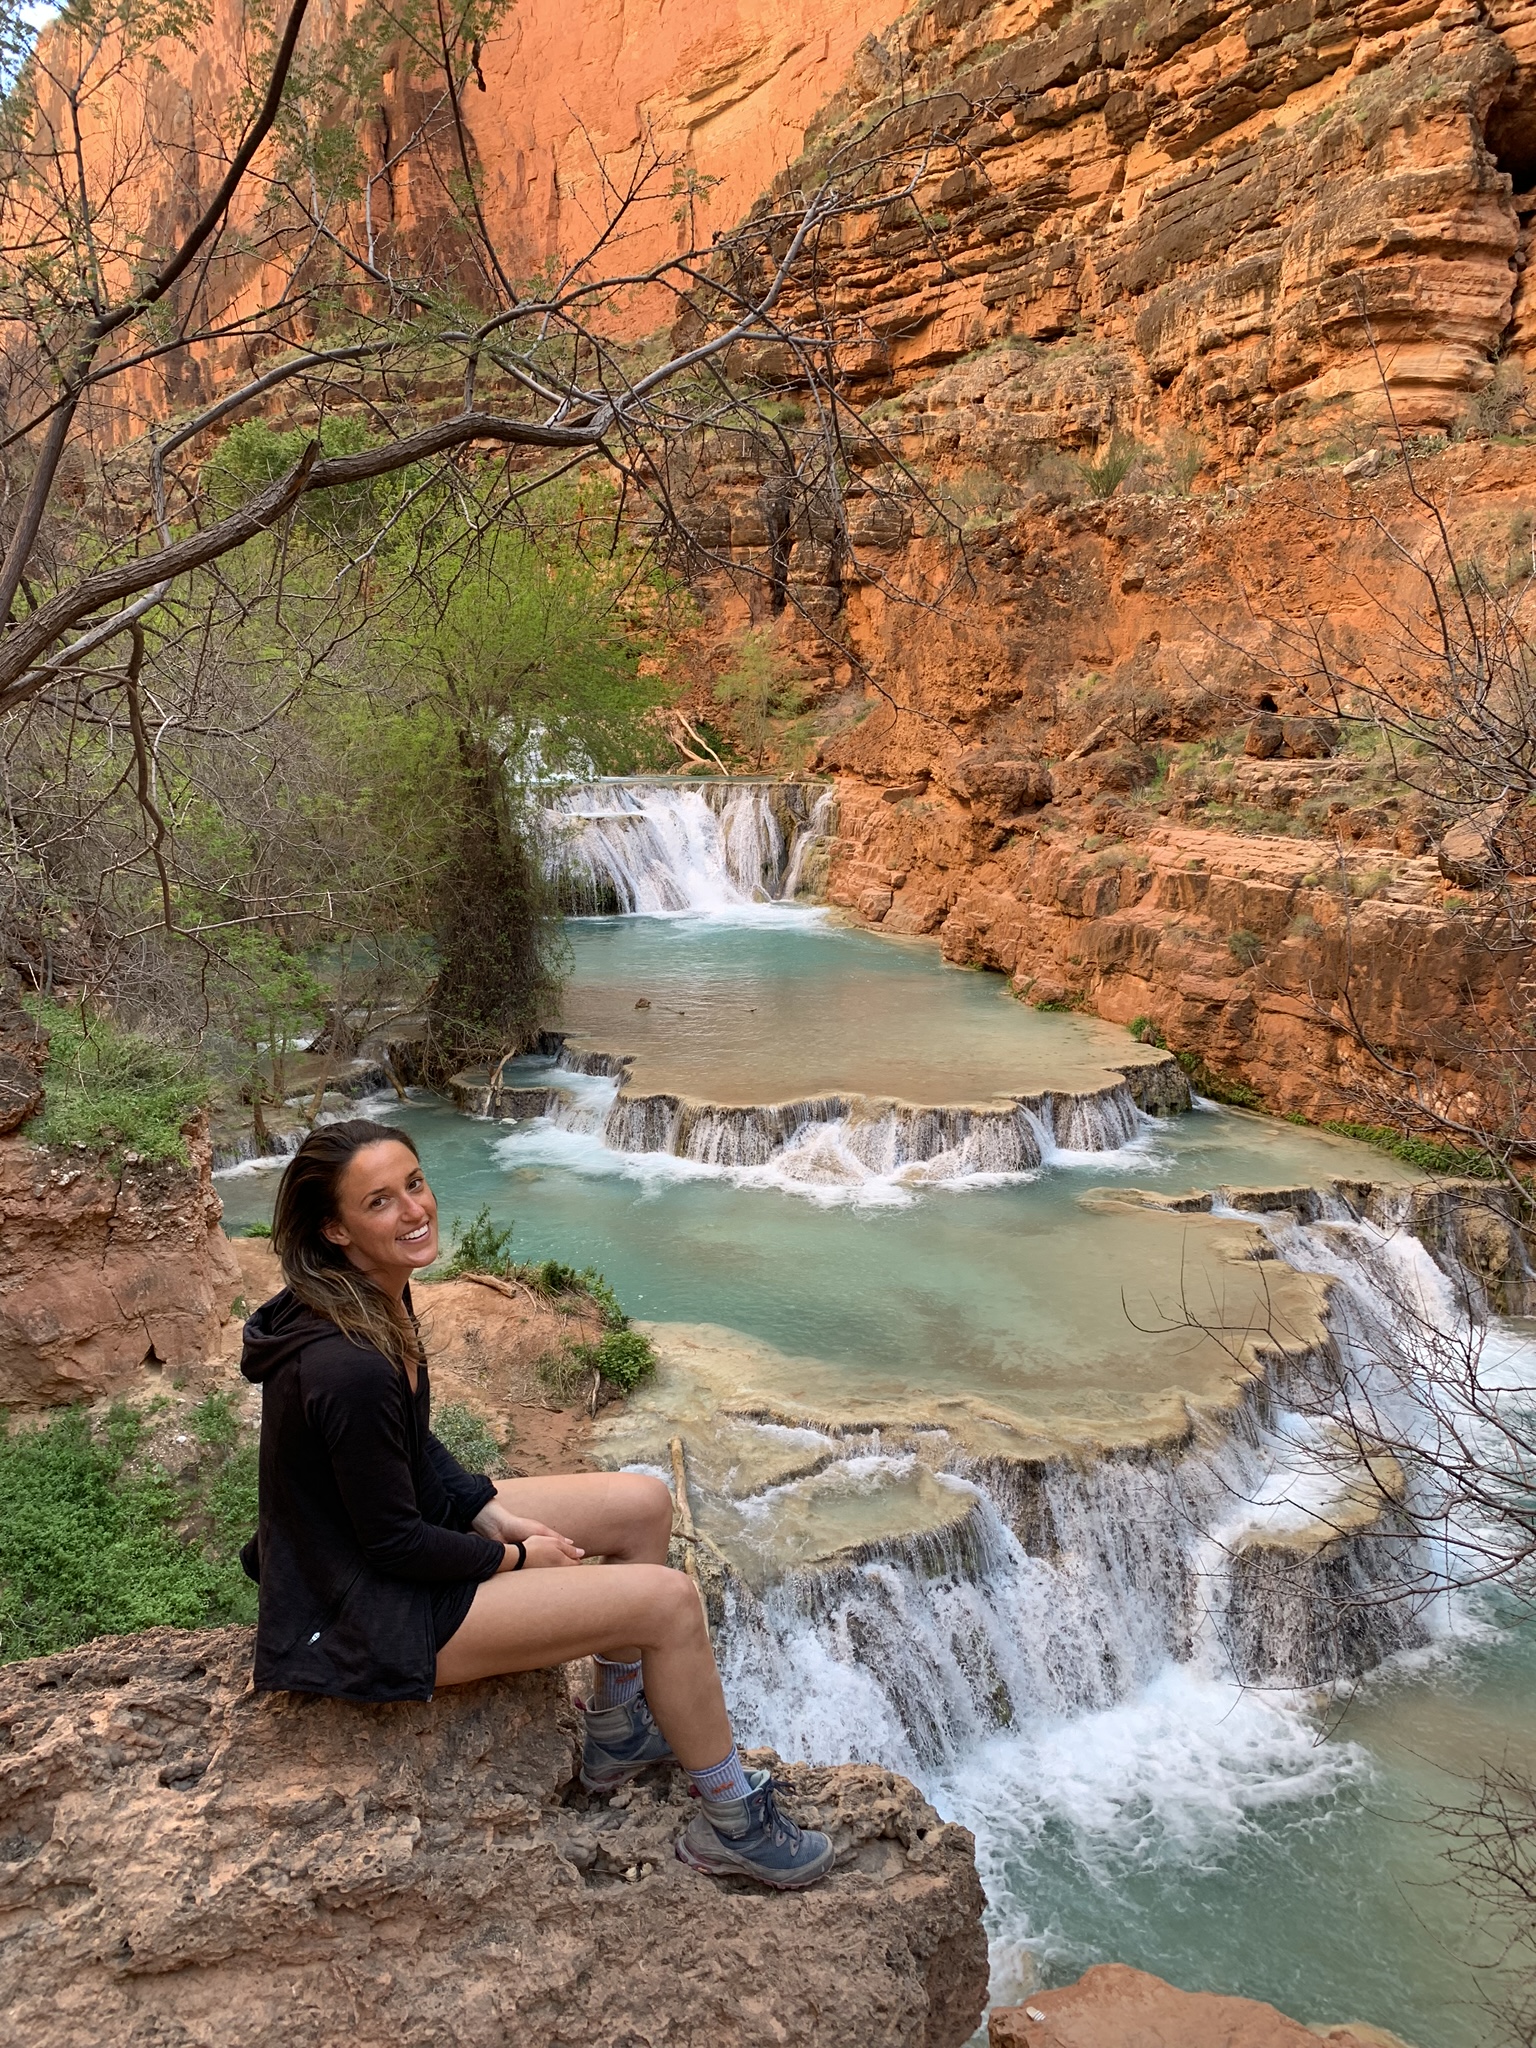
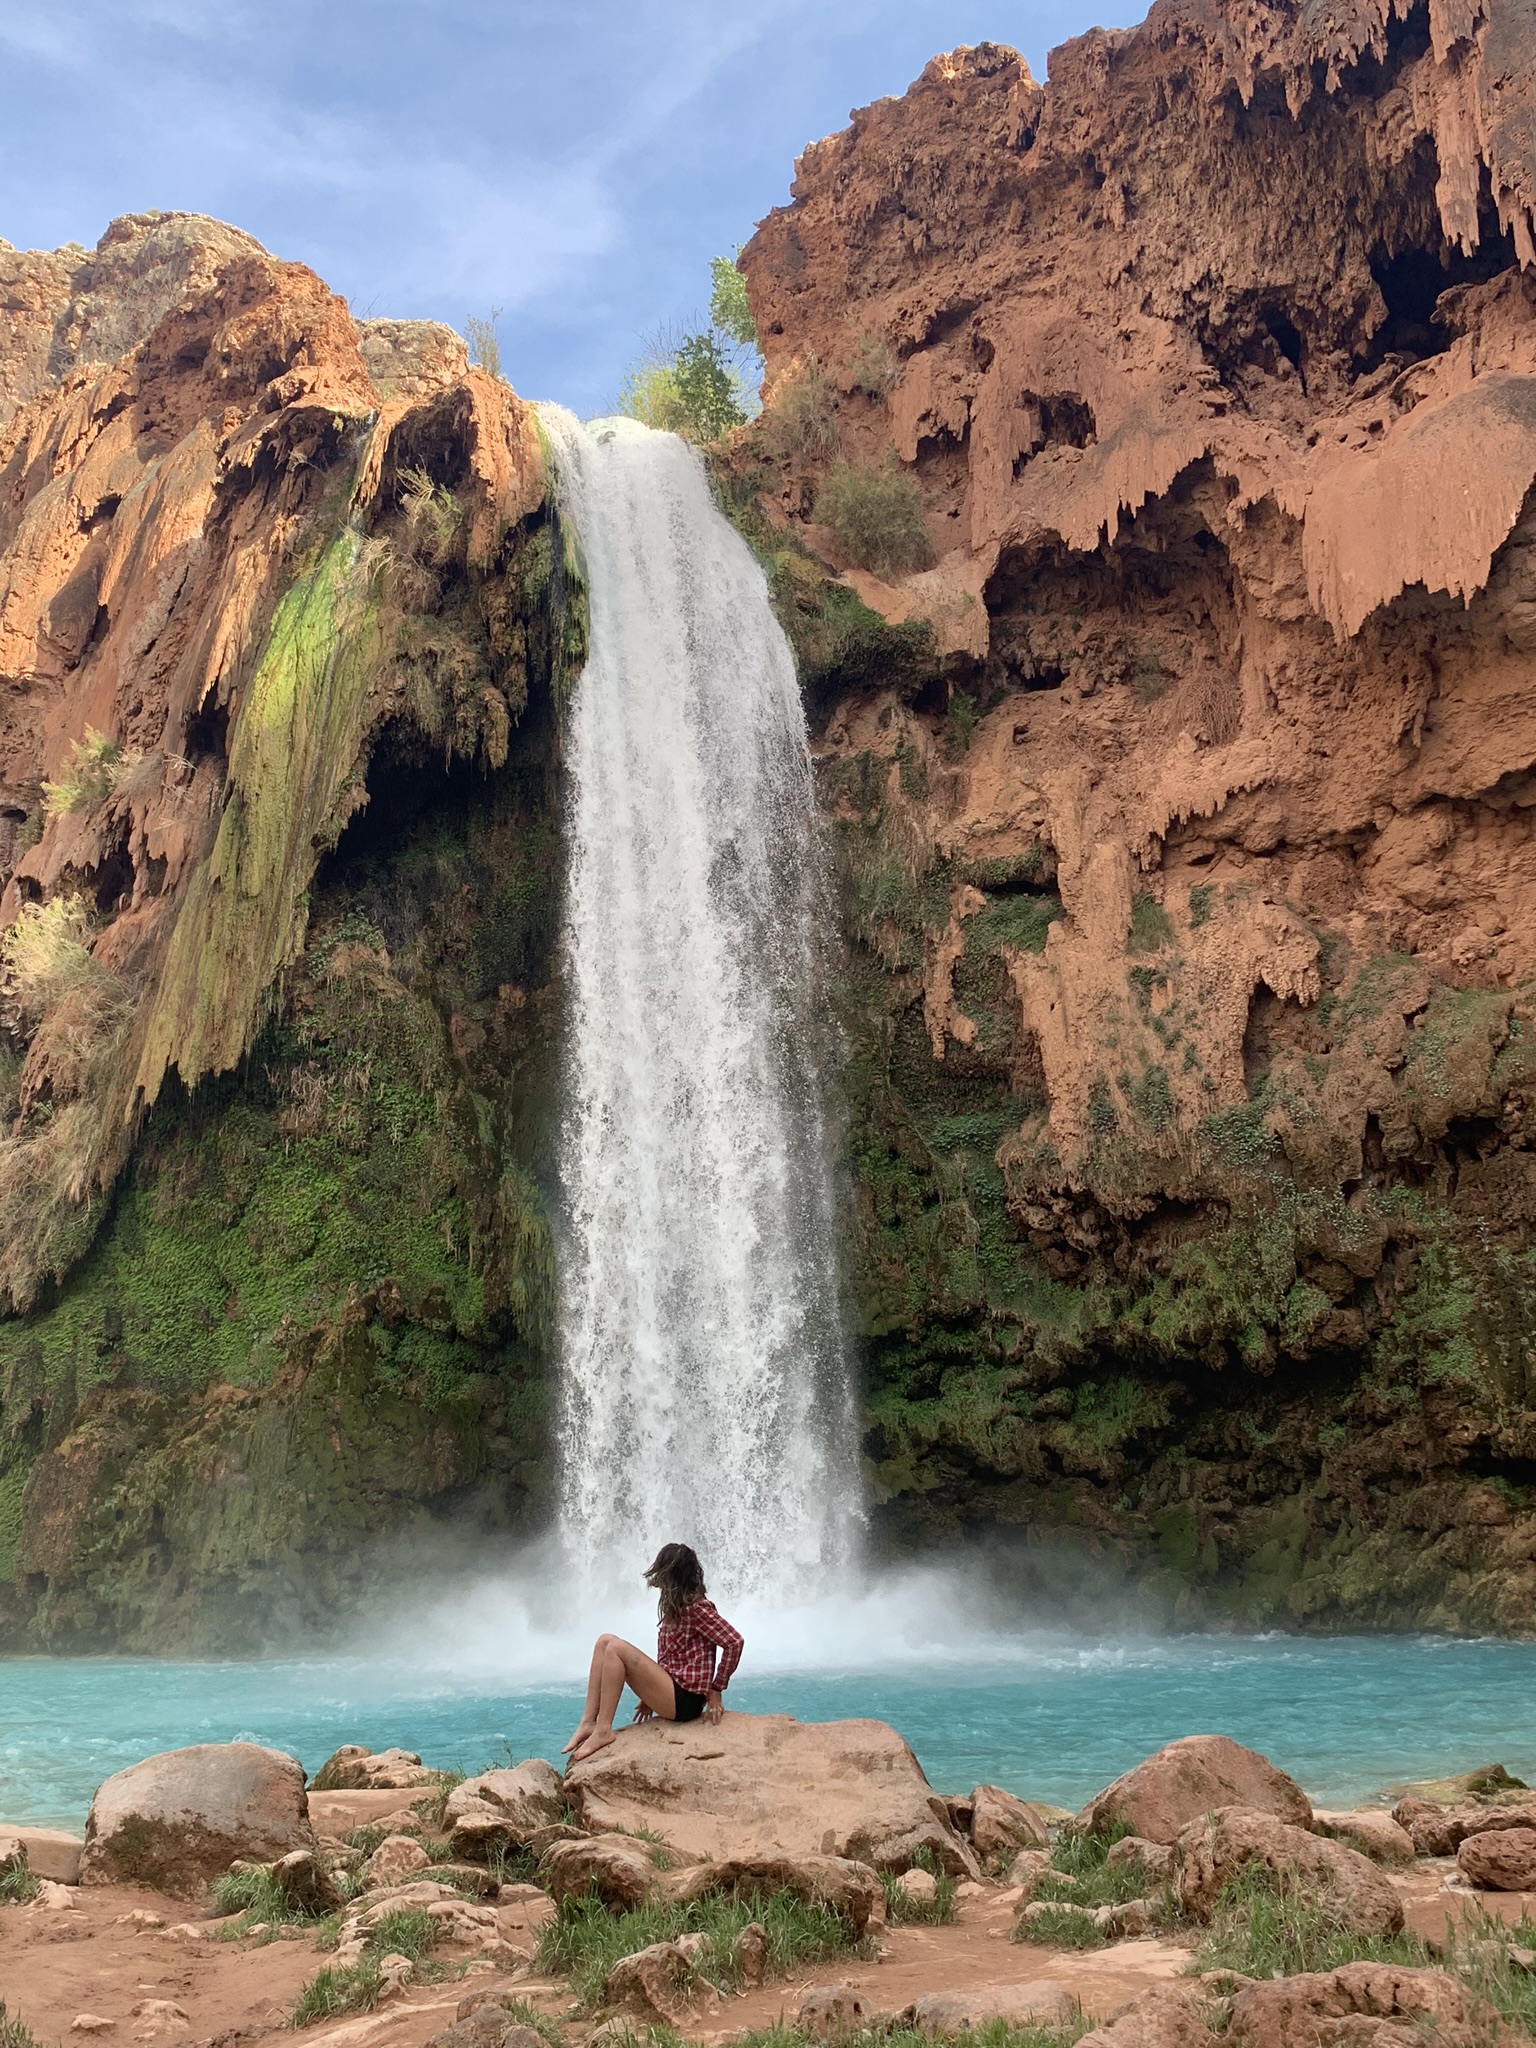
Havasu Falls have exploded on social media this year. Just about everyone has seen photos of these cascading blue waterfalls inside the Grand Canyon. But before they were on your Facebook and Instagram feed, Havasu falls were on every hiker’s bucketlist. However, due to the falls being smack in the middle of an Indian Reservation and having a nearly impossible reservation system, they’re not an easy bucketlist item to cross off. Here’s everything you need to know to hike to Havasu Falls:
The Reservation System
Yes, reservations are required. The reservation system actually used to be worse, and required people to call an office at the Havasupai Indian Reservation every minute on the hour until someone would pick up. Luckily, now there’s an online reservation system. Although this is better than the previous system, it’s still not easy since so many people try to log in at the same time on the same day when permits open. The website often freezes and goes down or doesn’t let you log in. I couldn’t even get the calendar to load. This is why it helps to try to get permits in a group. We had a group of four and all of us were trying to log into the reservation system to book dates. I couldn’t get anything to load, but my friend Kim did 🙂
Tips for the day permits come online:
- Find friends to book with, but not a really large group. 4 is a good number.
- Know which dates you and your friends can go (and have multiple). Sometimes the dates you want will be taken in seconds, and sometimes the website will be so overloaded with traffic that the calendar won’t work correctly (we ended up just picking March because it’s the only thing that would load).
- Keep in mind that although the water will be warmer in summer months, temperatures while your hiking can be over 100 degrees. For this reason, I wouldn’t advise going in the hottest months.
As much as people complain about the permit system, it’s actually worth it to prevent the area from becoming overcrowded with people and trash. It helps keep the falls pristine and not turn them into a Disneyland-like attraction.
The permit date hasn’t been released yet for 2020, but when it is, you can book here: https://www.havasupaireservations.com/
Camping Requirements
Day passes are no longer issued for Havasu Falls. This means that everyone going to Havasu Falls needs to camp for 3 nights/4 days. You can make reservations here: https://www.havasupaireservations.com/
Campground pricing: $100 per person per weekday night, $125 per person per weekend night
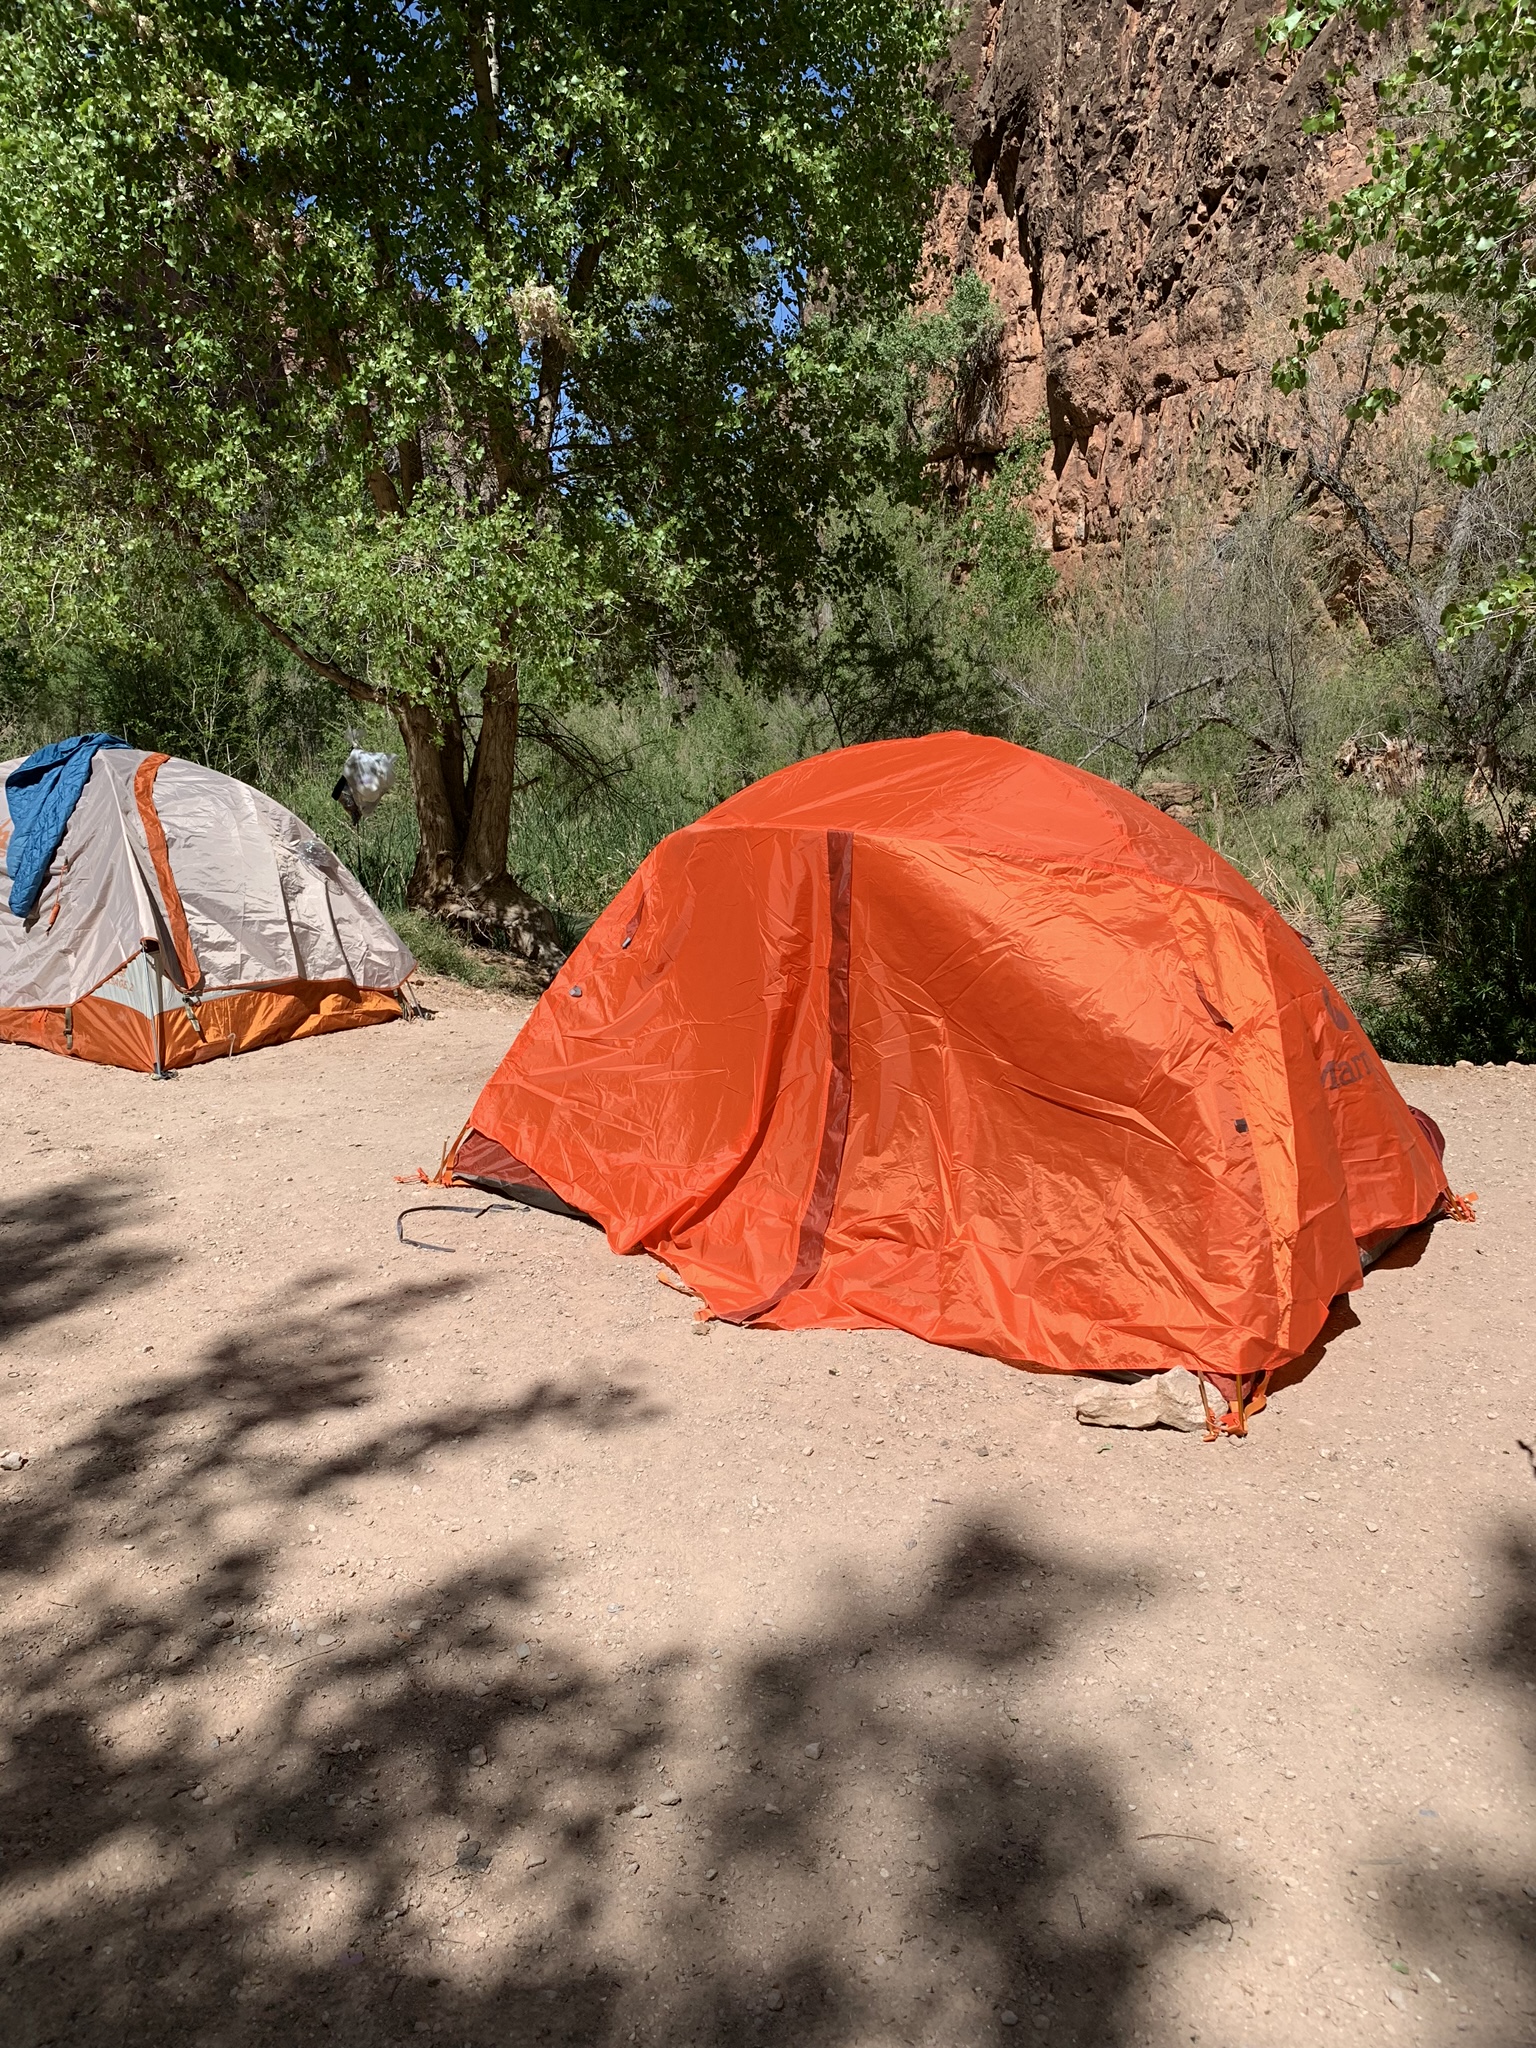
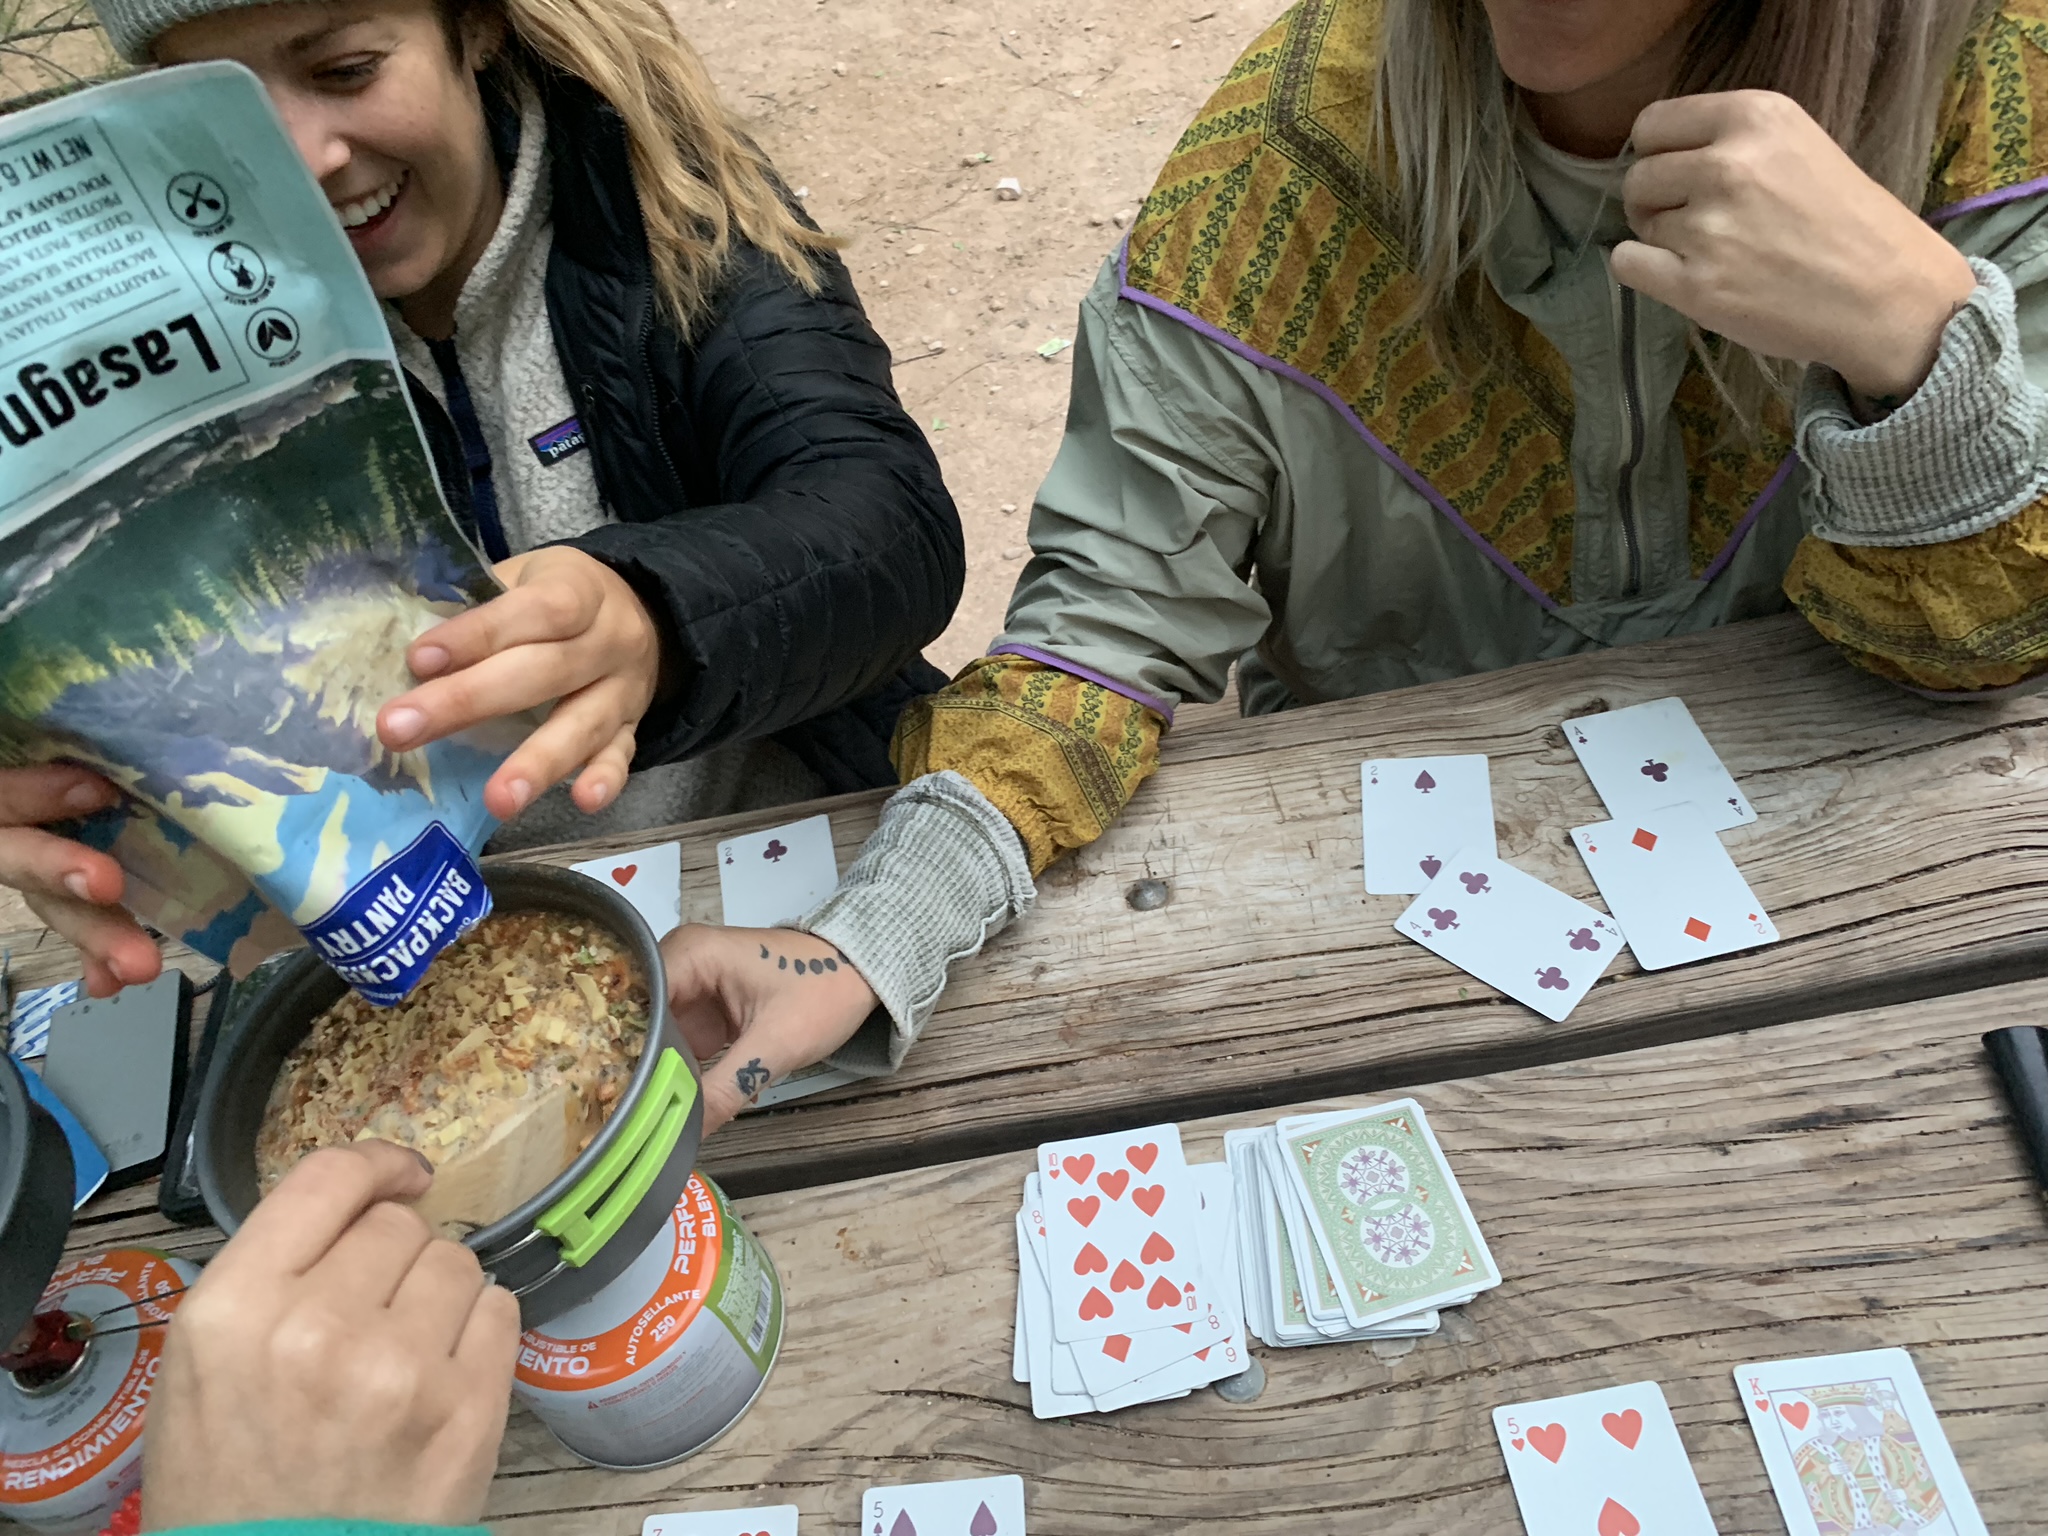
The campgrounds have bathrooms but no showers. There is a water source and picnic tables as well, but no fires are allowed. For this reason, I’d recommend bringing a backpacking stove to cook, although there is a small store with food 2 miles from the campsites.
Getting There
The trail to Havasu Falls begins at Hualapai Hilltop, 66 miles from Peach Springs, AZ. We stayed at Hualapai Lodge the night before the hike.
The day of the hike we drove to Hualapai Hilltop and parked the car in the lot they have there. Peach Springs is the last place that has restaurants/gas/water so I would stock up there before heading to the trailhead.
The Hike to Havasupai Falls
Stats:
Hualapai Hilltop to Supai Village (lodge and small store): 8 miles
Supai Village to Campground: 2 miles
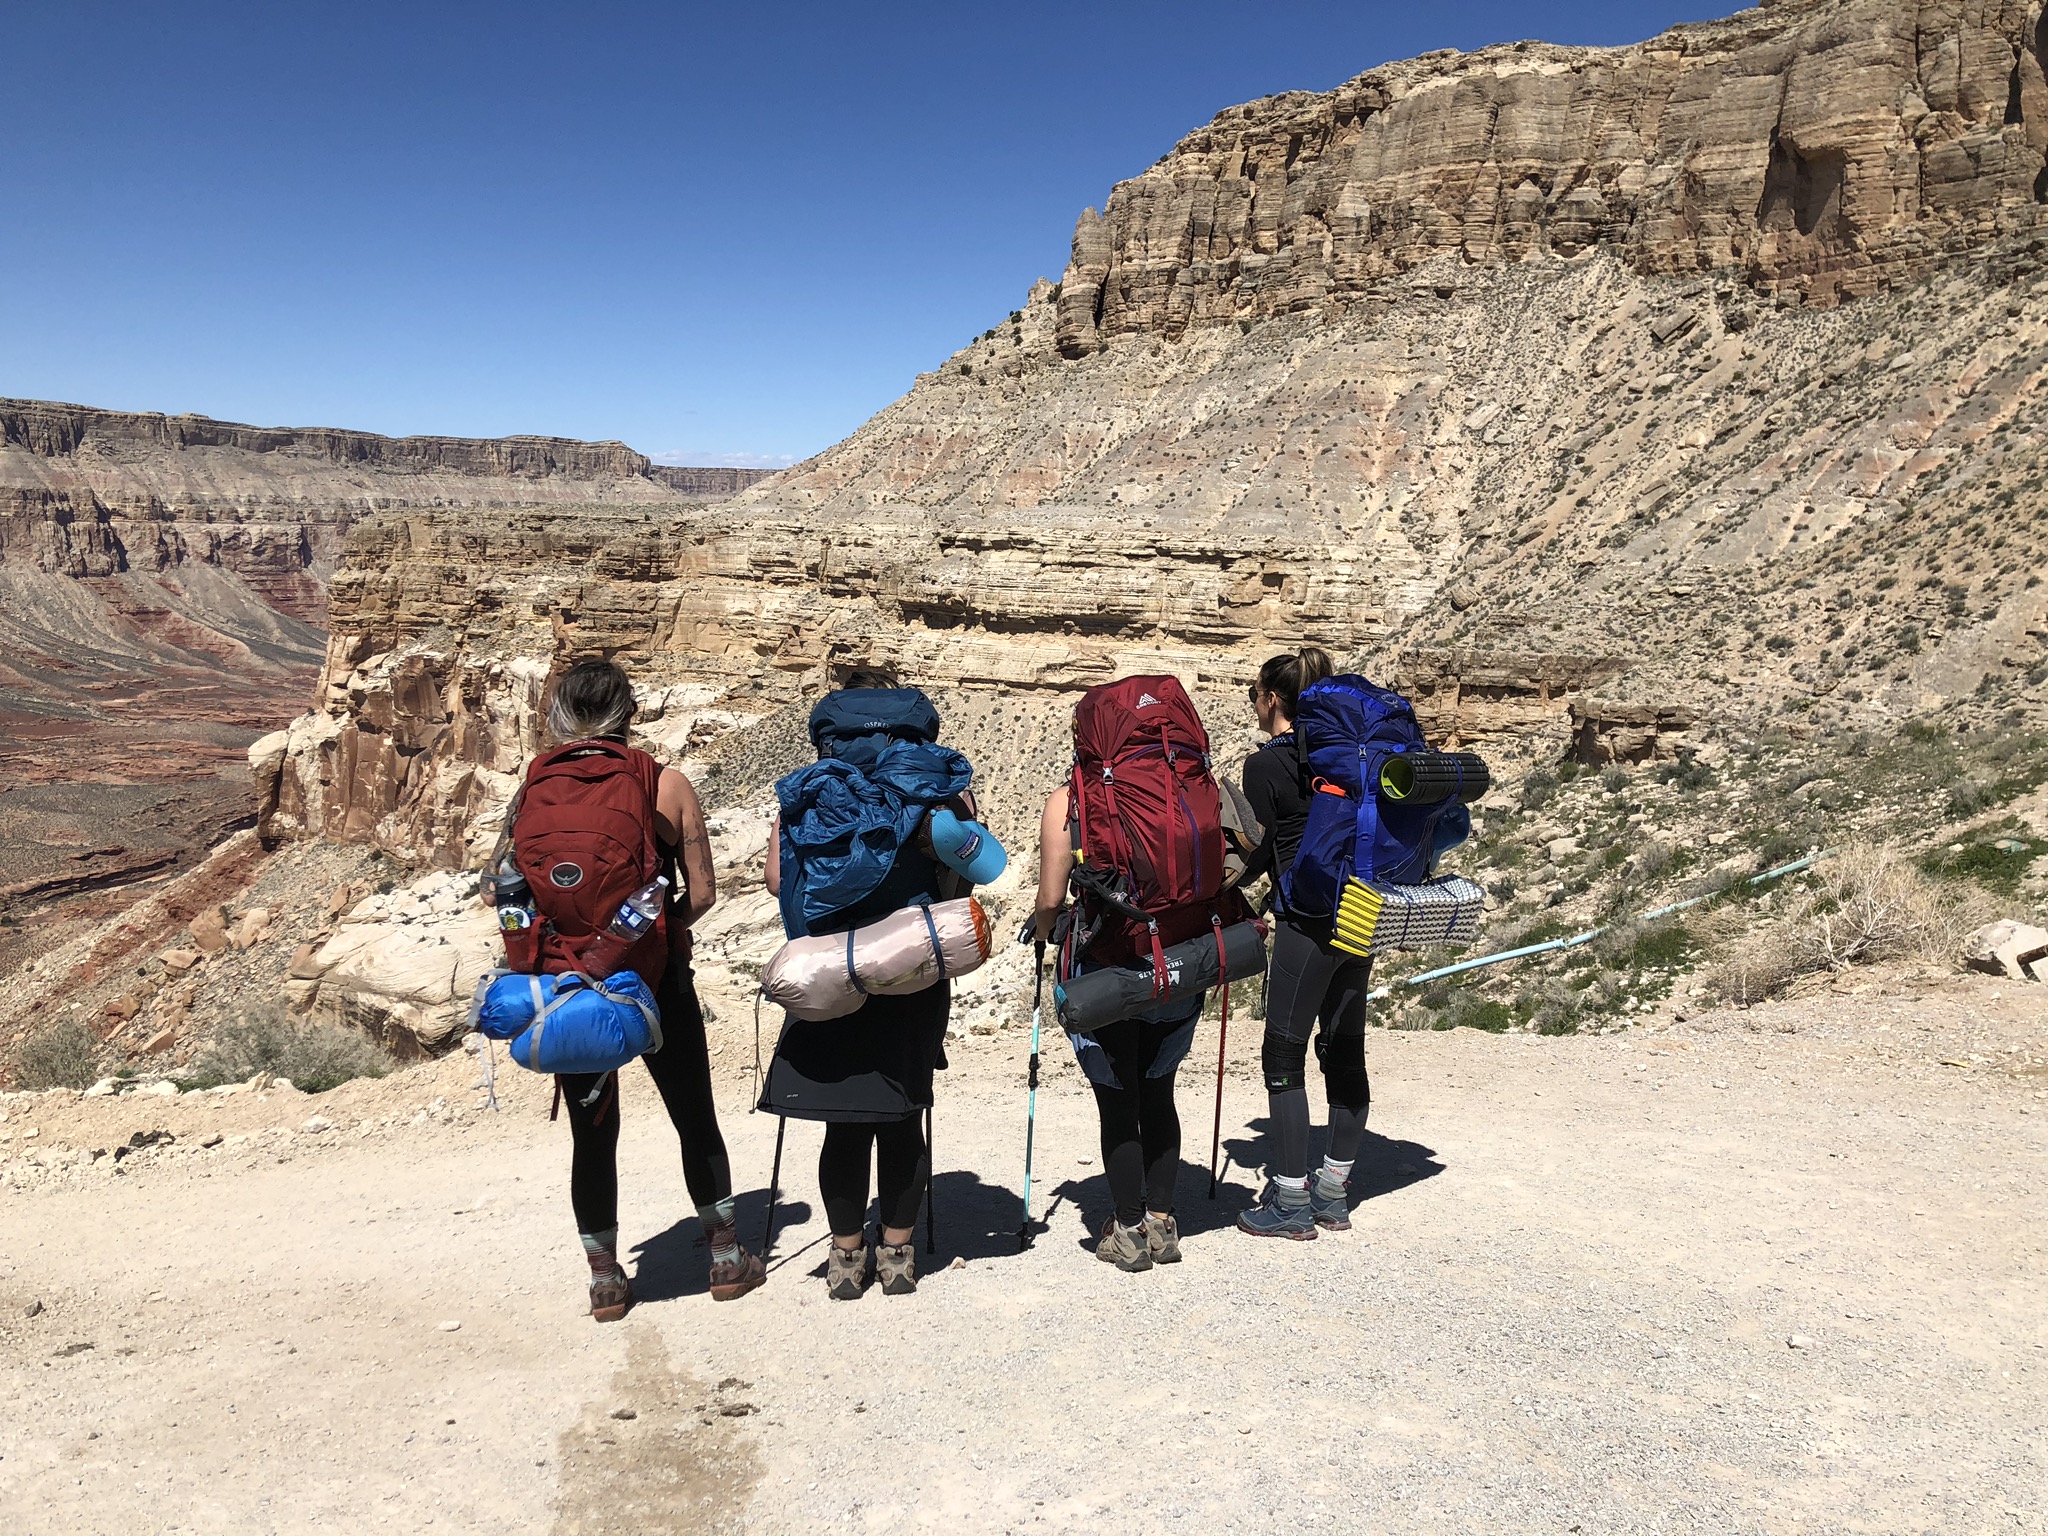
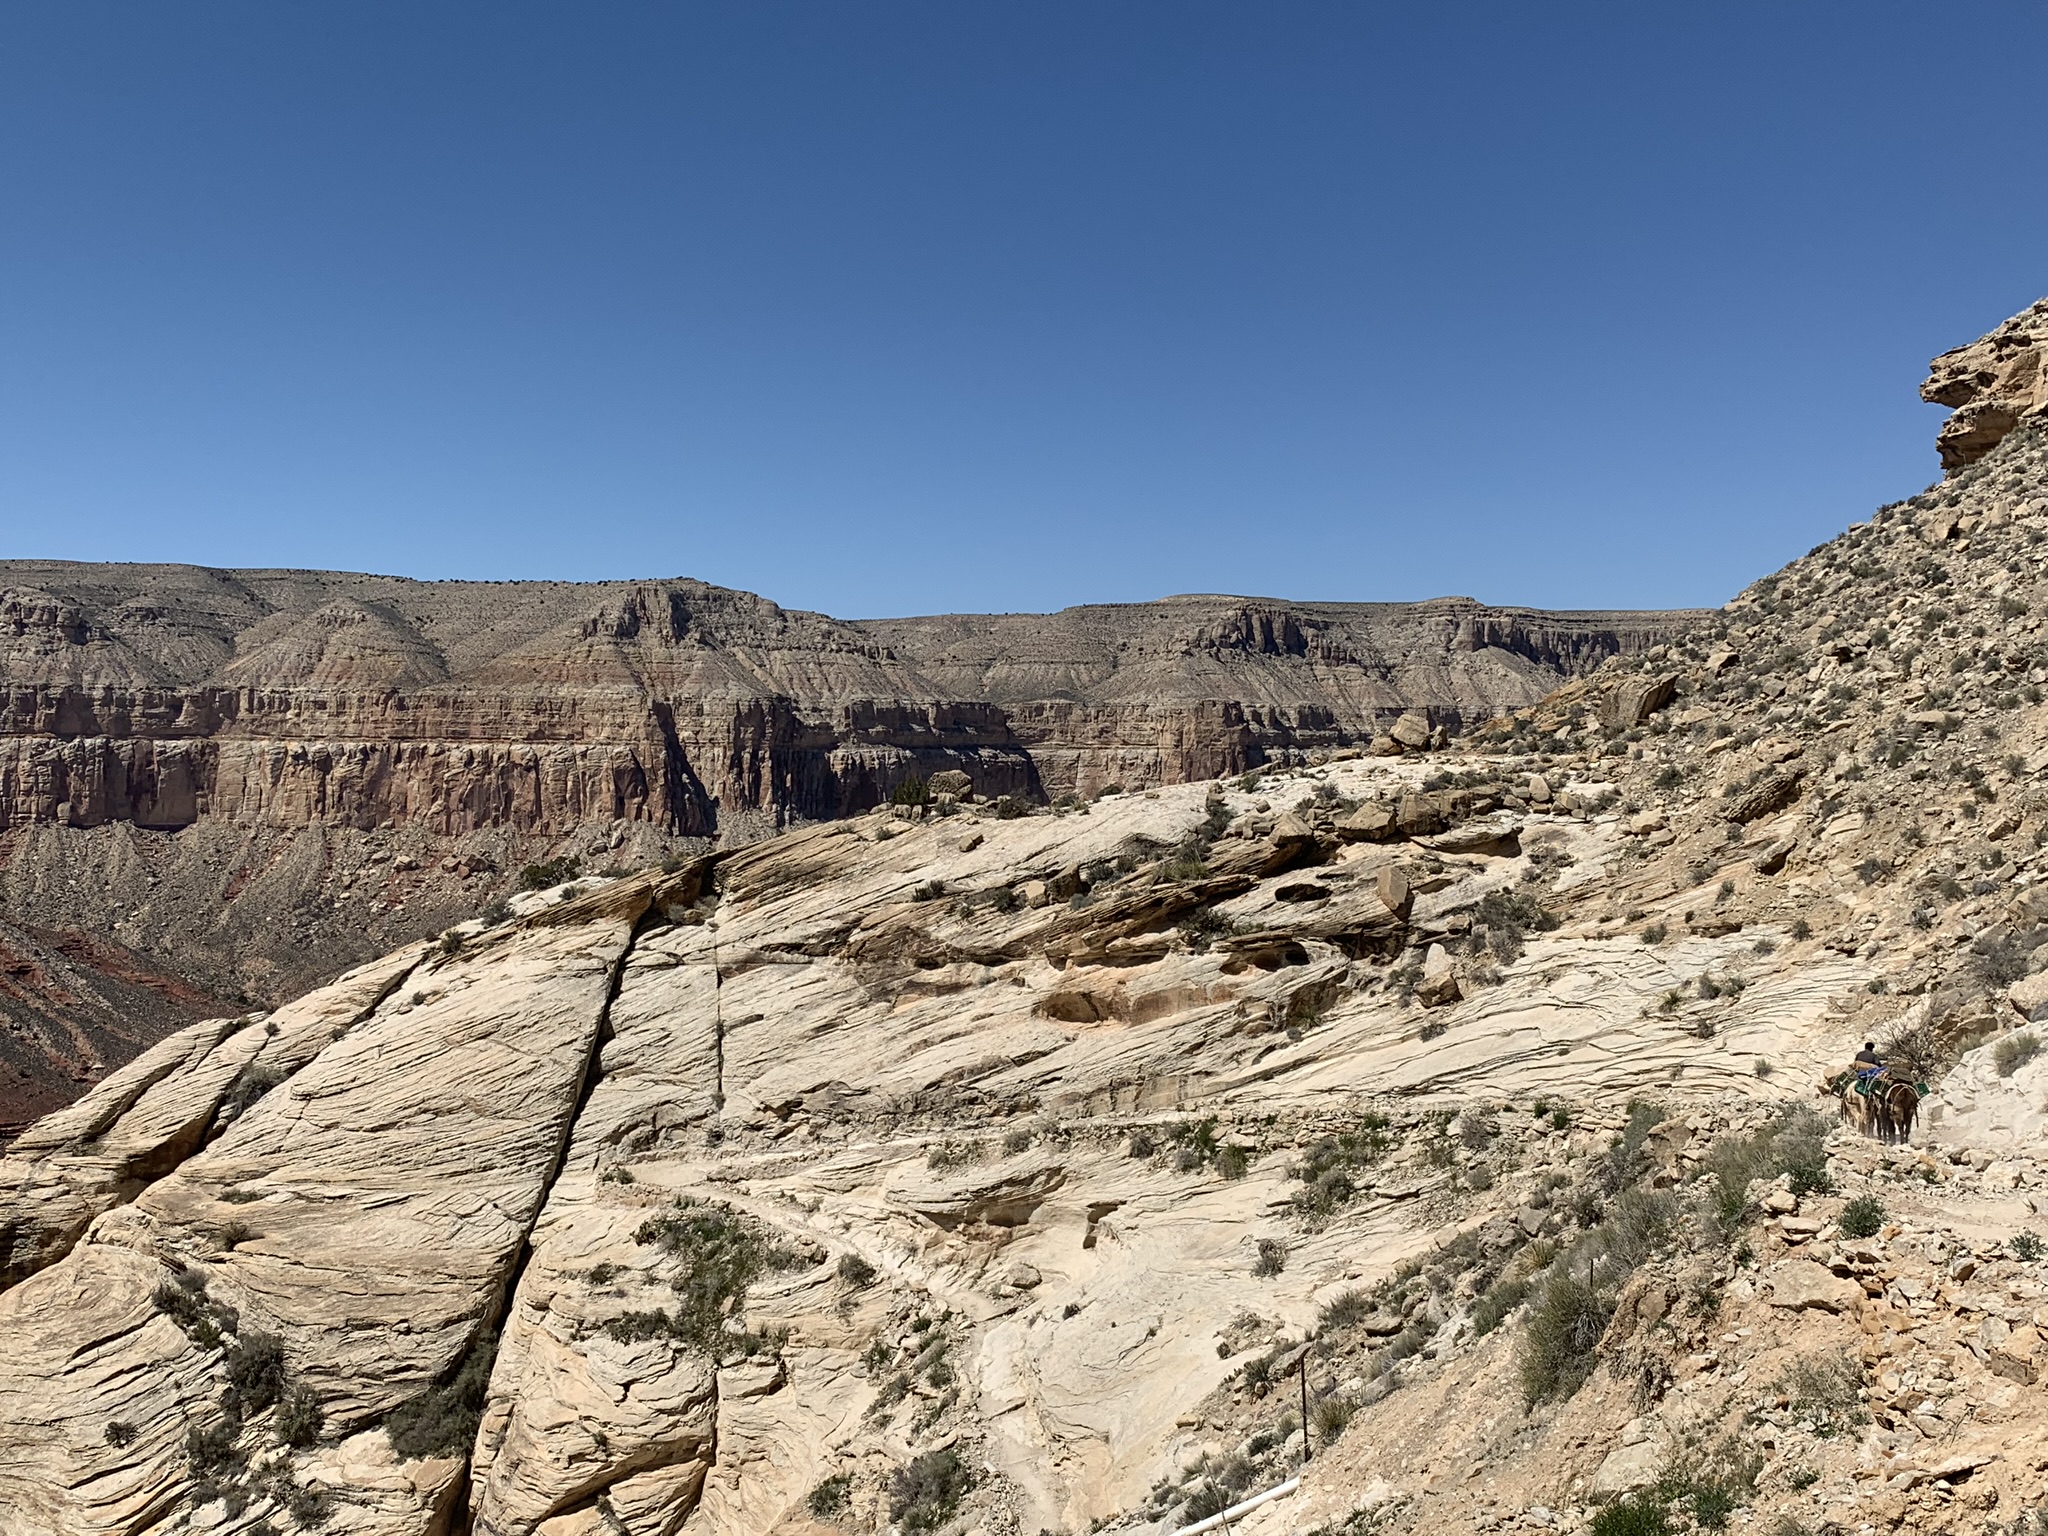
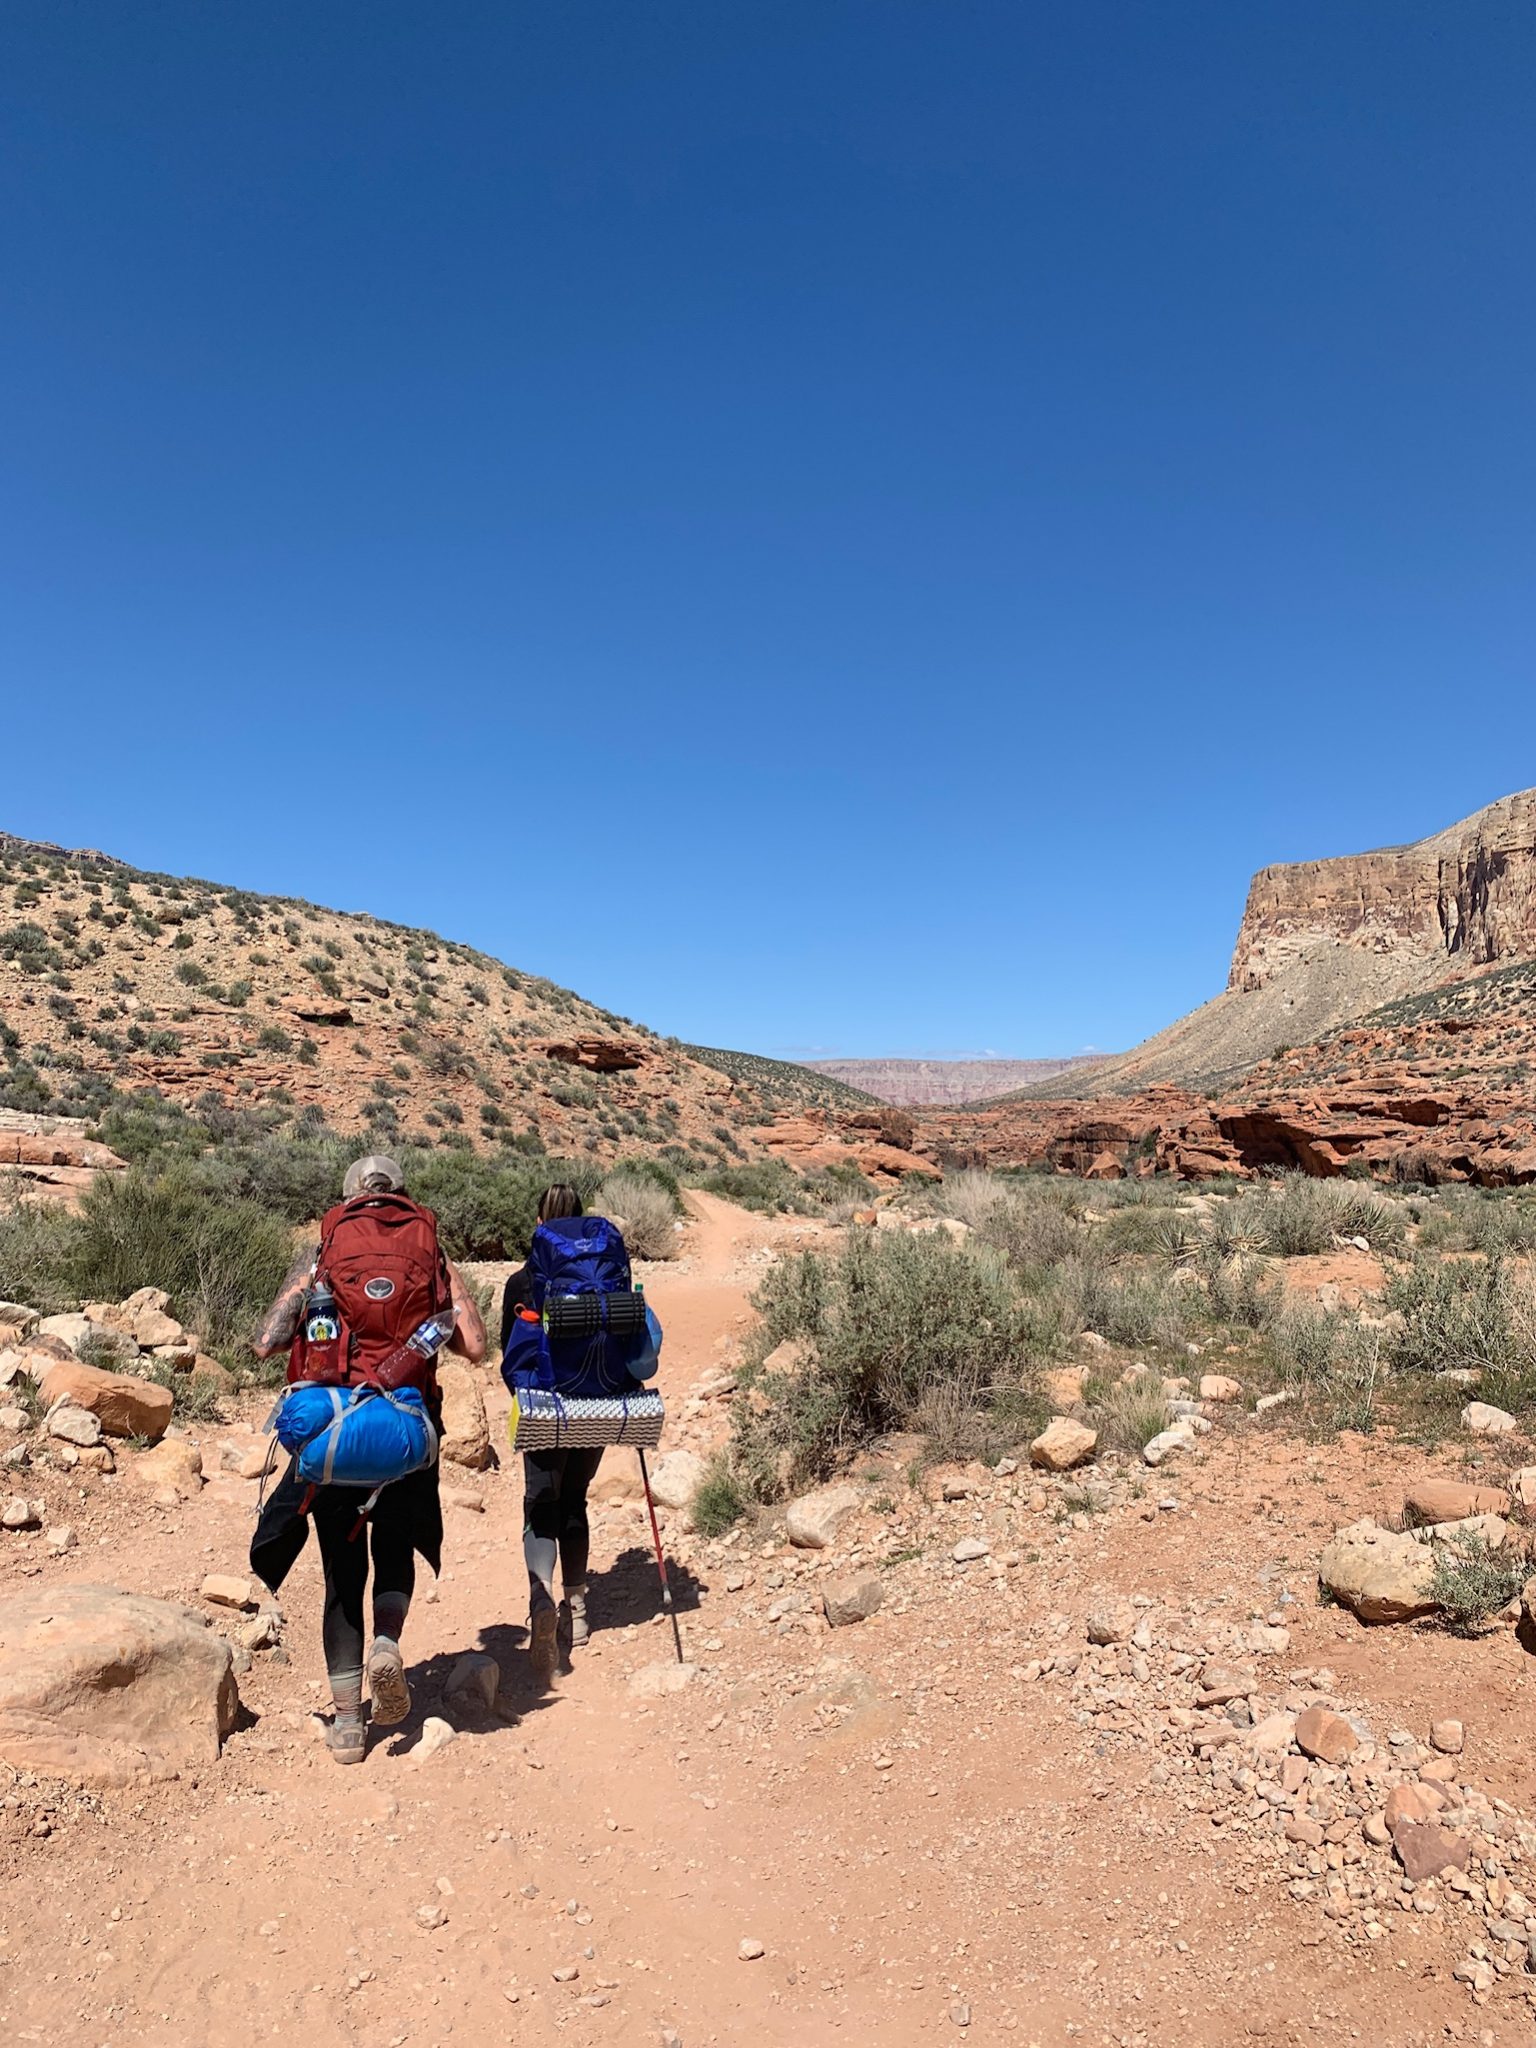
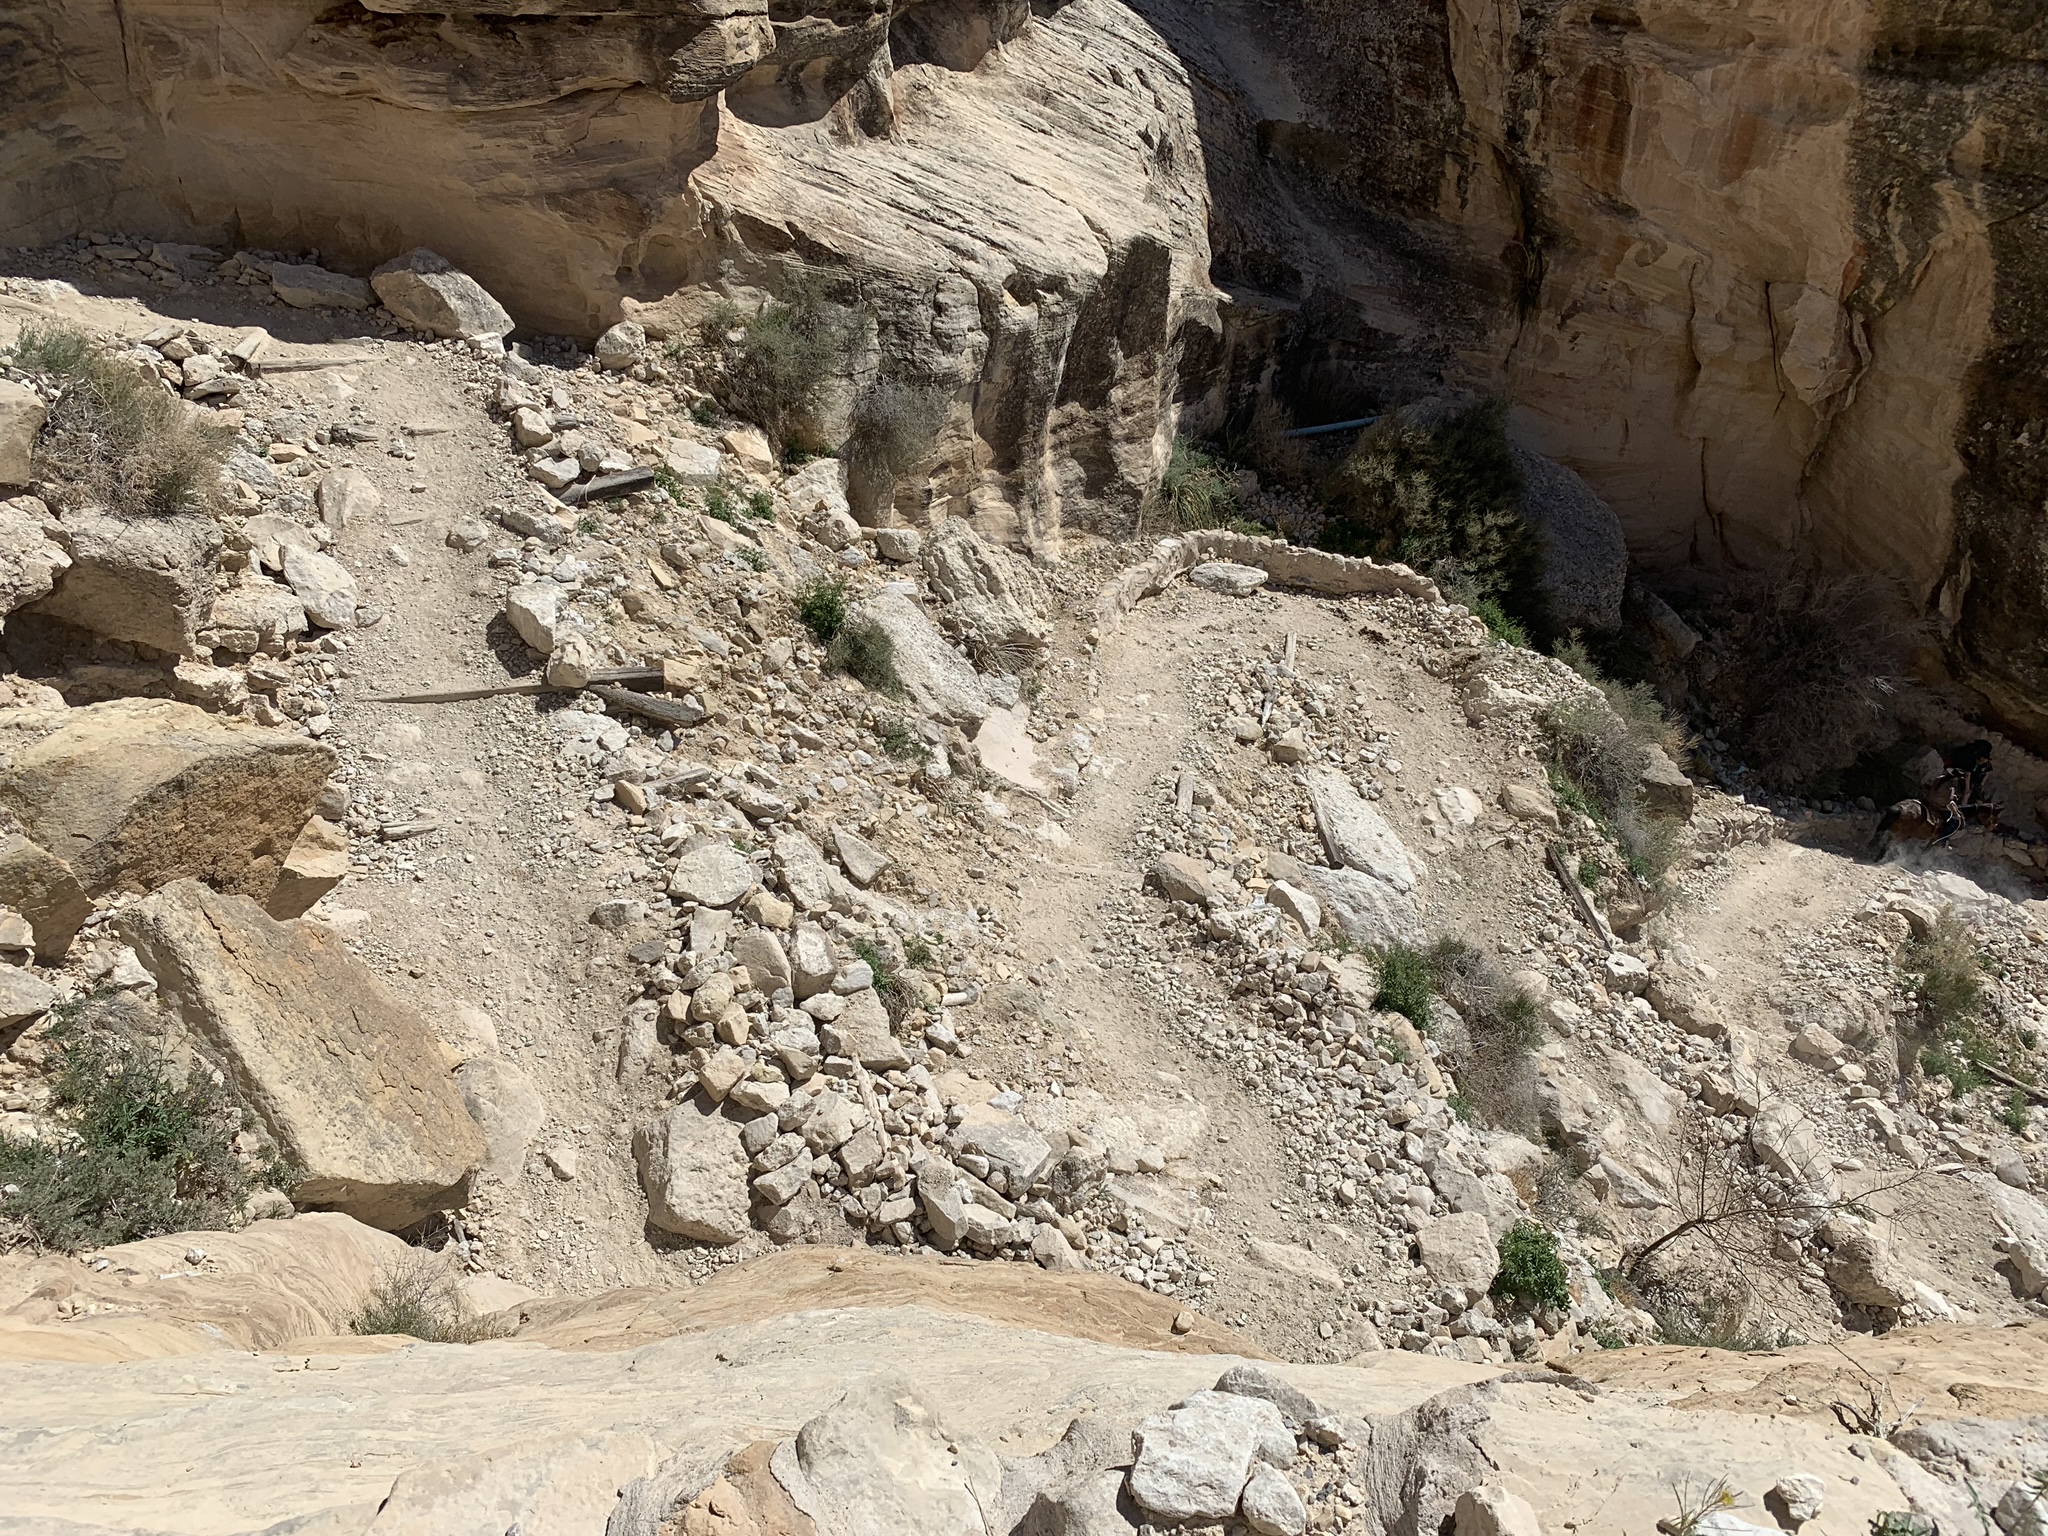
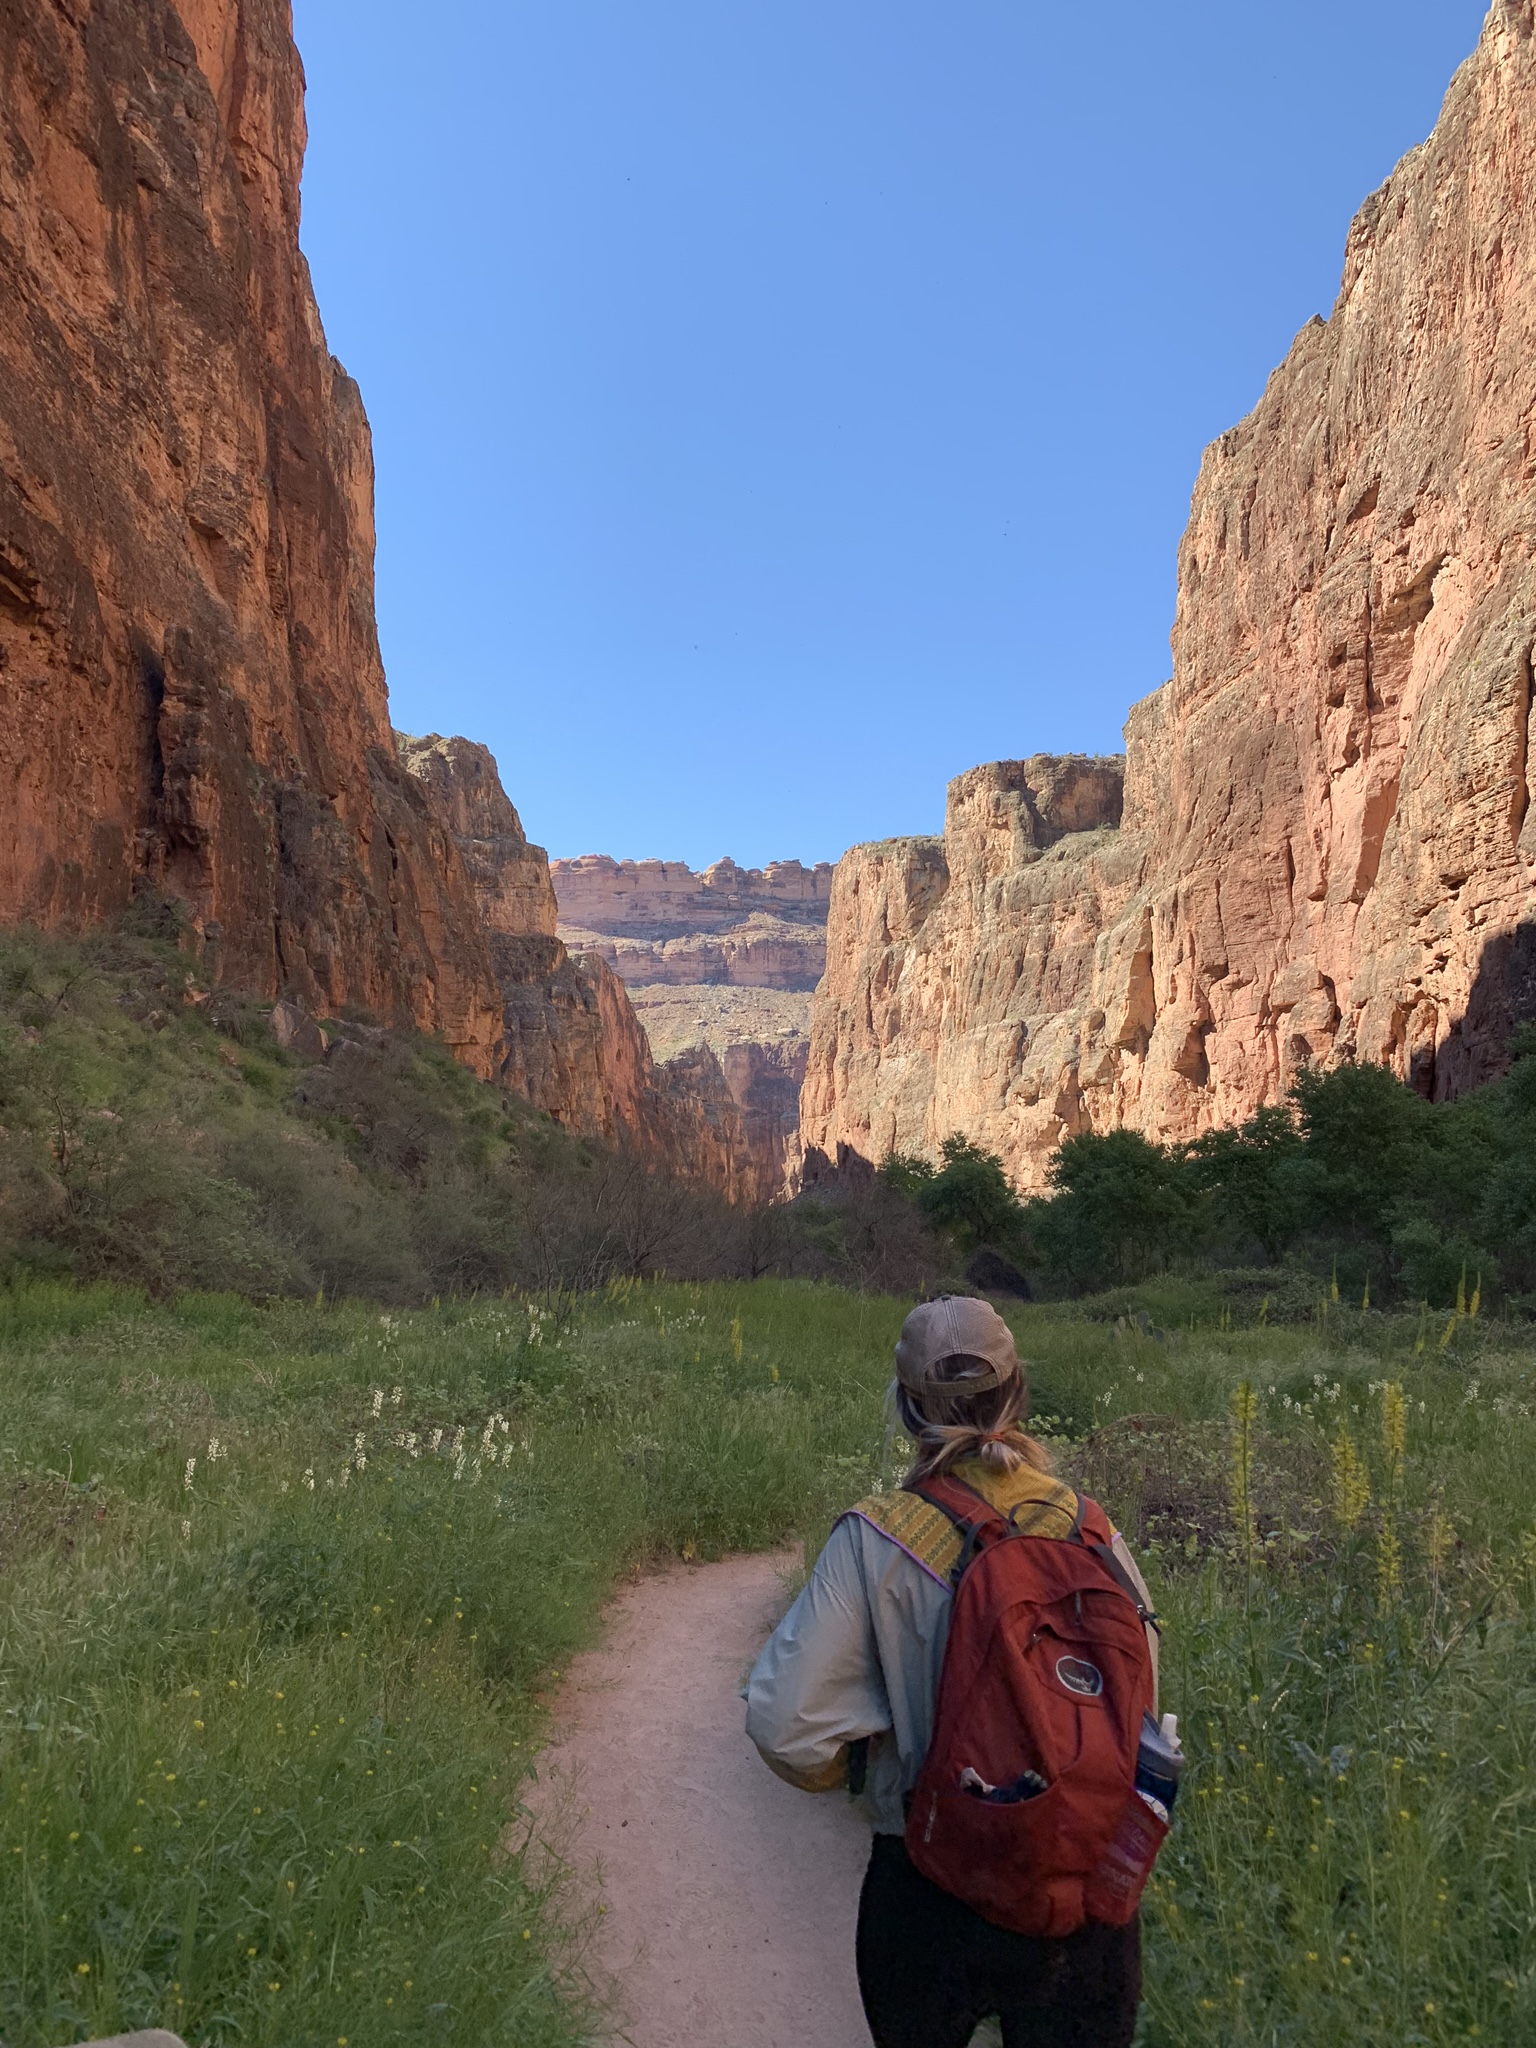
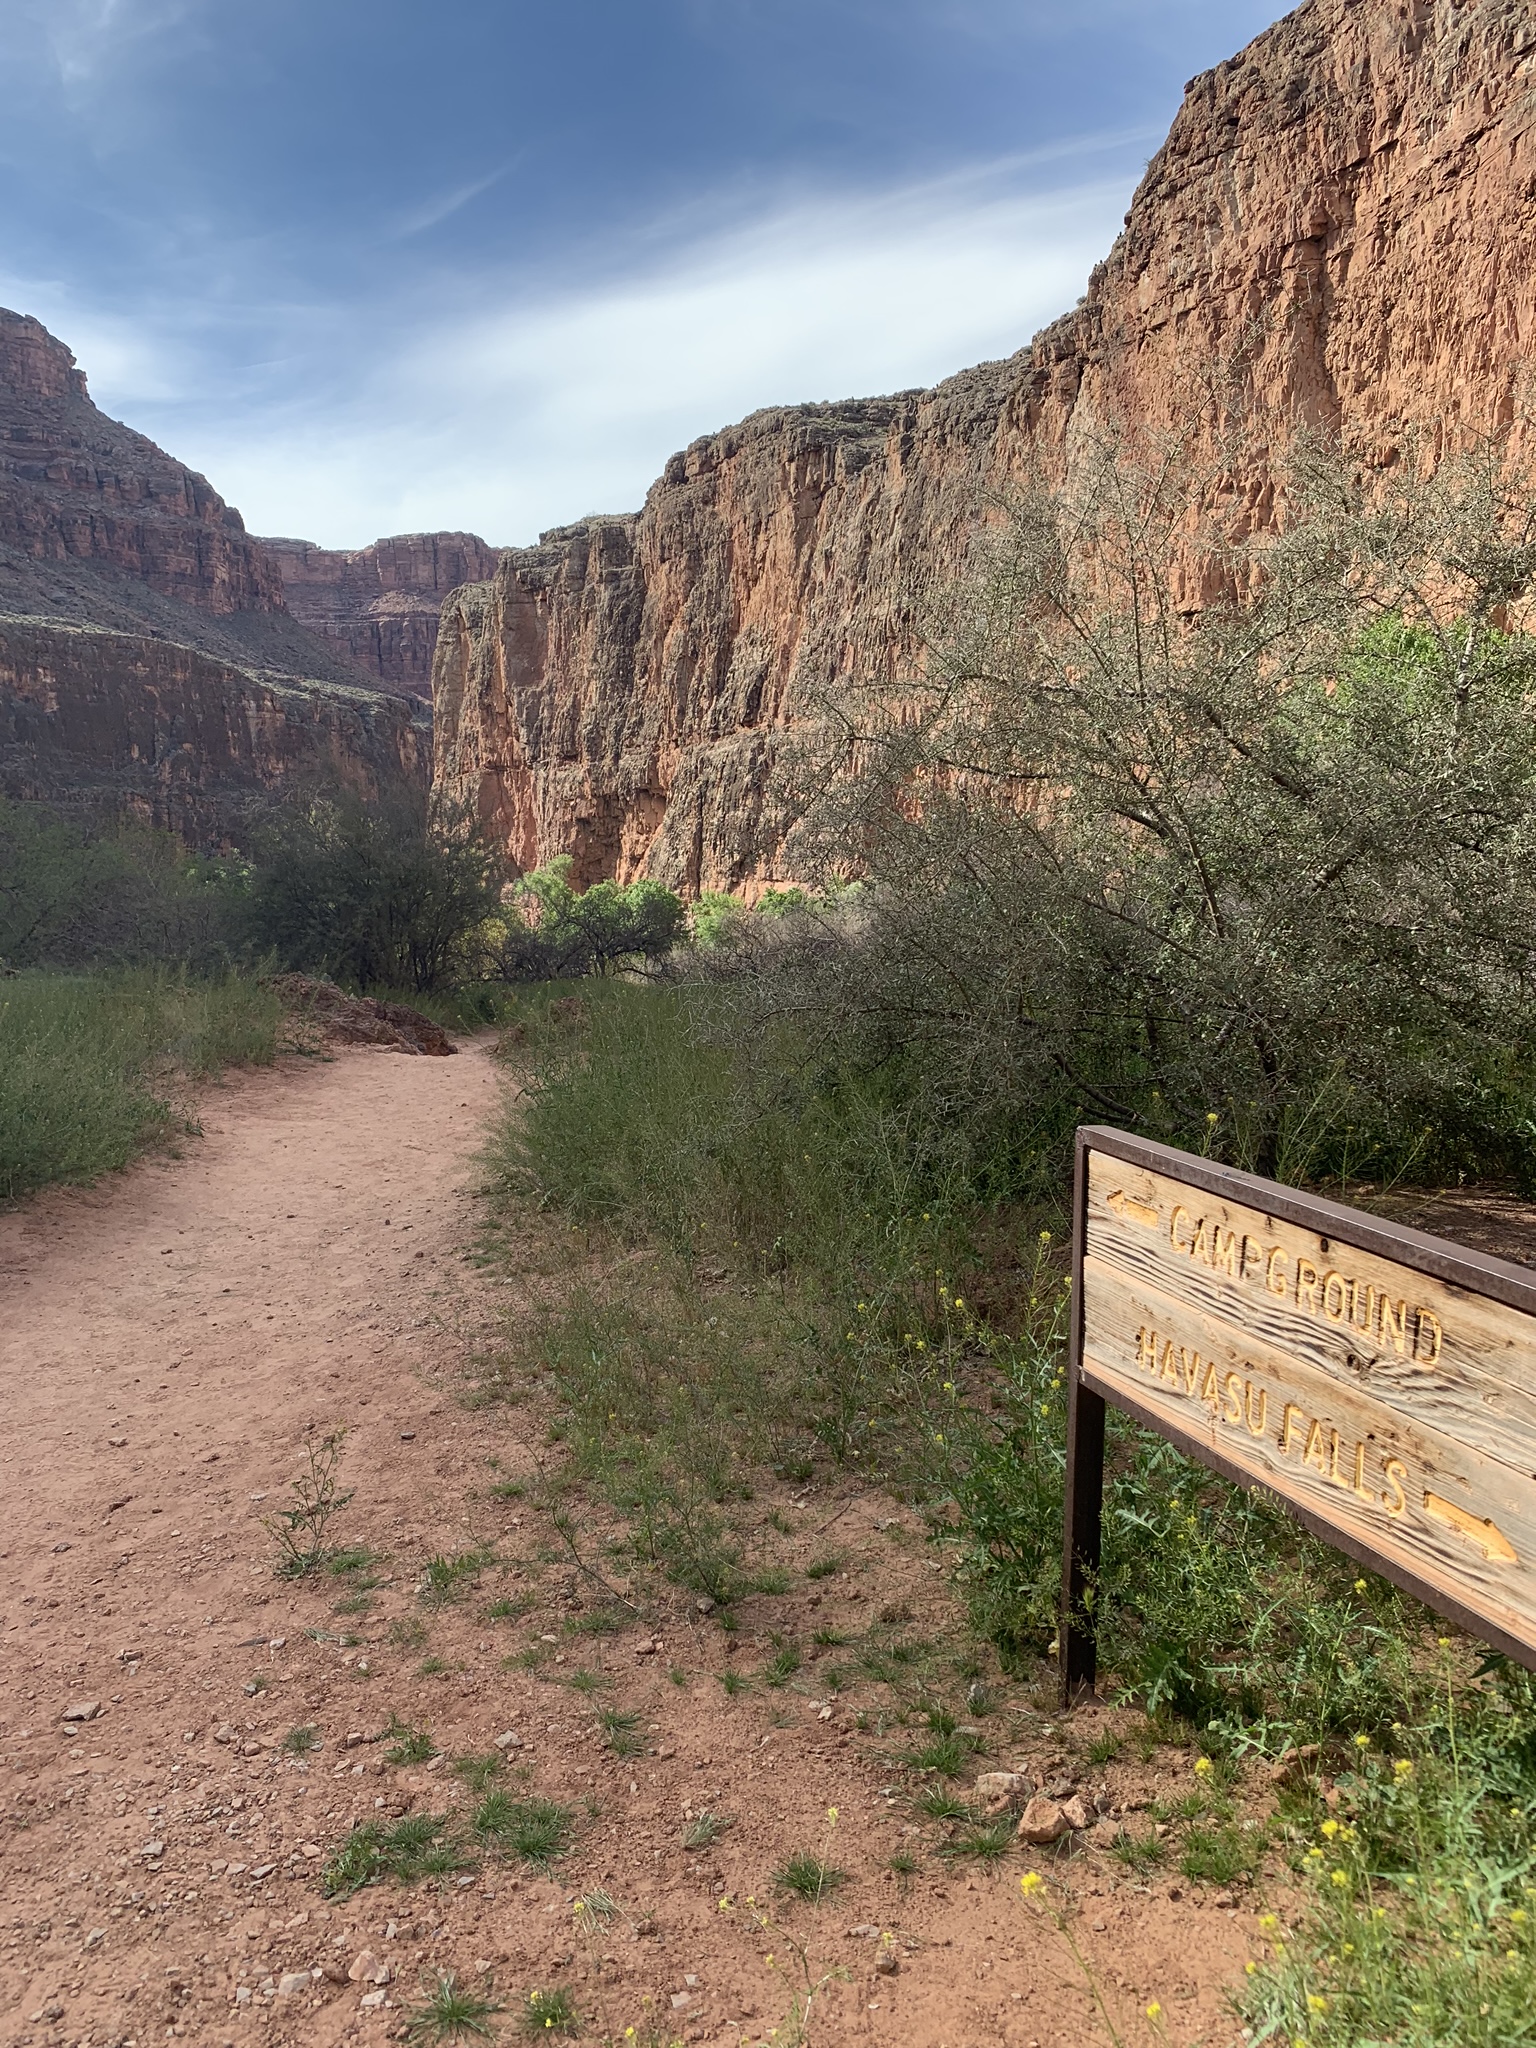
This hike is interesting since you are hiking mostly downhill on the way in and then uphill on the way out. This means that the way back to your car will be way harder than the way to the falls. The trail starts with a series of downhill switchbacks into the canyon. Once you get down in the canyon, the hike is mostly flat, with the only annoying part being the loose gravel you have to hike on.
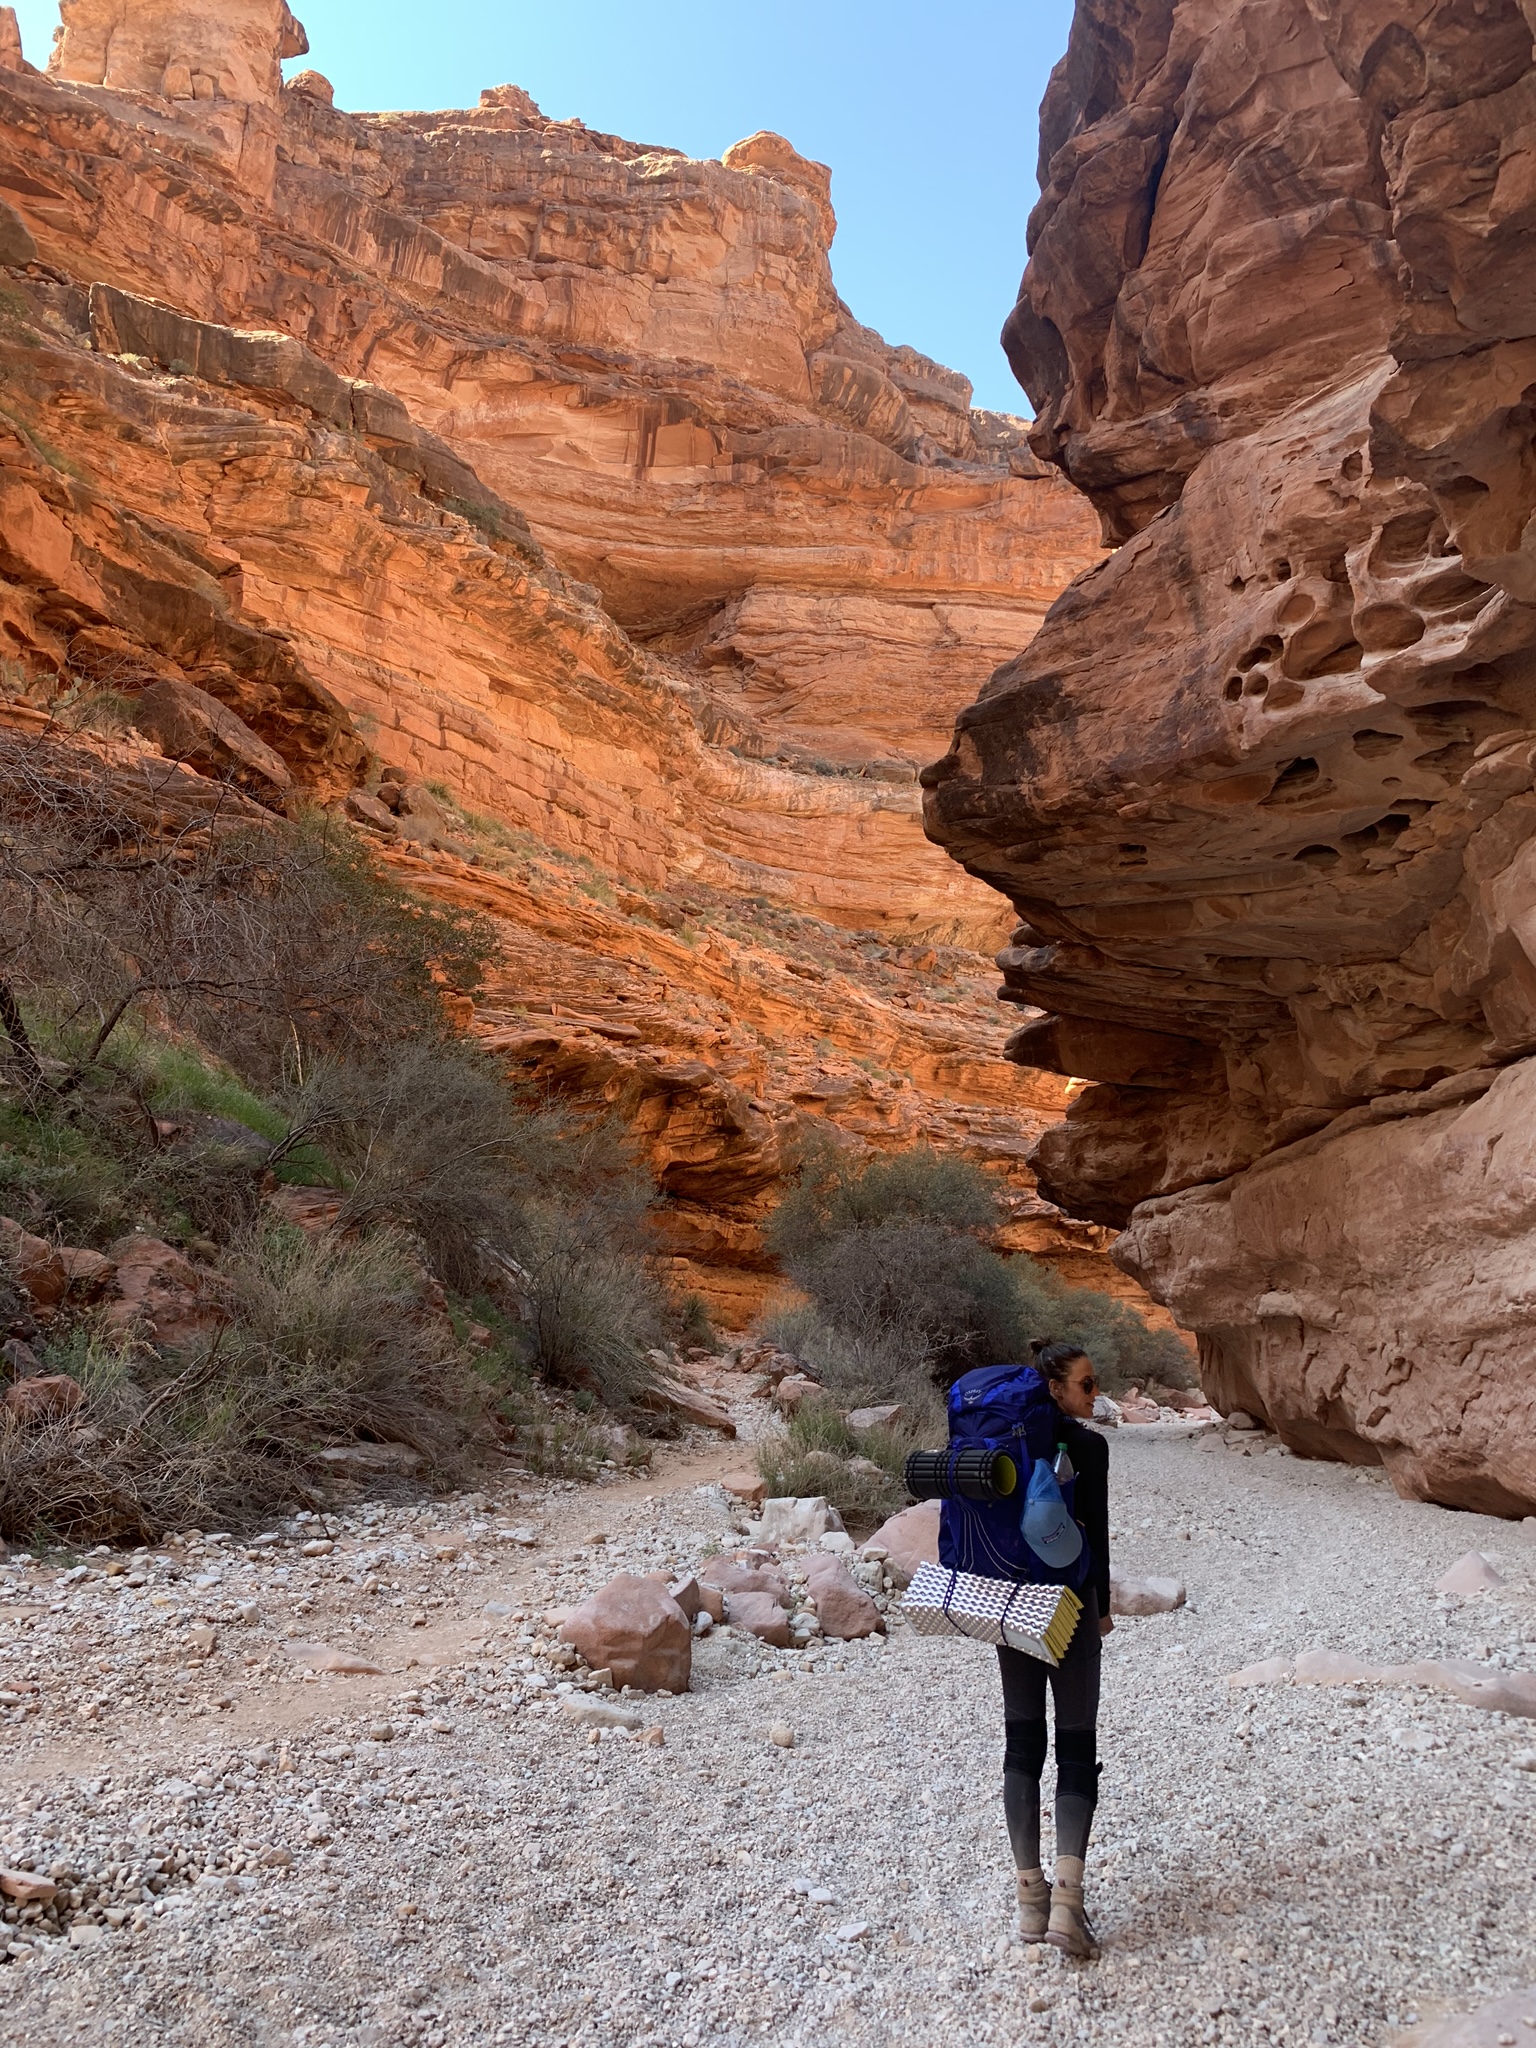
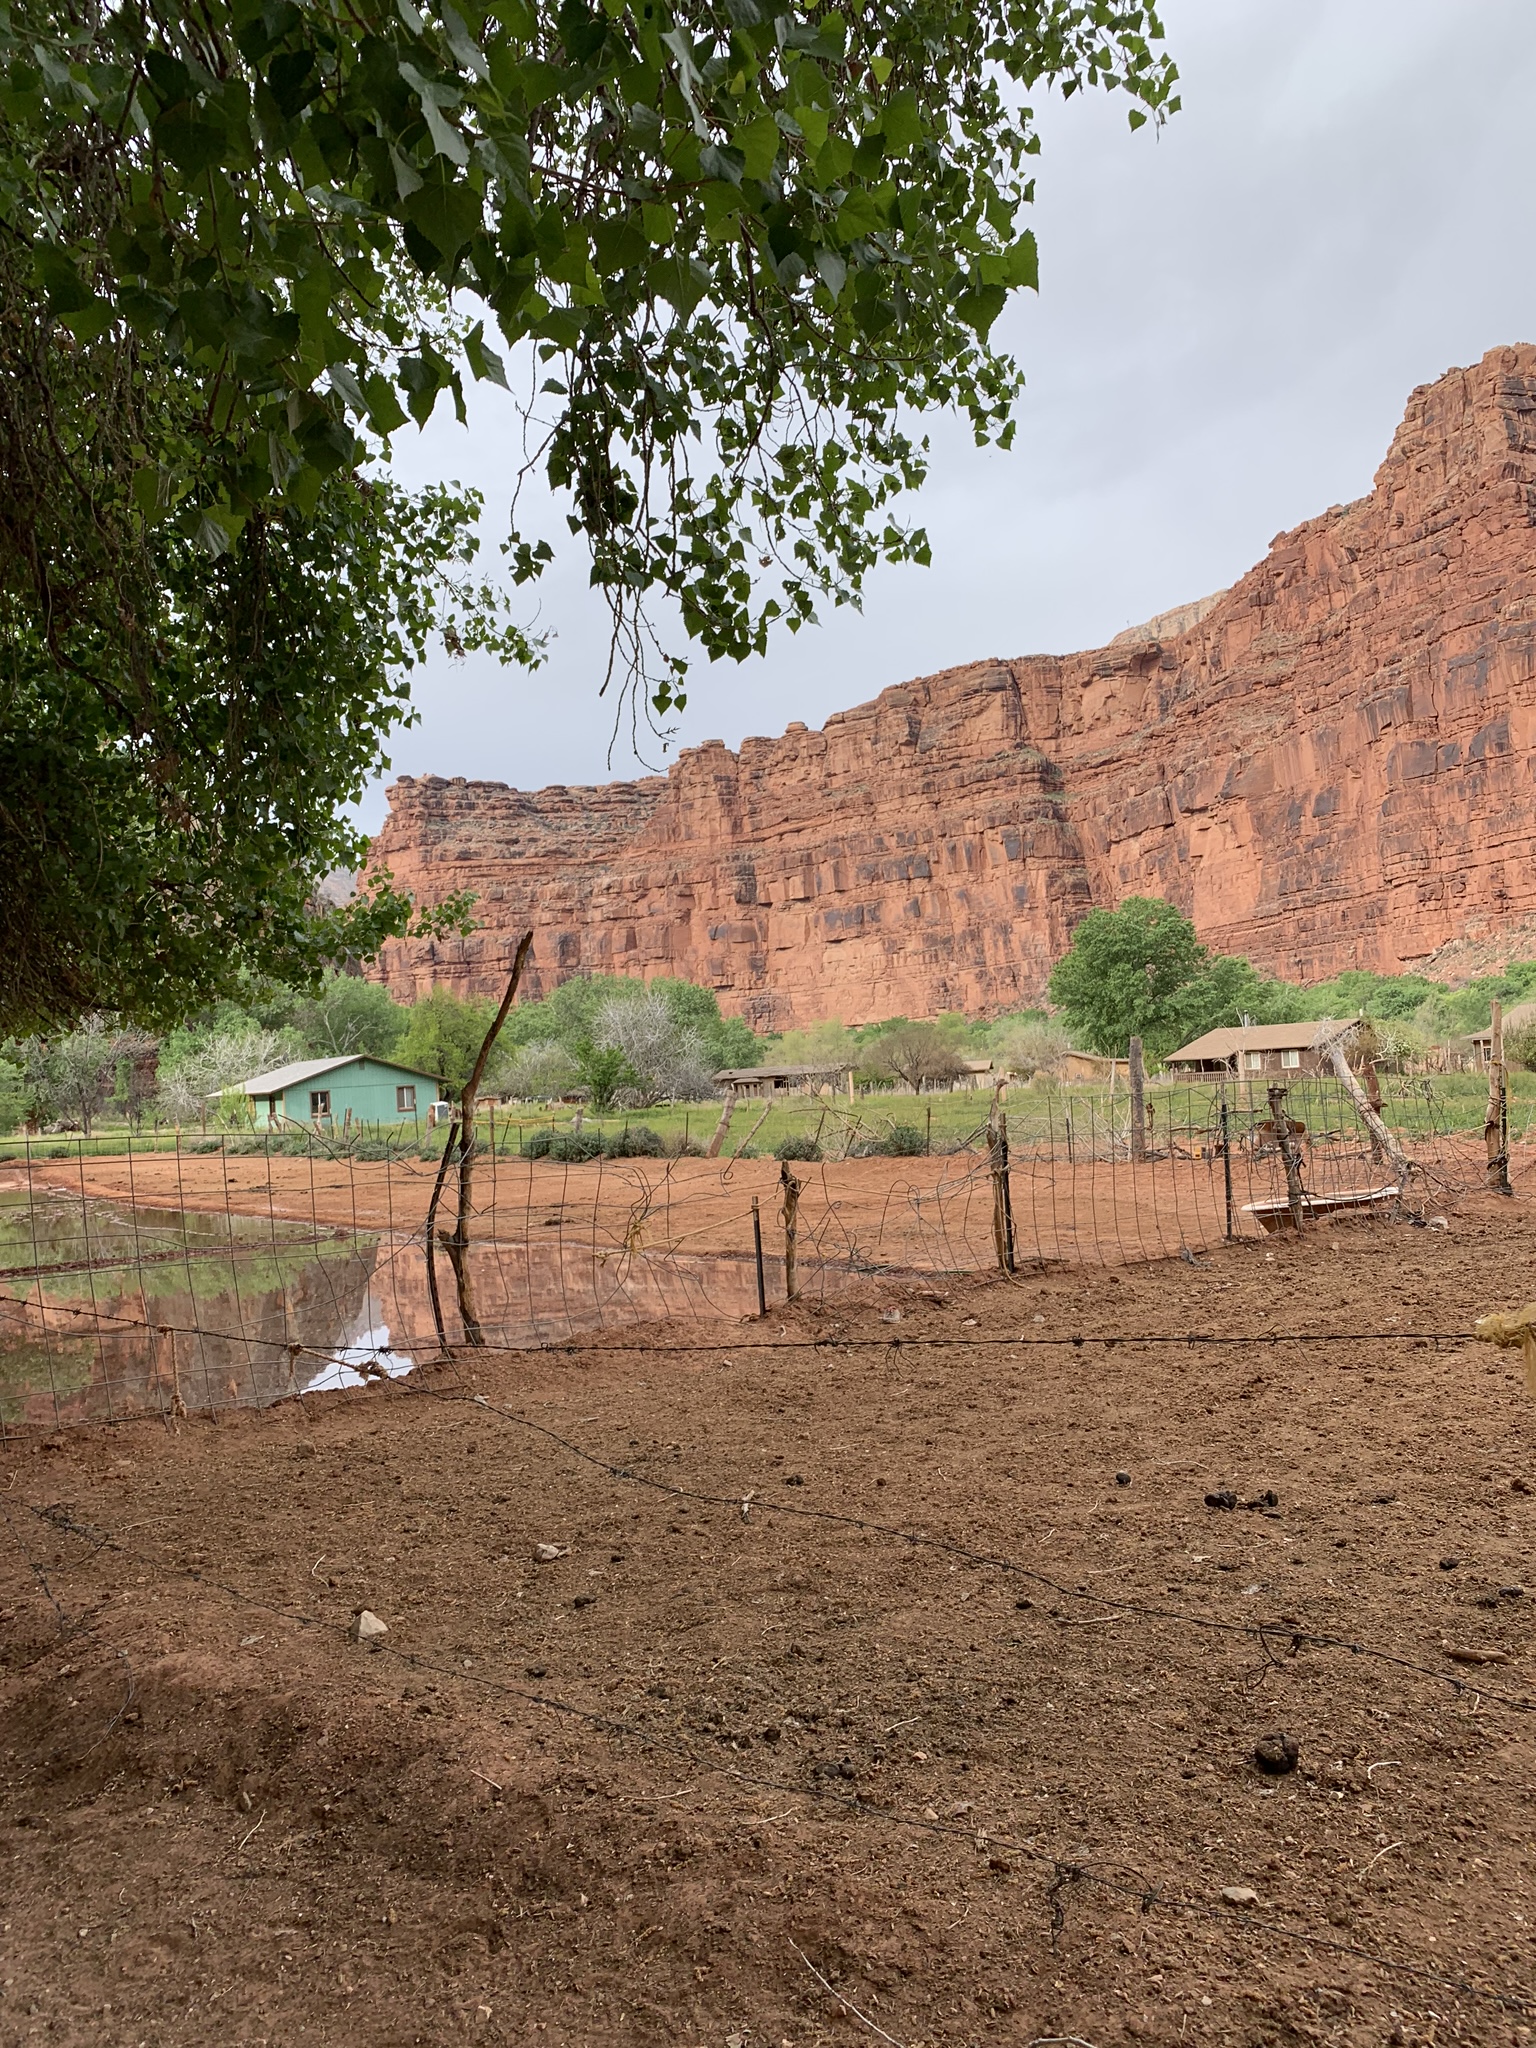
The views are pretty incredible, with high red canyon walls surrounding the pathway. Eventually you will reach Supai village where you’ll find houses, horses, two small stores and a school. Here you can pick up any last minute snacks. We bought ice cream.
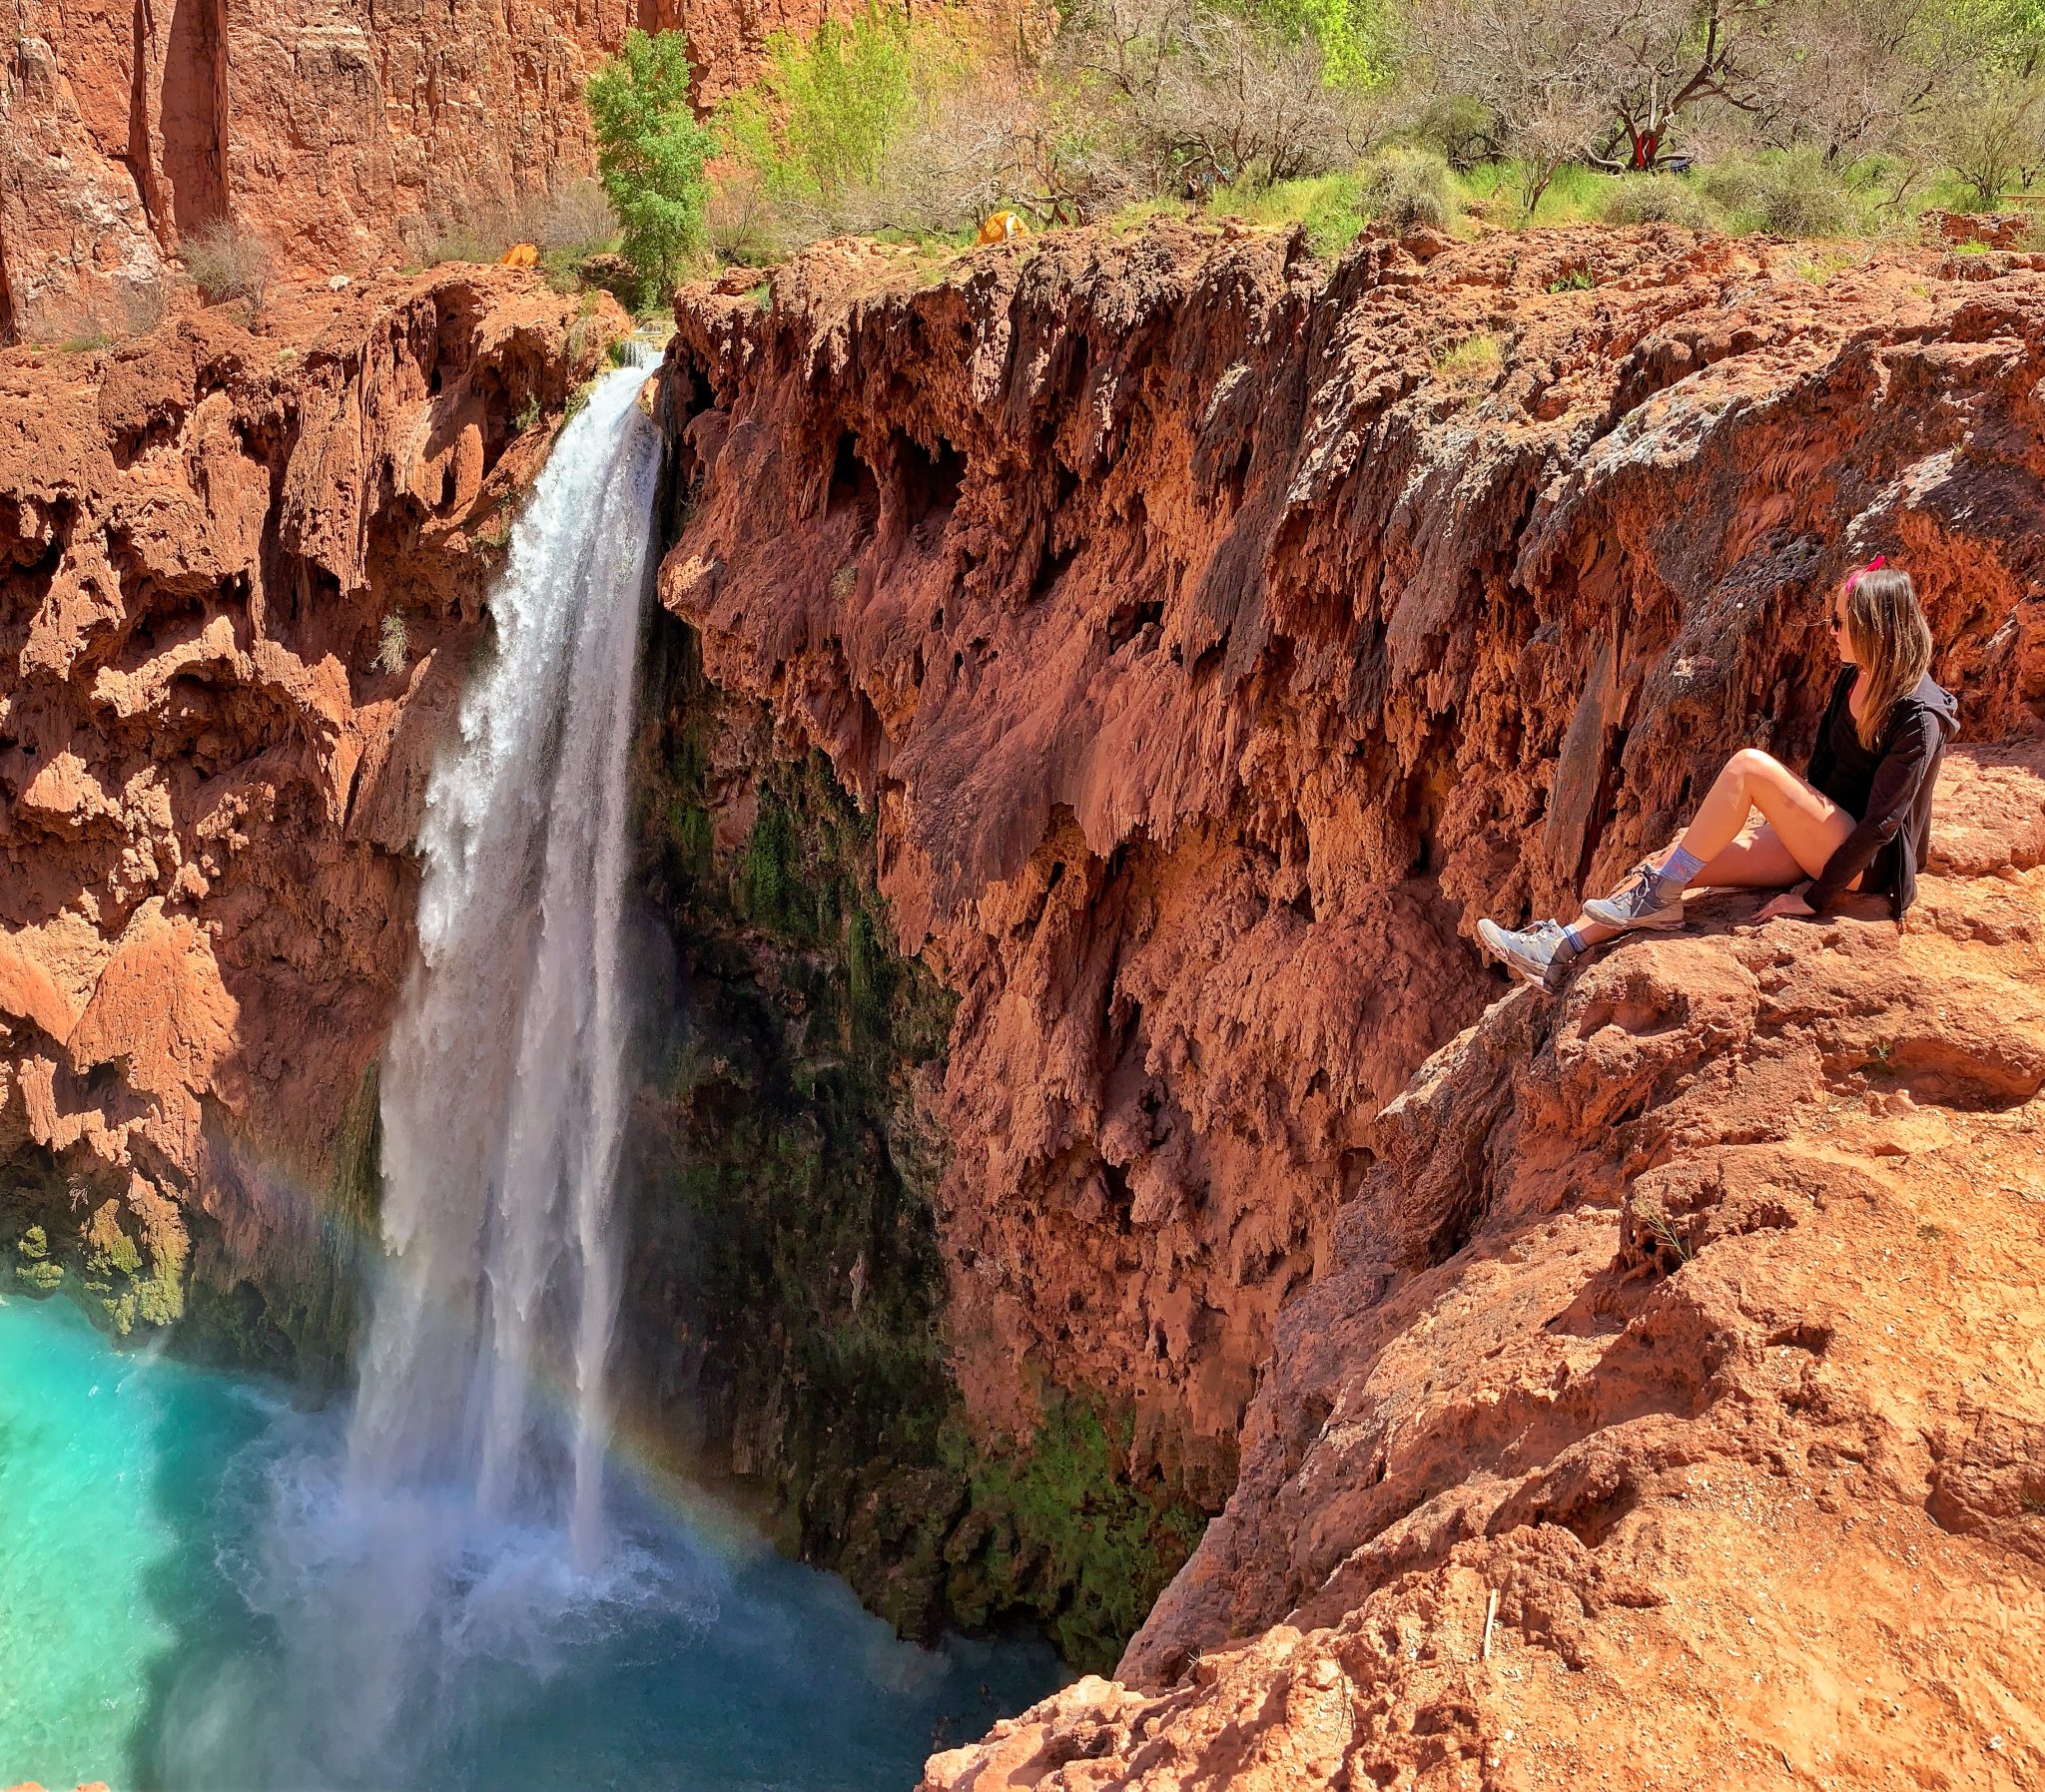
Then, continue two more miles to reach the campground and the first waterfall (Havasu Fall). Our first day in, we set up camp here and relaxed. We did have 3 nights after all.
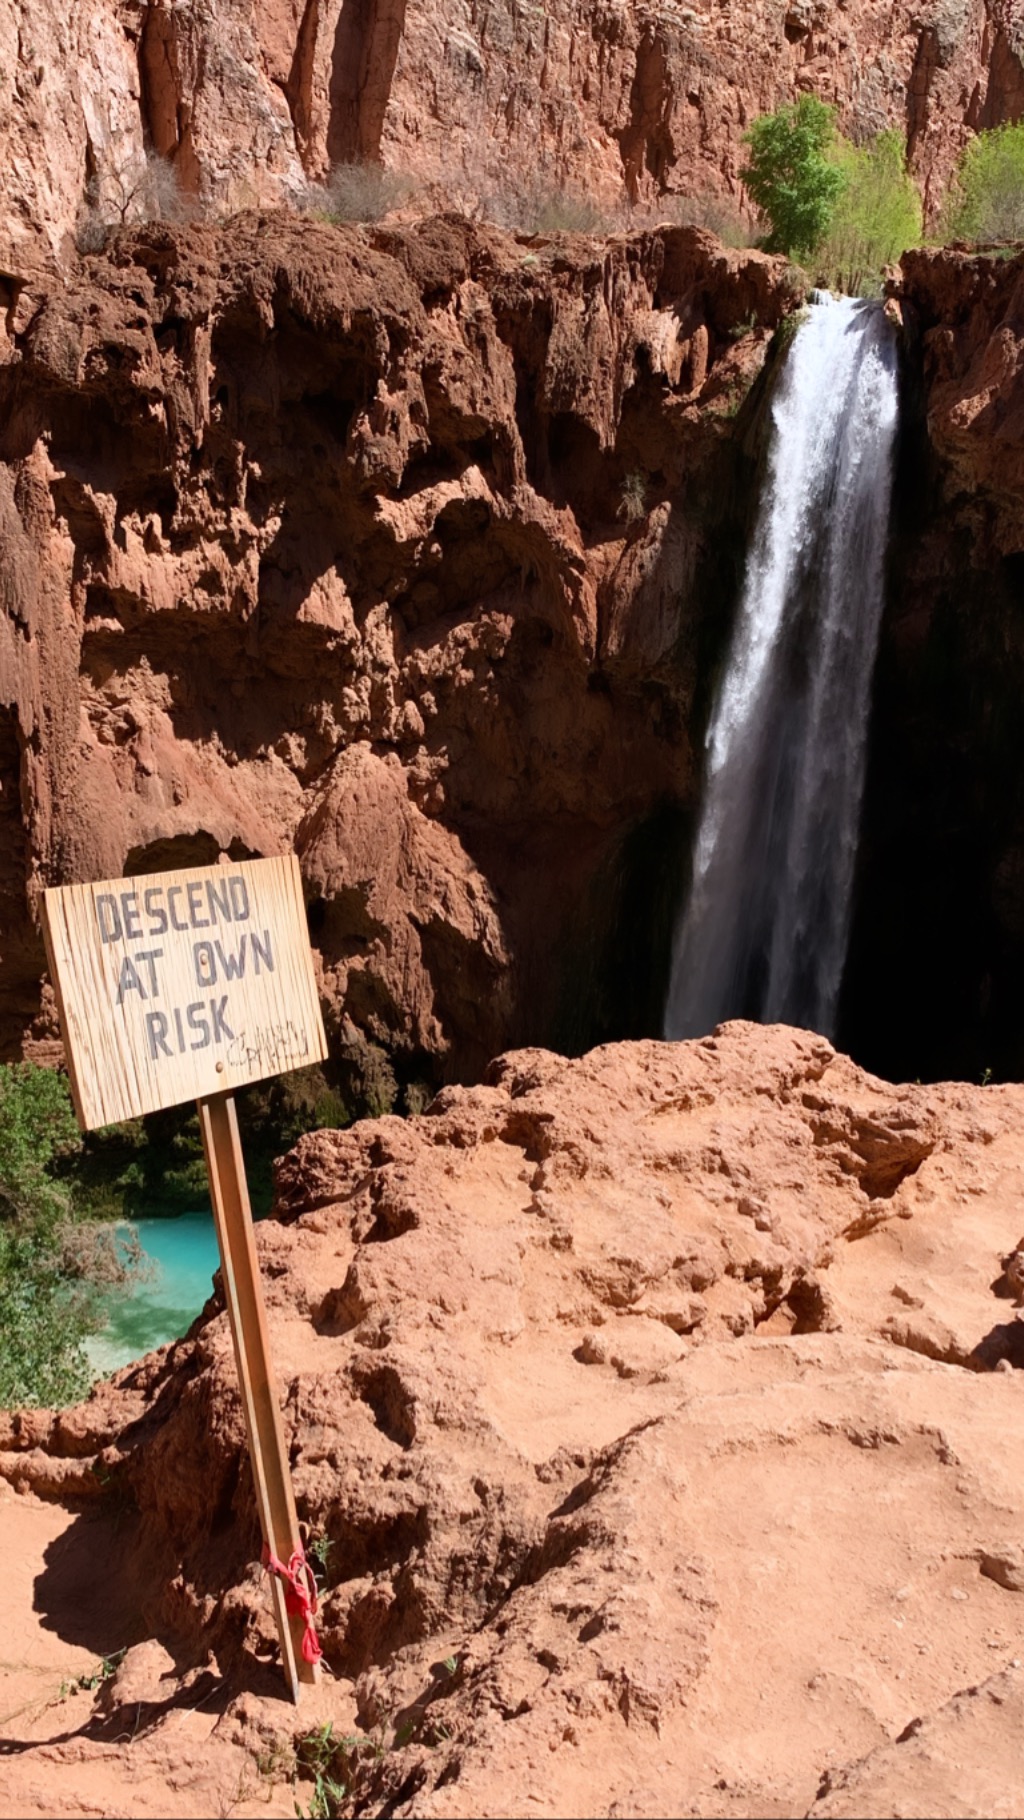
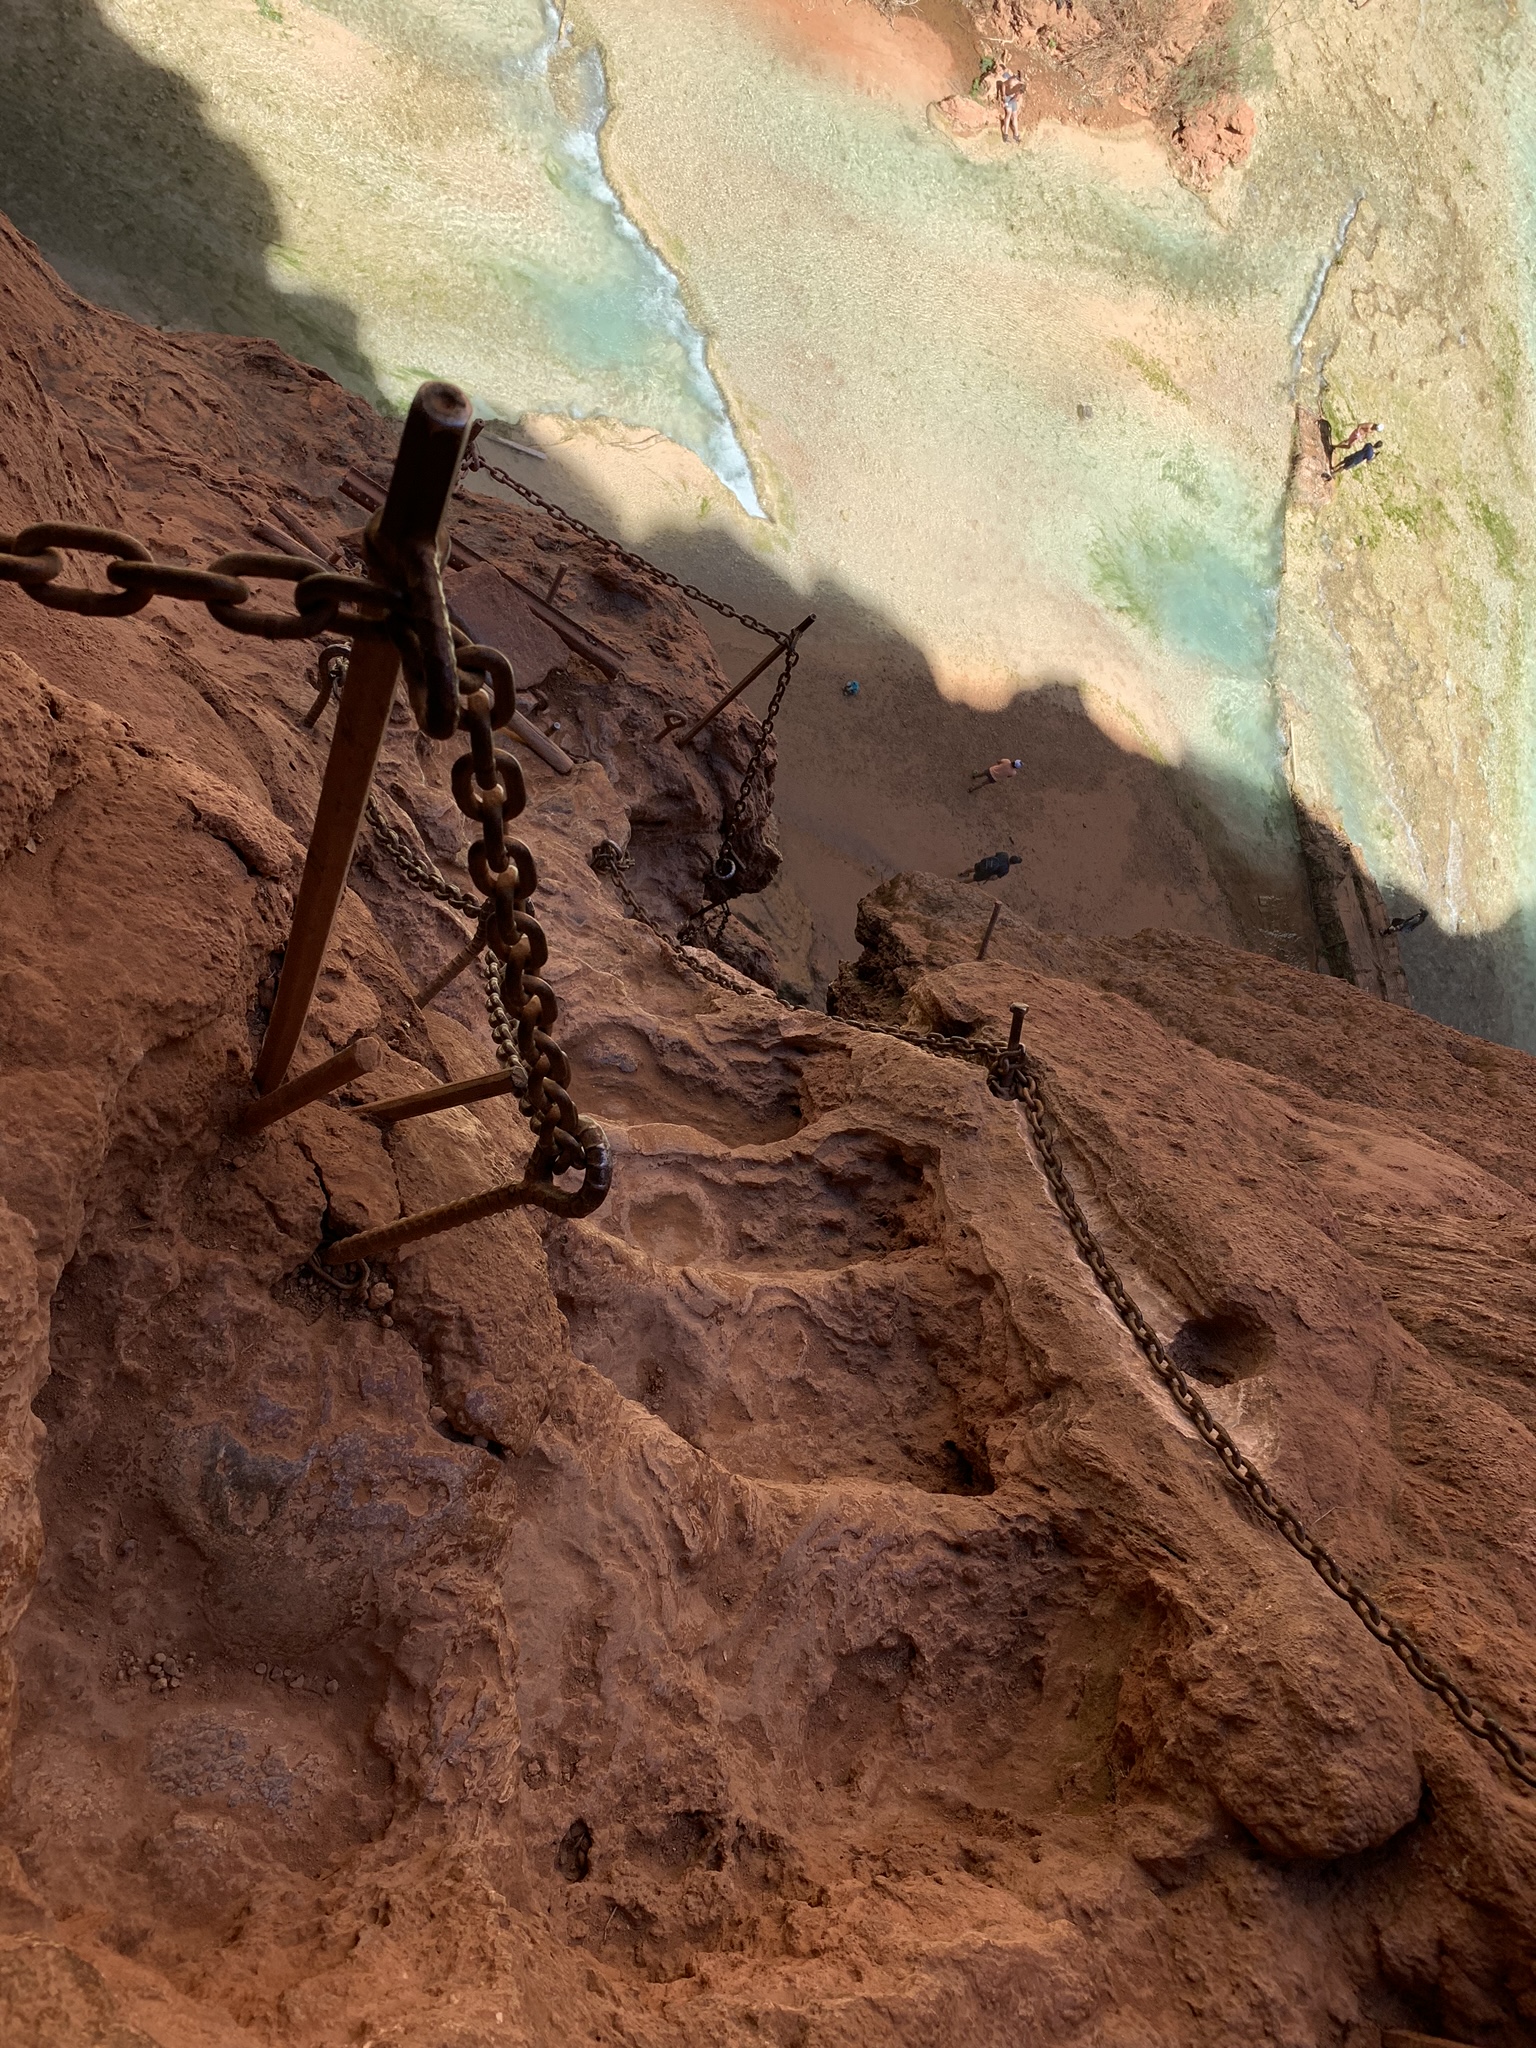
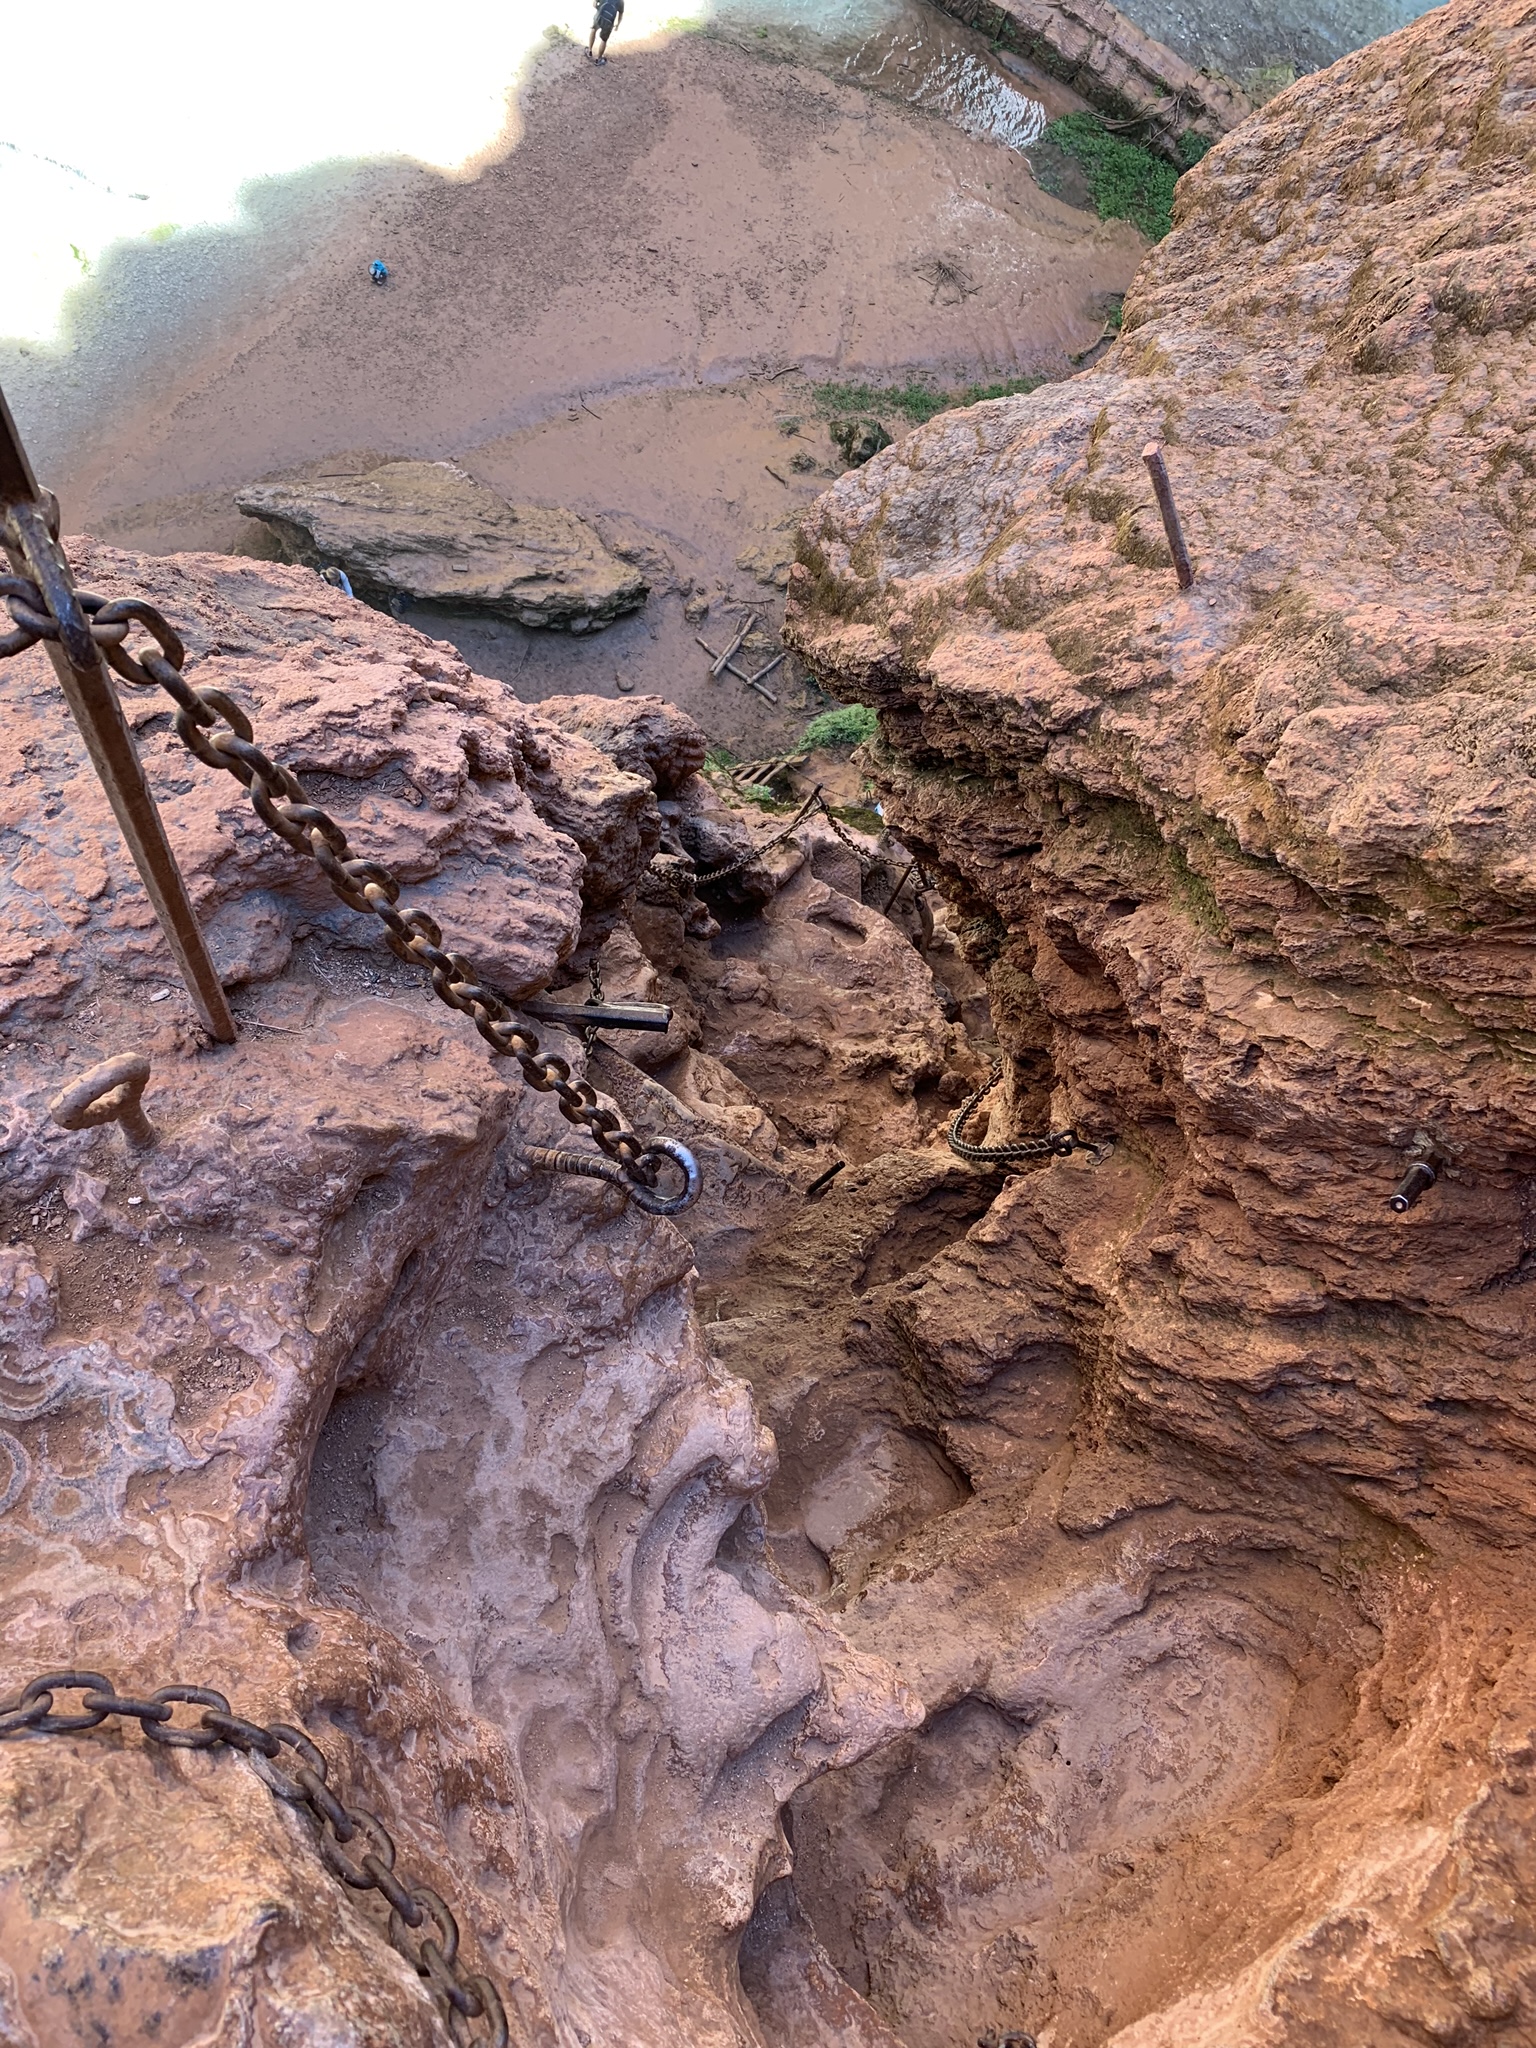
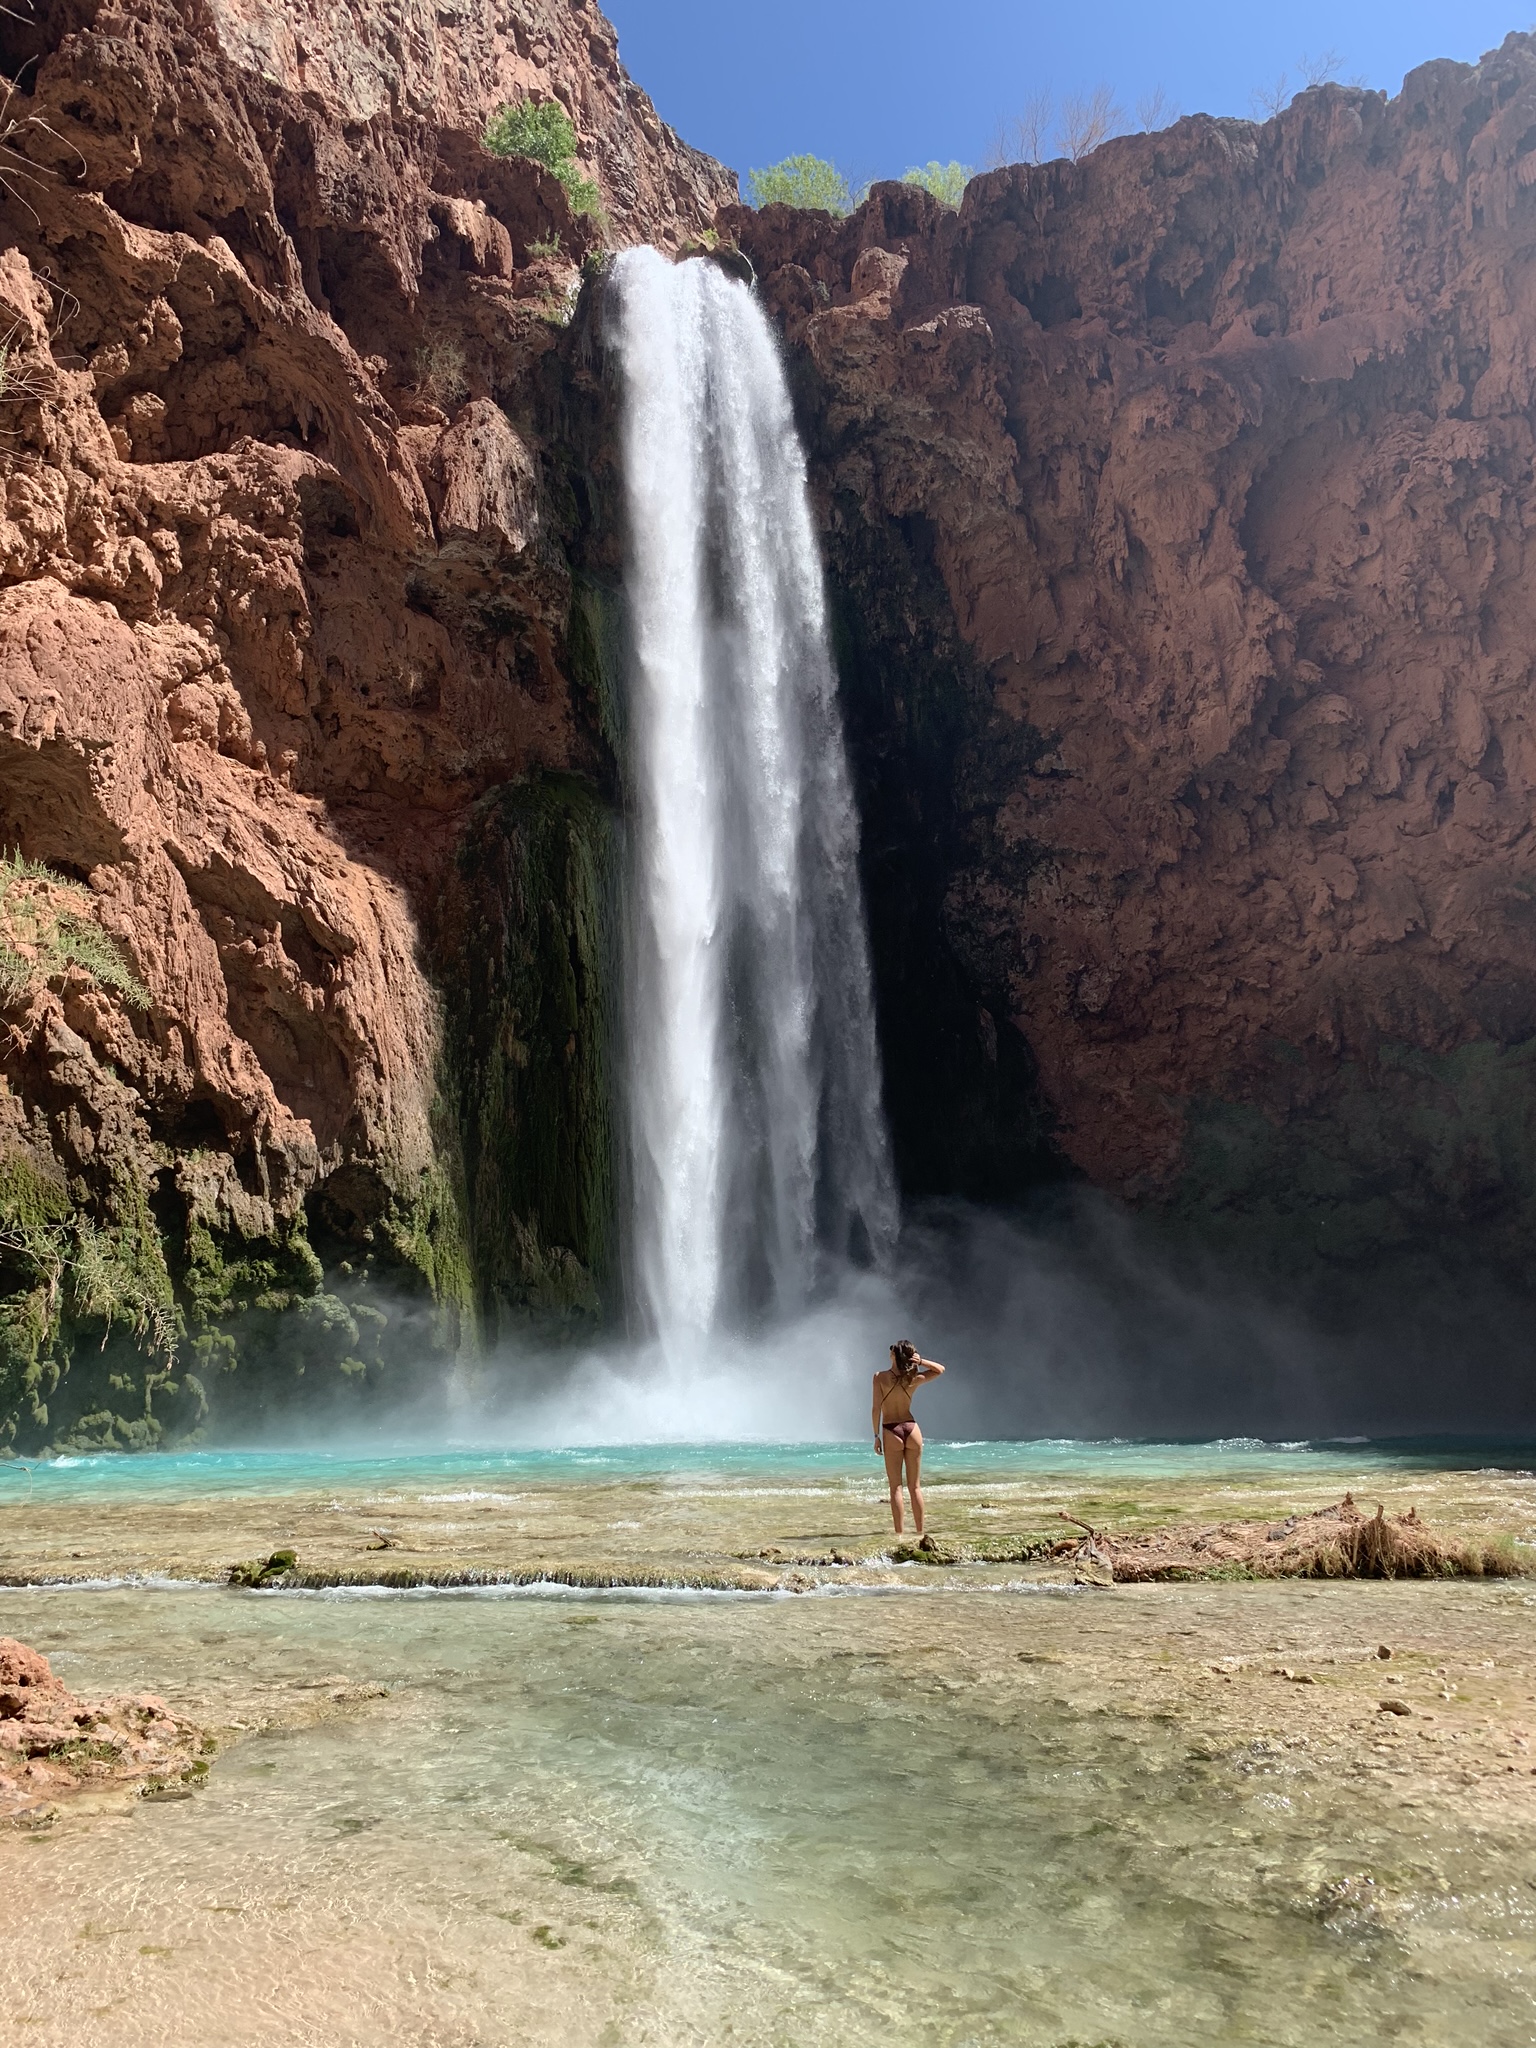
On day two, we hiked to Mooney Falls which was .5 miles away, but down a wet and muddy makeshift ladder. Mooney was my favorite since I appreciate a challenging entrance, and it was less crowded since a lot of people were scared of the slippery rock.
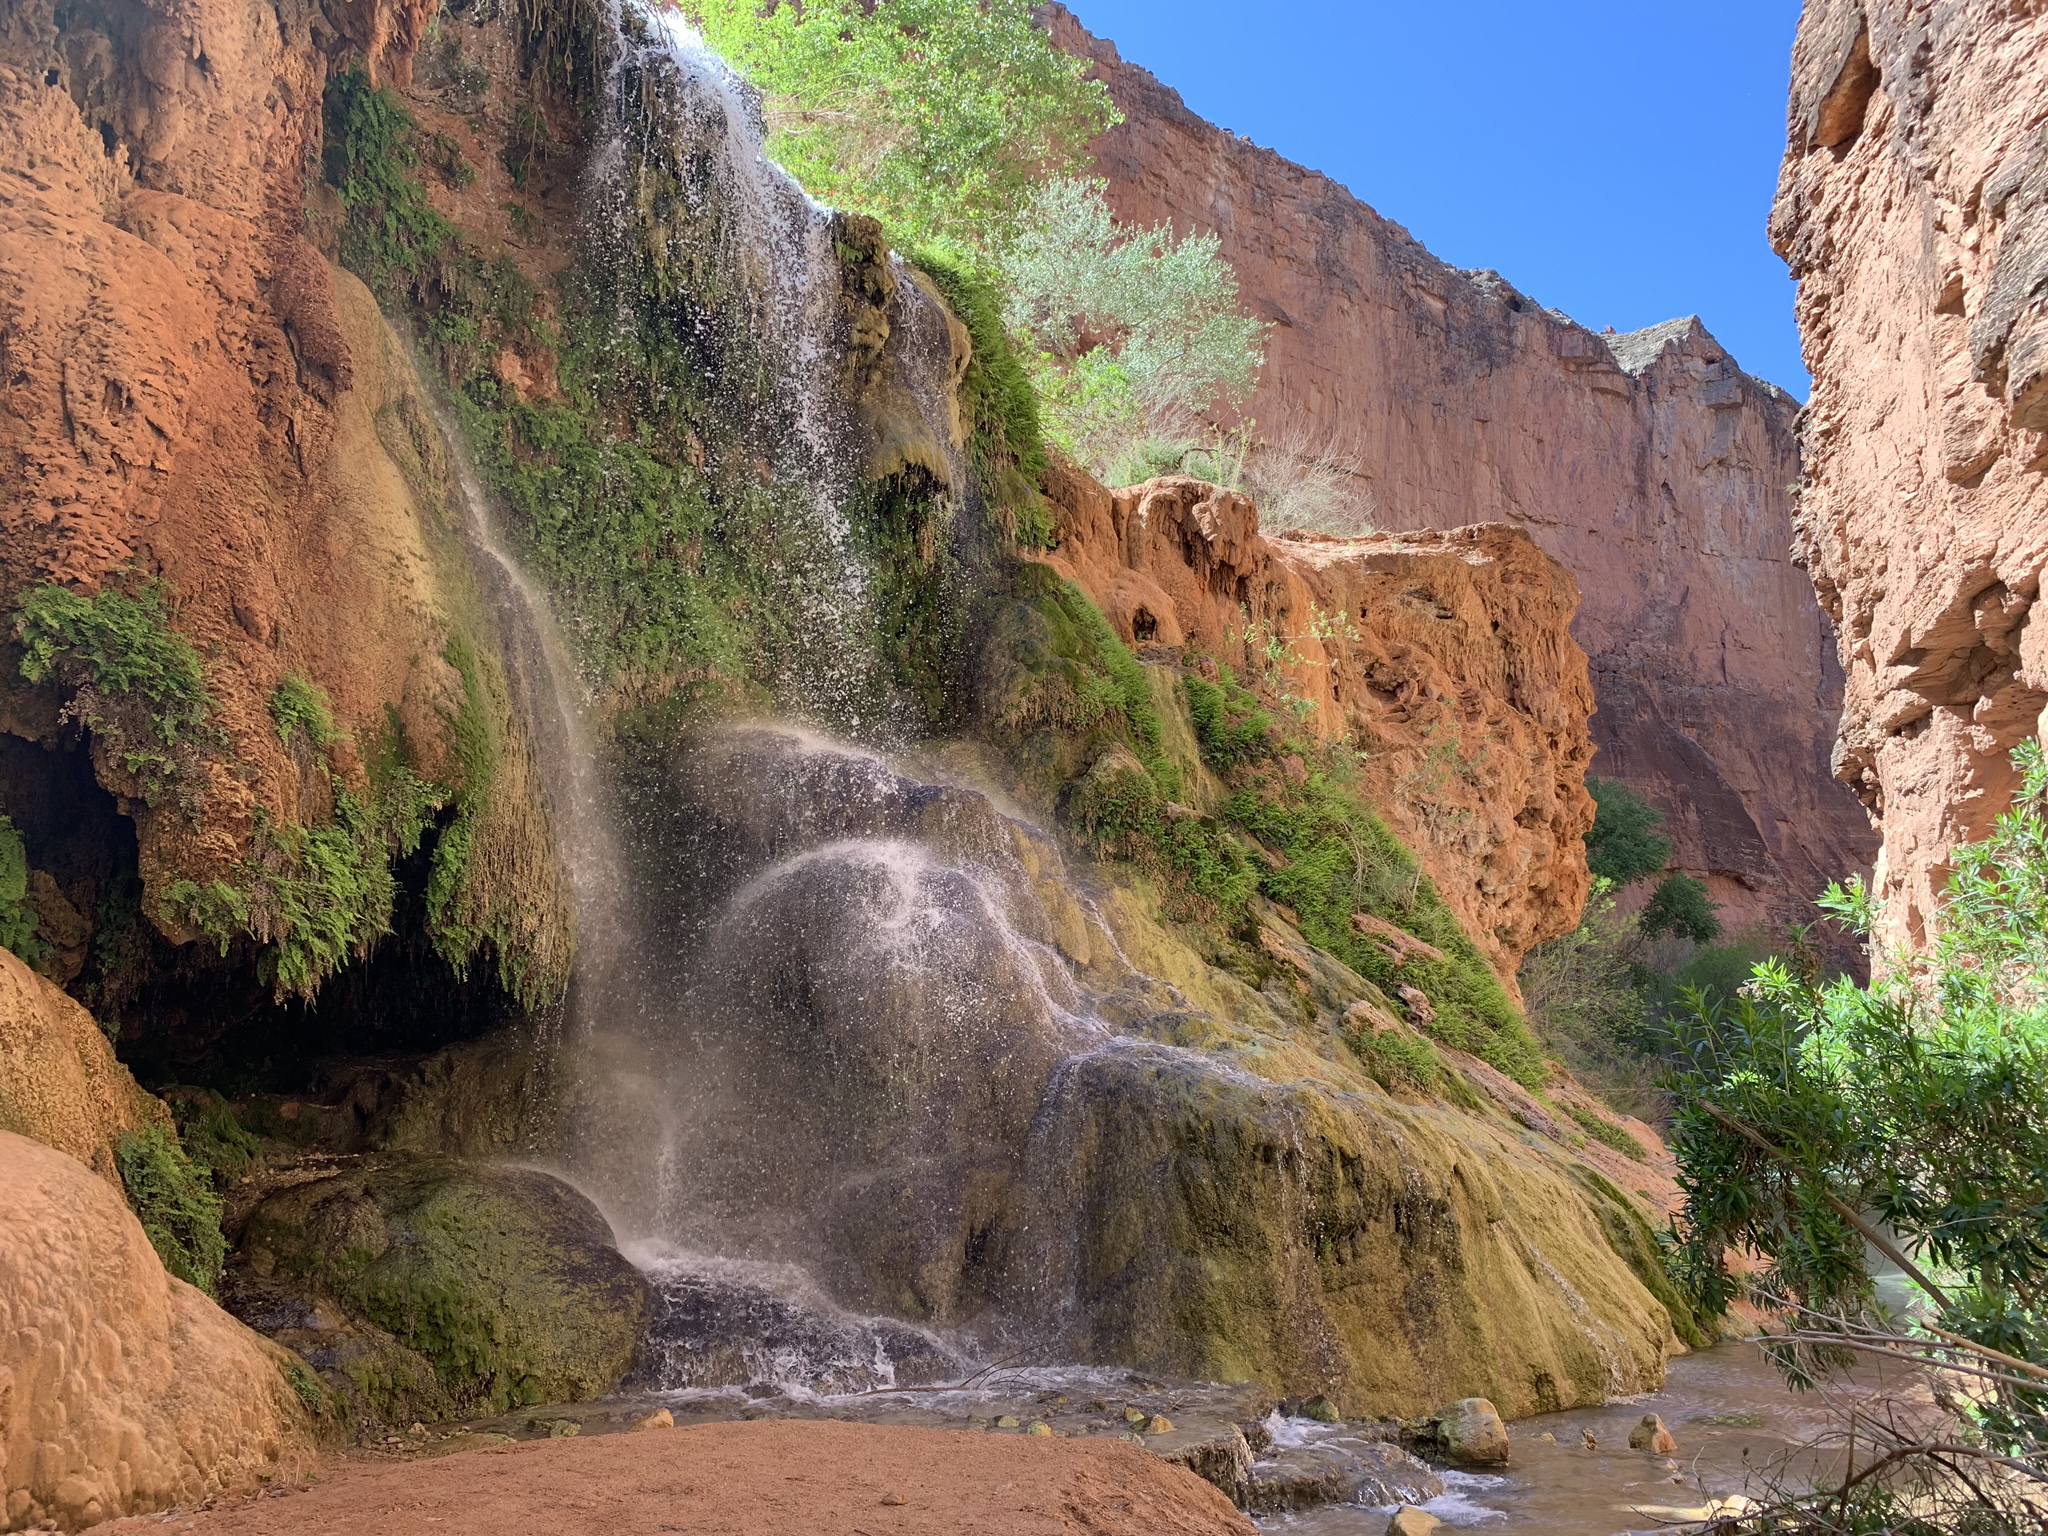
From Mooney Falls, you can continue onto Beaver Falls. The trek to Beaver Falls is around 3 miles from Mooney Falls. I’d recommend bringing hiking sandals, since getting to Beaver requires various river crossings. It’s way easier to hike in sandals than to take on and off your hiking boots 3 times! I obviously did this wrong.
If you want to start a little earlier, you could also continue this trail and hike to the Confluence.You can read about the Confluence hike here.
On our third day, we hiked back to the store for snacks and spent the day relaxing at Havasu waterfall (in preperation for our hike out the next day).
For the hike out, I’d recommend starting pretty early to beat the heat!
Packing List
All packing list items are linked to products if you would like recommendations.
Lightweight Backpacking Backpack (I have this one that I love because it’s super lightweight)
Sleeping Pad (I just got this one that I love, but I know it’s expensive so this one is also good)
Bathing Suit
1 Pair of Shorts
2 Pairs of Leggings
3 Tops or Sports Bras
Hiking Boots (obsessed with these)
Hiking Sandals (important for the river crossings to get to Beaver Falls)
Water Bottle
Snacks
Sunglasses
Hat
Day Pack to hike to Mooney/Beaver falls (this one folds up nicely to fit into your larger backpack)
Playing Cards
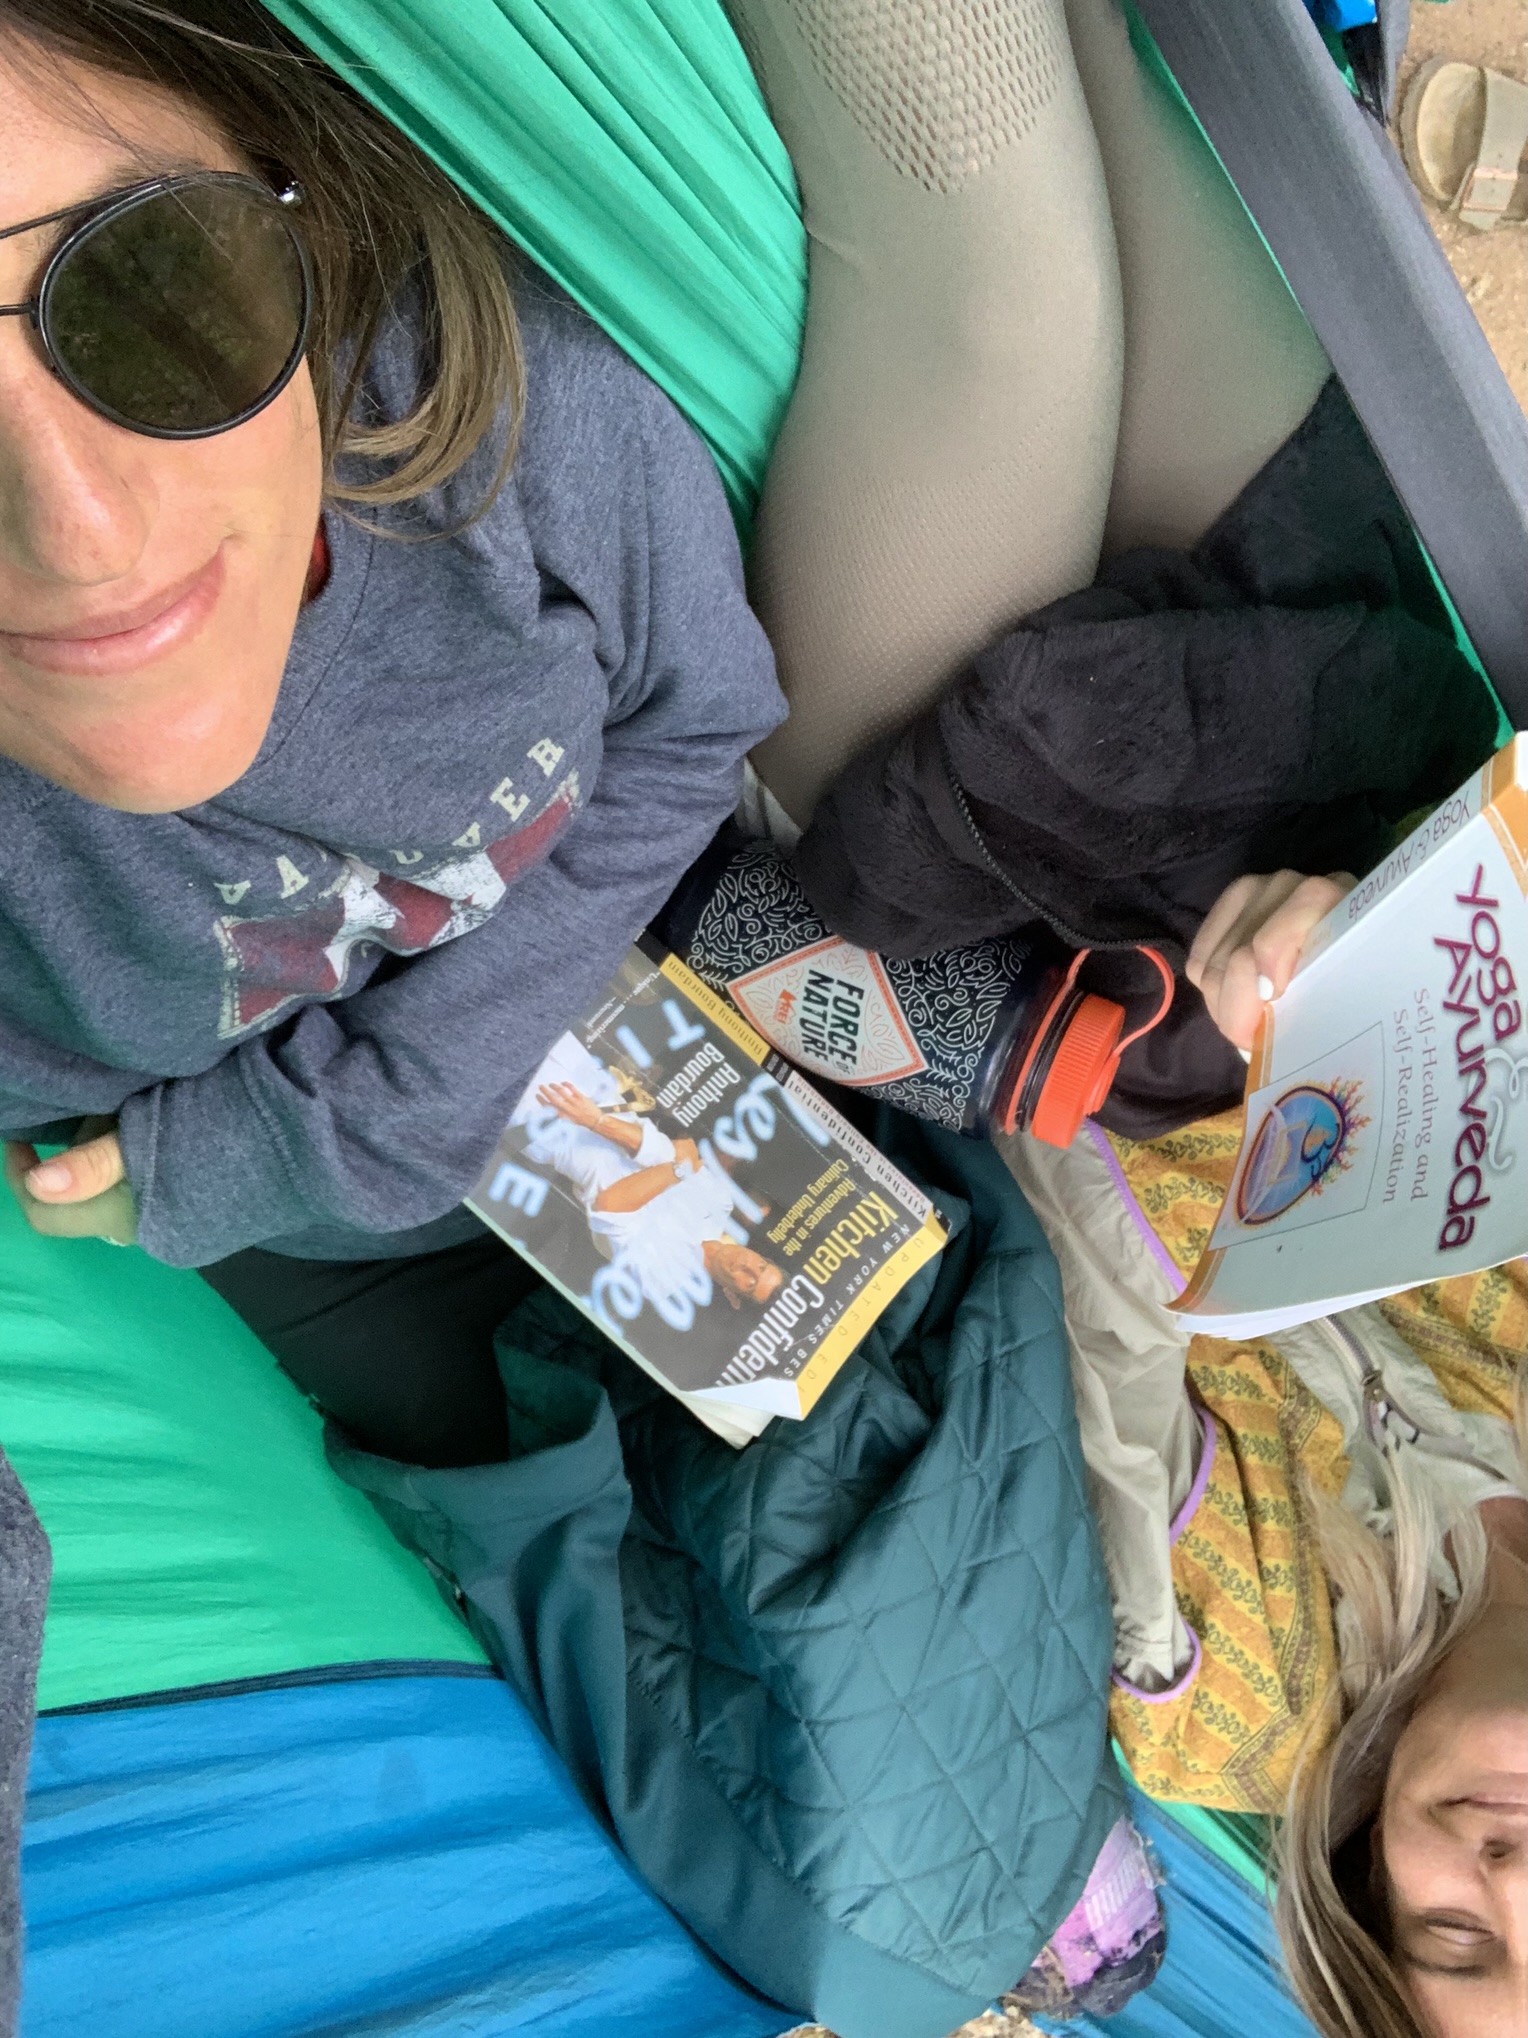
A book (I brought Anthony Bourdain’s Kitchen Confidential) but I’ve also read What I Was Doing While You Were Breeding recently and I loved it.

